|
| justfordima |
|
|||
|
So, this is what me and an unmentioned FordMods member have been up to in the last couple of days.
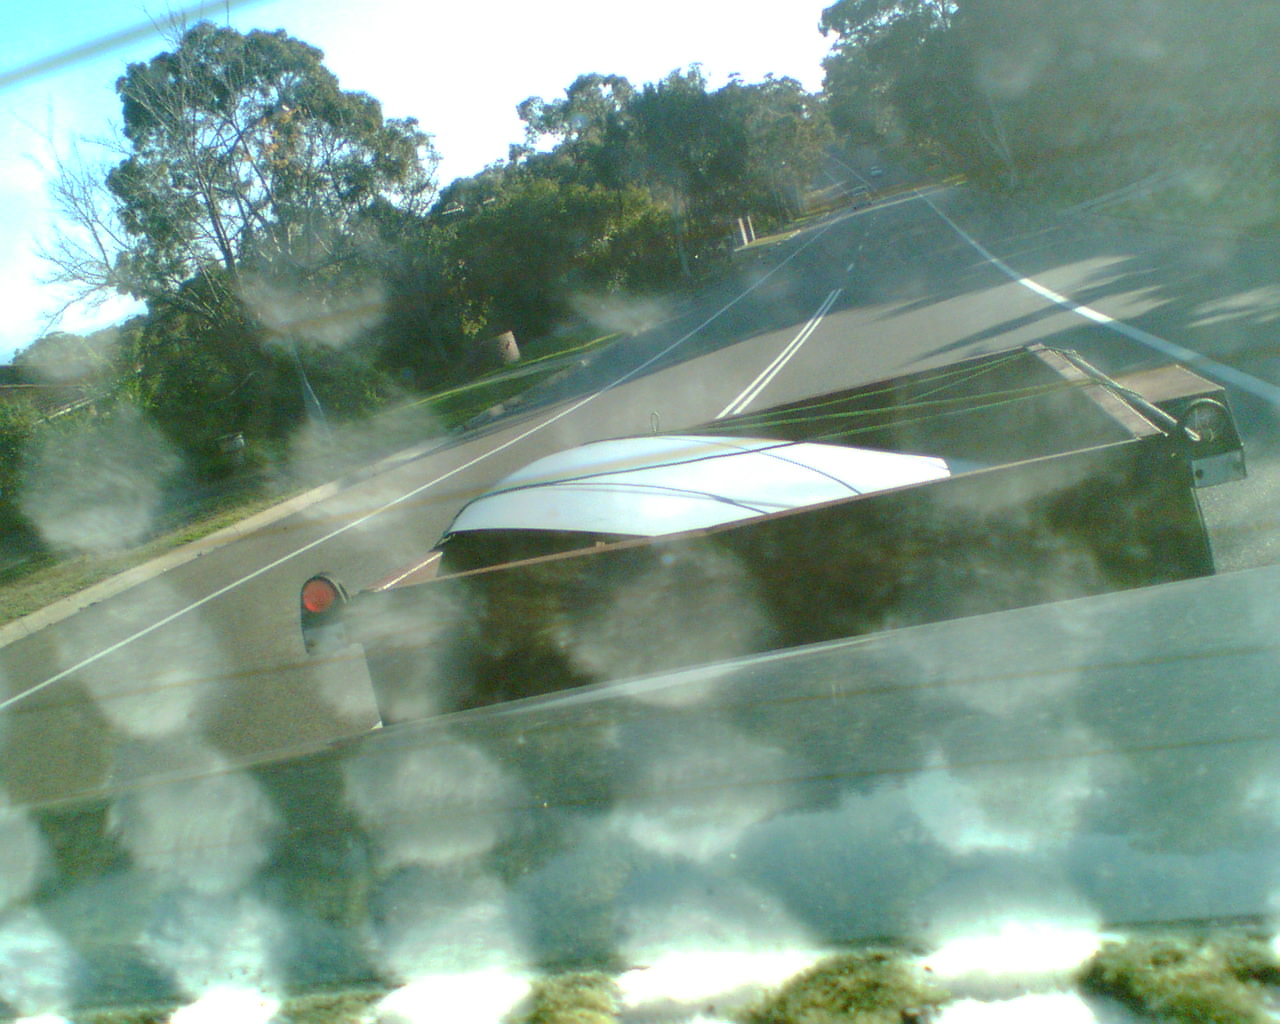
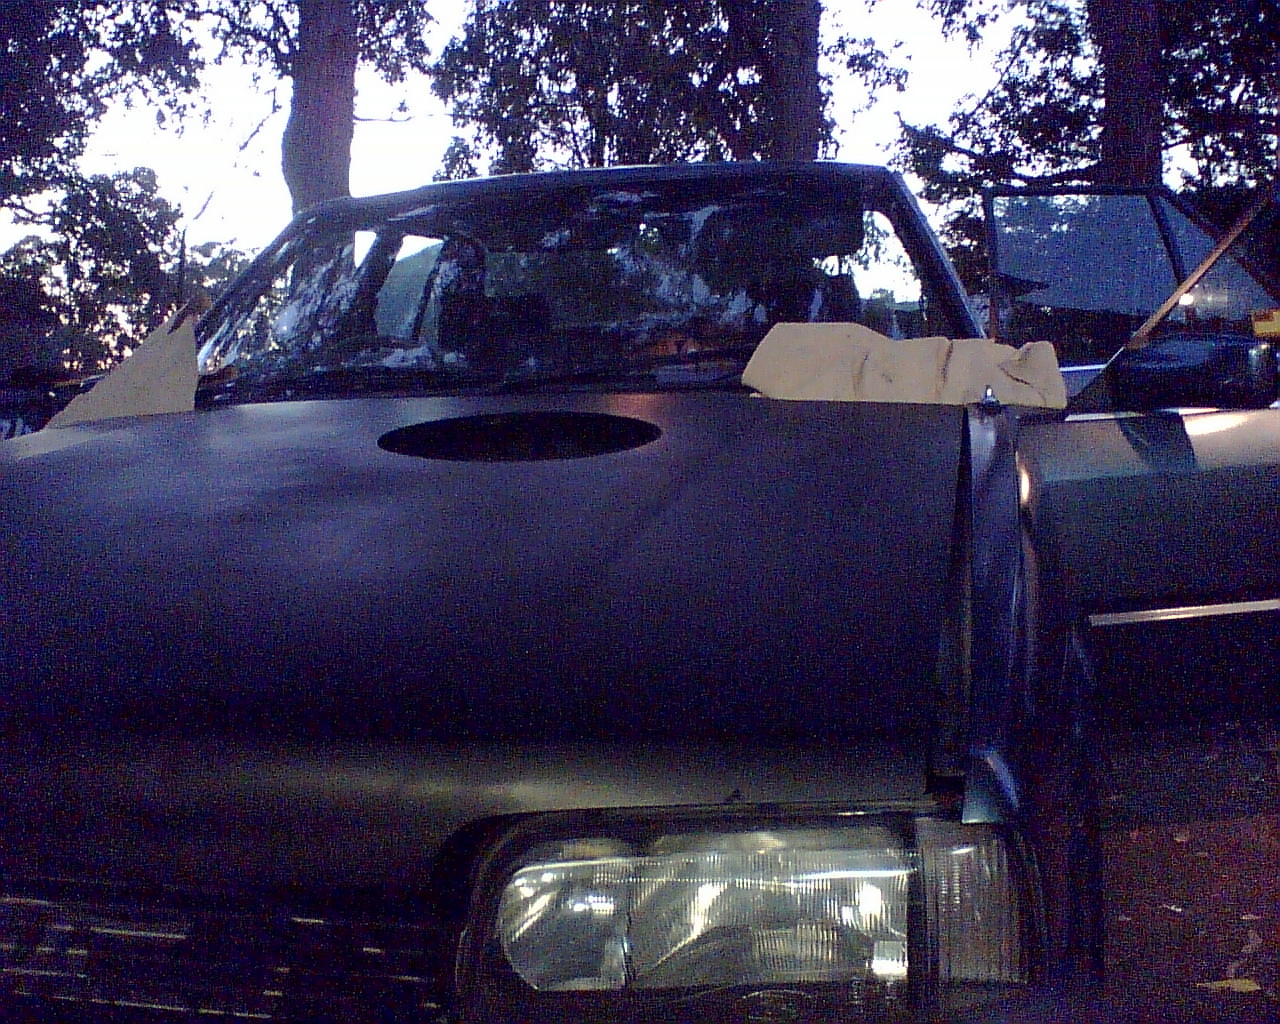
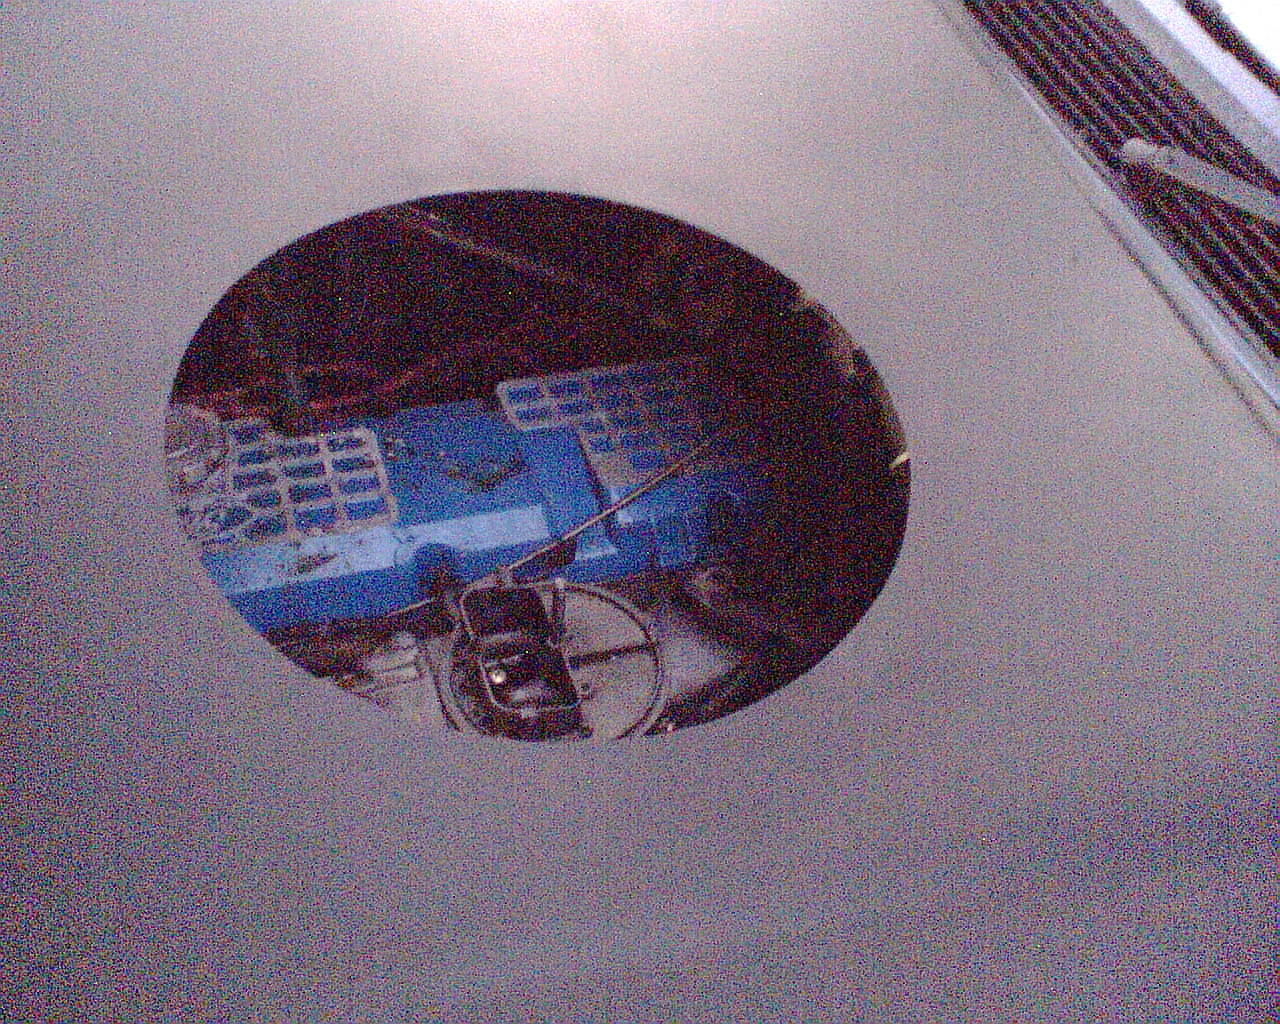
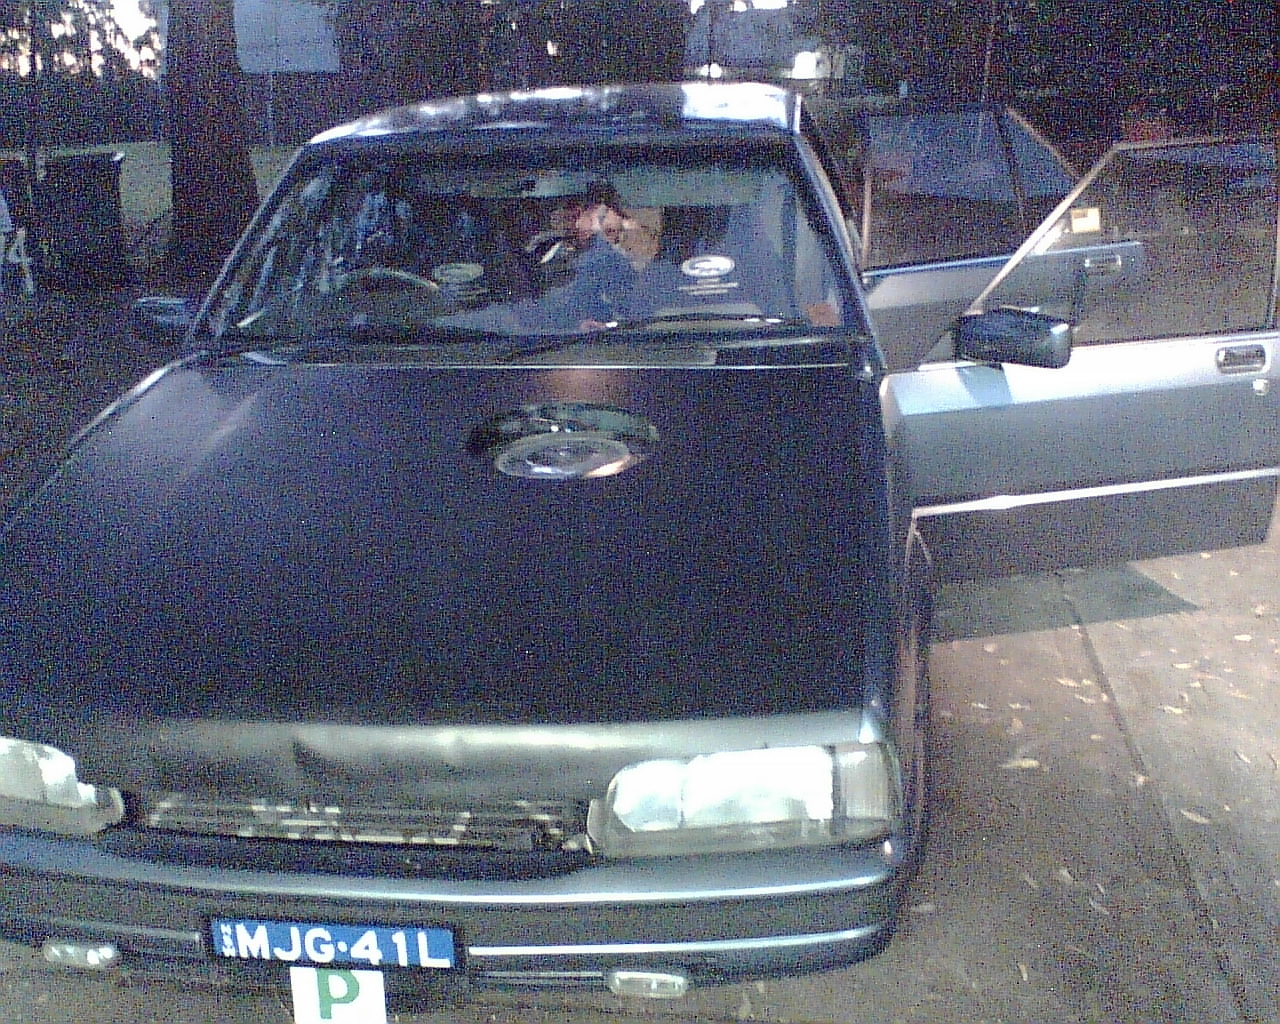
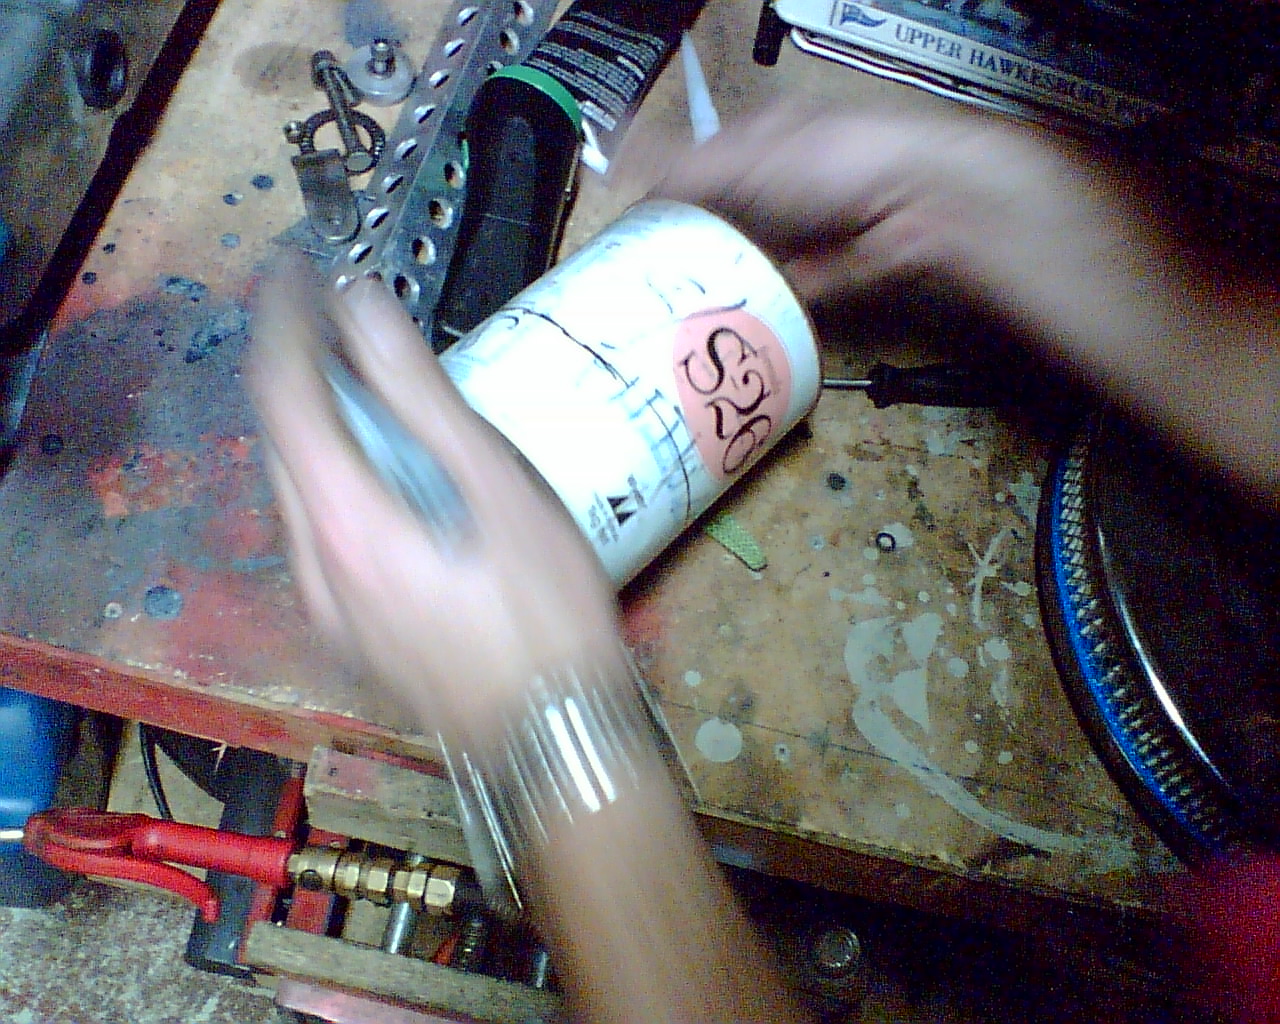
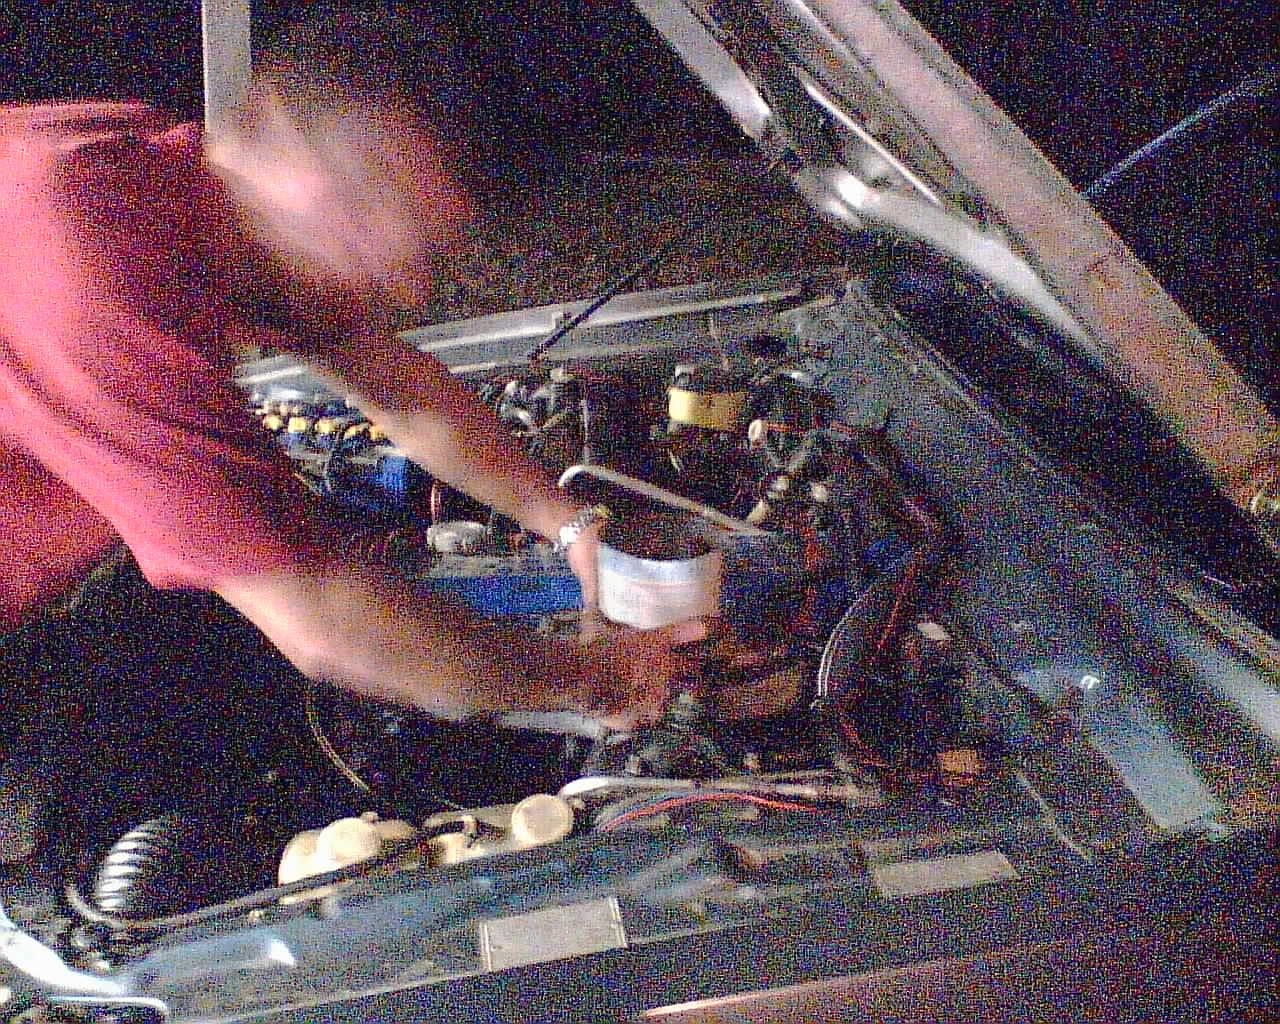
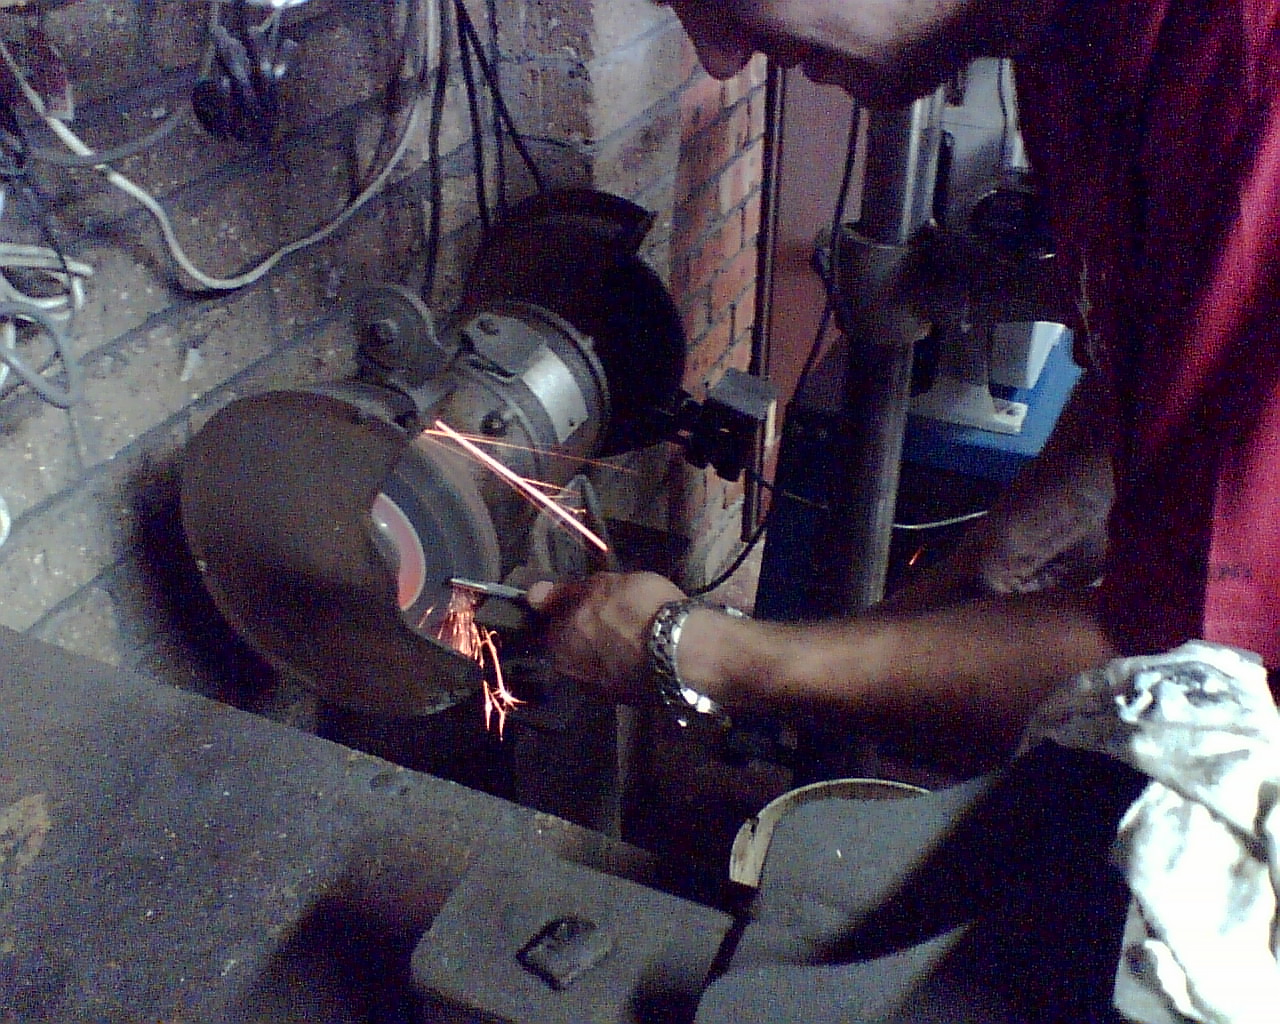
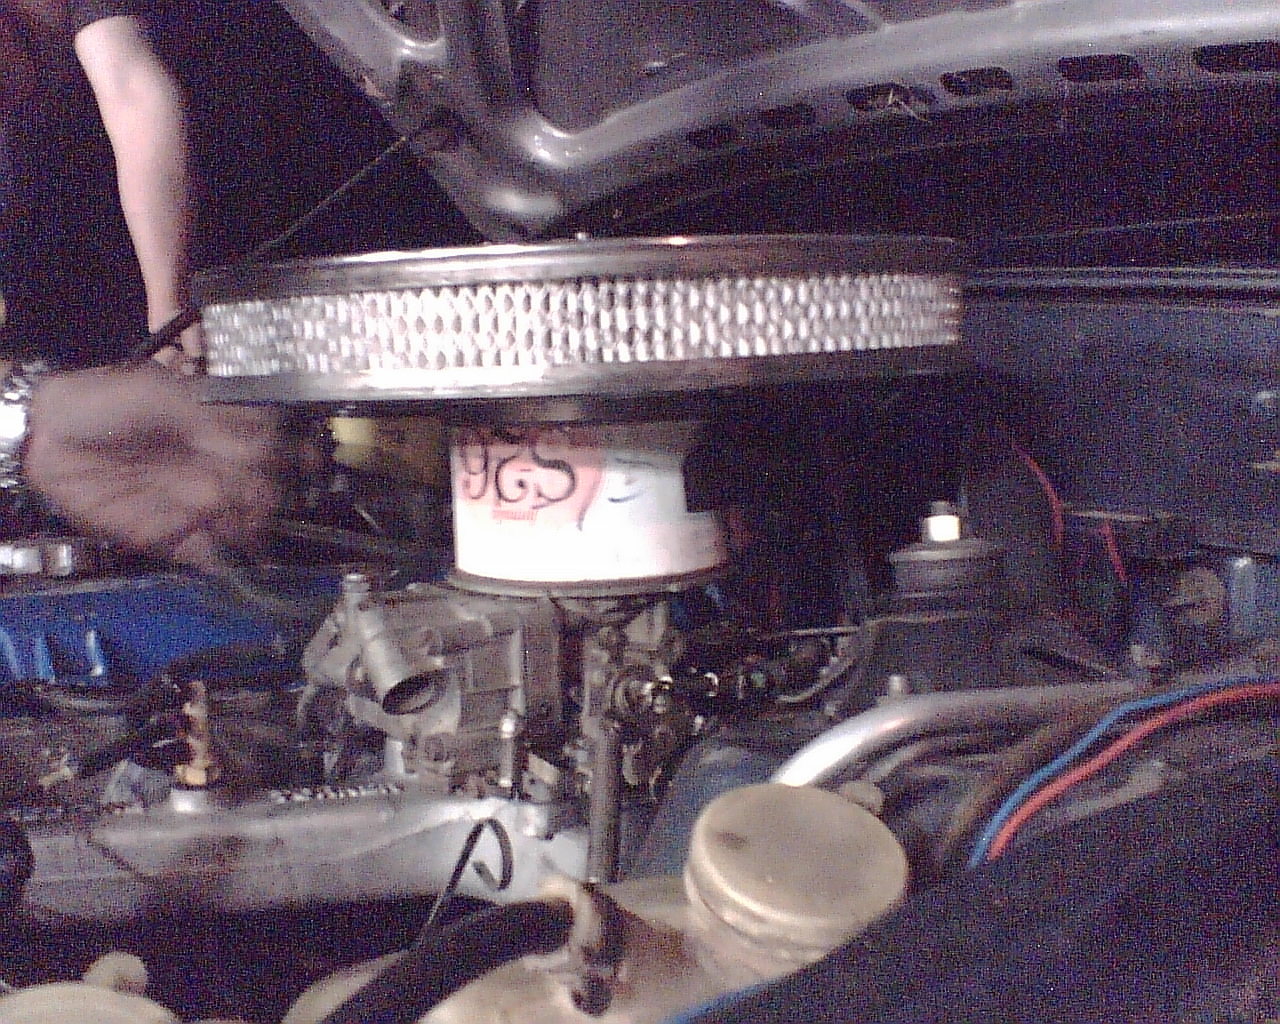
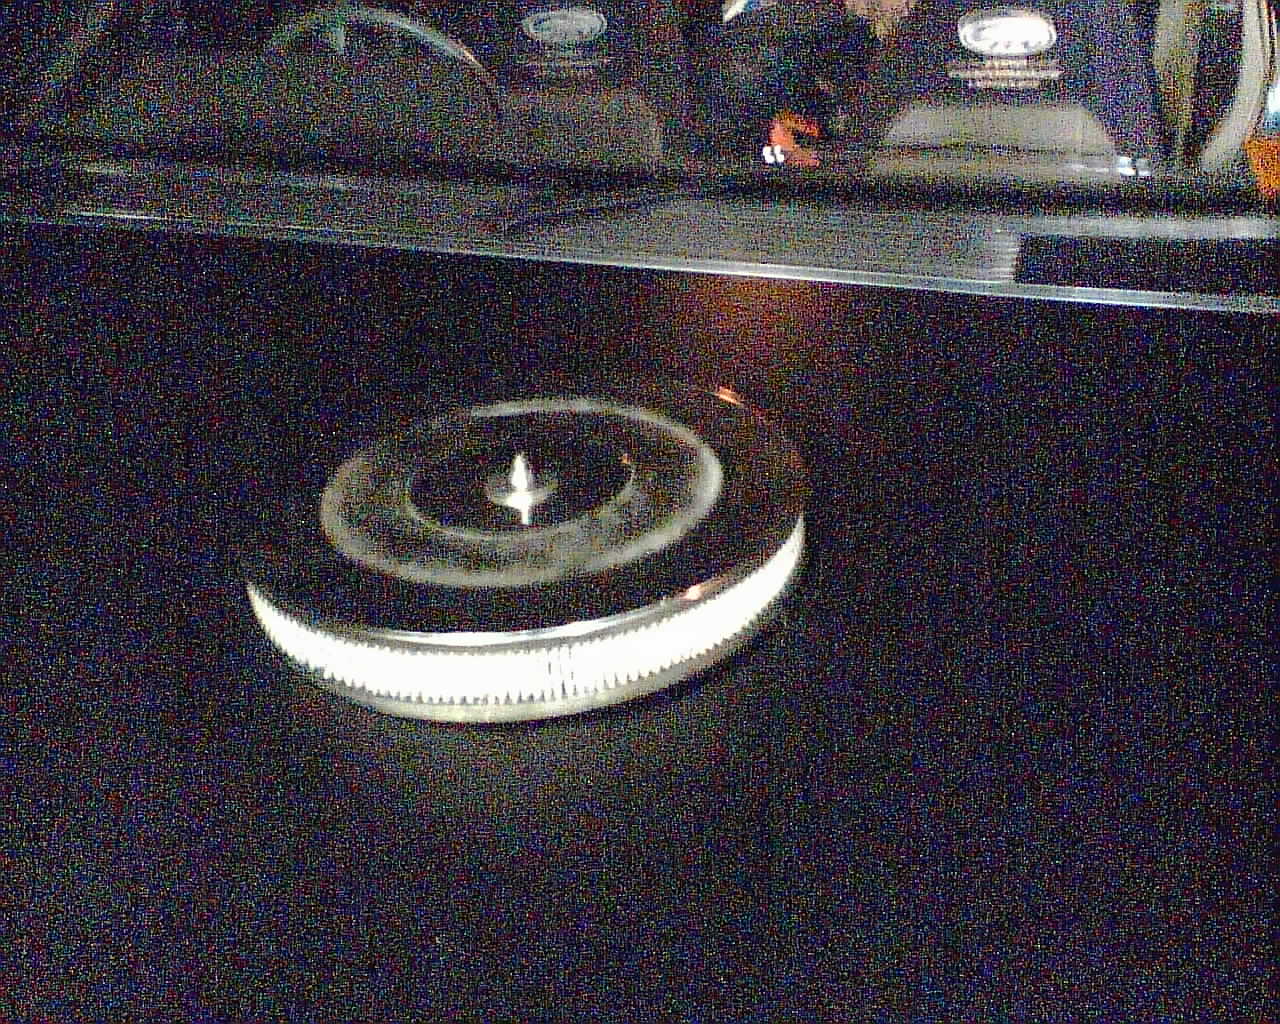
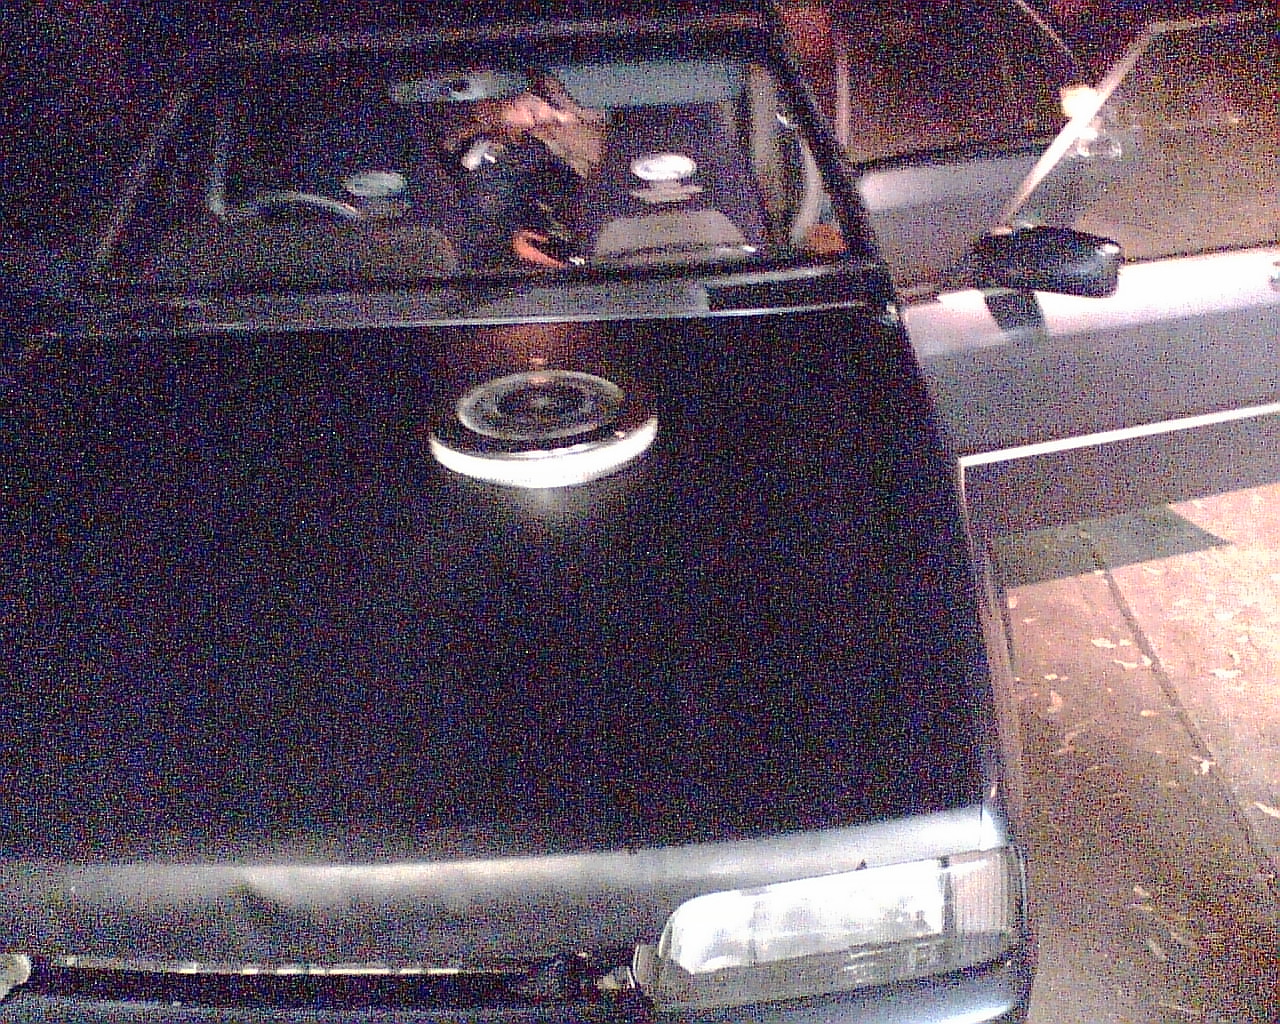
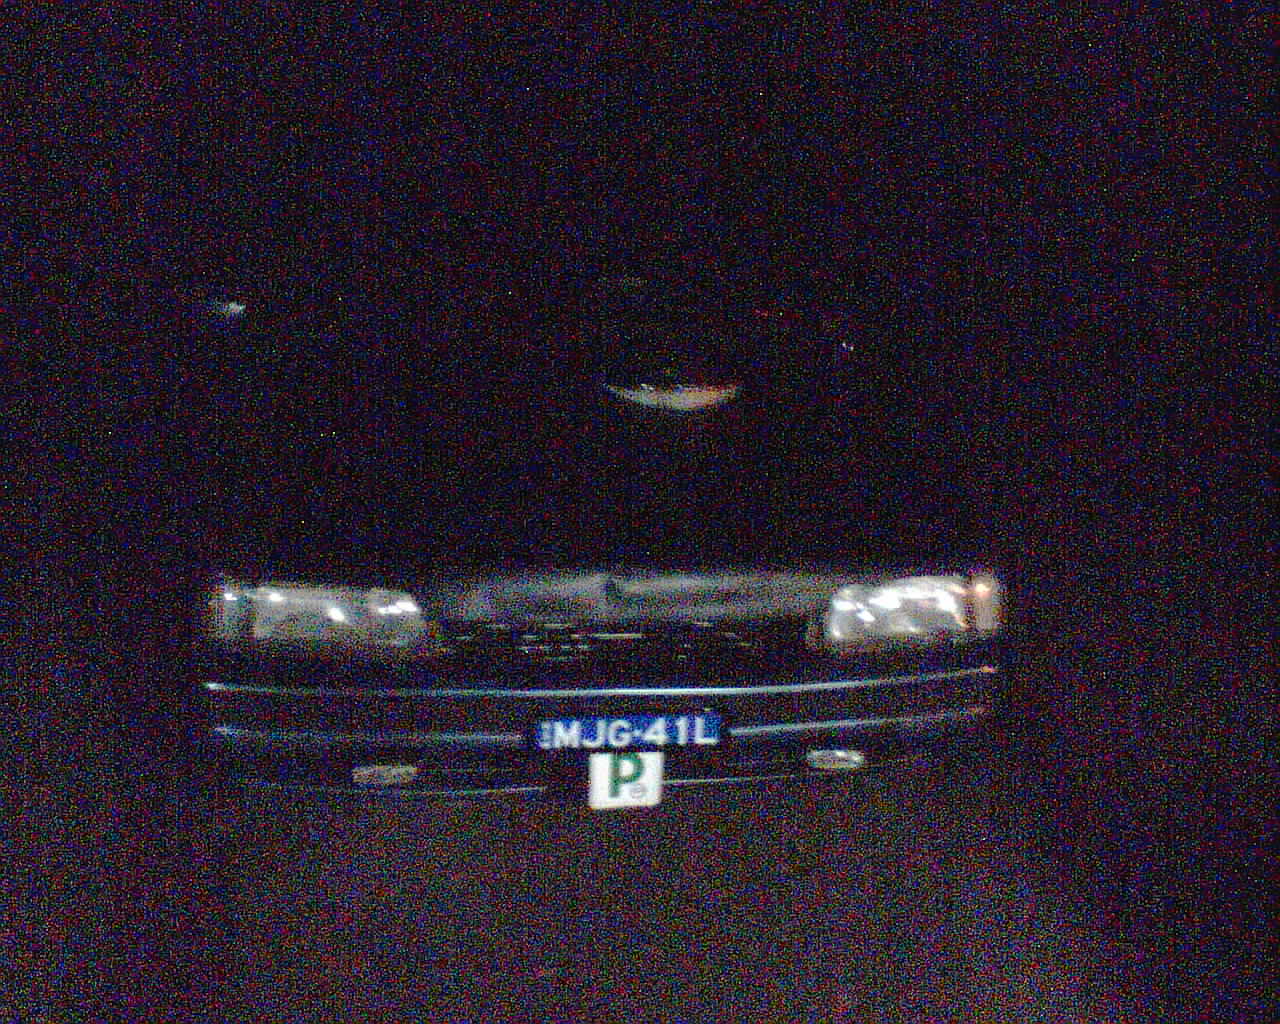
He was sick of his webber, so a holley was in place. Went and bought a holley from pinch and pay nothing for $120. This also included a free air filter assembly (13.5" or whatever). Cool So we went back to his place, and decided to fit this carby on. Most mechanics we talked to said it wasn't worth the effort, and it wouldn't run any better, and would probably run worse. We got to it. Firstly the old one needed to come off, no dramas there, bolted off, and came out, after all the sensors and hoses were disconnected. The holley was then placed on the already installed Torker manifold, bolted in place, and was ready for the hooking up. The fuel hose didn't quite reach, and as it was replaced with rubber just after the fuel pump, it could be moved around. After some tinkering, and fiddling, the fuel was attached. A random vaccum hose attached, and a one way valve placed on the breather connecter (meant to go to the PCV I assumed), this was to stop a vaccum leak. Done, the car was ready to idle. The car took a while to start, but started. Ofcourse not idling real well, because the Throttle return wasn't attached. The return spring was then placed on a screw which was inside a just drilled hole in the shock towers. Holding the throttle back nicely. Ok Done. Next was the throttle linkages... um.. Holleys are on the side, not on the back... great. So we devised a very copmlex and most definately an ingenious system, containing a stainless steel wire clamped onto the top of the throttle linkages (not the bottom, as it was pulling the other way), and the other side was connected to a ball joint, on a removeable bracket. Looked great, and even bettter, it worked. The accelerator bracket was bent back and around so that the cable could go around a bit the 90 degree bend. Wow, now for that free air filter assembly thats chrome... can't wait. And to know our luck, the f**k didn't fit under the bonnet by a bee's d**k. So we went for a hoon without one. Nothing special, idled better, revved easier, awesome. Only way to tell was to take it to the drags again this wednesday. But who will pass the check with no air assembly? plus its dodgy, illegal, and whatever else. So today we decided to fix this problem... This is the beginning of the tutorial on how to do it. 1) Devise a solution, our solution was to get a smaller filter. Failing that we cut a hole in the bonnet. We failed the air cleaner so hole in bonnet it is. 2) Find Bonnet. As we didn't wanna butcher his newly painted straight and very lovely (your welcome) bonnet, we decided to find one. With the drags on wednesday budget is our main priority. Pinch and pay nothing wanted $30 for a s**t out one. Um... and $50 for a s**t out one minus dents. So start thinking who has spare XF parts. Called another certain fordmods member, and viola, a bonnet thats going to the tip thats not so bad.... COOL! 3) Transport. As a bonnet doesn't fit very well in the boot, and driving to this certain place isn't an option without a bonnet, and then driving back with one. We decided that we needed a trailer. We found a trailer at a mates place. It was in such great condition you coud not find a piece of original metal. Iron Oxide was holding together this (still registered) trailer. Awesome! Transport arranged. 4) Retrieve bonnet. We picked up bonnet, Said many thanks (THANKS AGAIN!), and we were one our way to destruction. This is what it all looked like so far : http://www.angelfire.com/extreme3/dws/images/1.jpg 5) Paint. On the way back, we picked up some paint from supercheap ($2.85 a can, two cans). Make sure you know how to turn around with a trailer lol. If you say some goose at windsor supercheap trying to turn around going up gutter almost hitting poles, cars, and himself that was our expedition. 6) Return the trailer. After you get the bonnet, return the trailer. This is if you need it again, you can borrow it without complaints. 7) Measure. I didn't get any pictures of this, sorry. But attach bonnet just so it sits there. Then lower it down, and bang onto the pin which holds the air cleaner on. If you have dent, bulls eye. If not, well, thats what we had. Then you get a hole say, and approximate. Once the hole is there, and you know that you were way off, use a drill bit to line up just above the pin. Drill hole. Then measure diameter of the air cleaner with a string and attach something sharp. Once you figure out this isn't working, turn bonnet around, and use a marker around the air assembly. Measurements Done. 8. Cutting. Get a jig saw, place in the hole in which you cut with the hole saw, and start cutting away. You should have a nice circle after that. Done. 9. Painting. Get those cans you bought from supercheap and paint your life away. This shouldn't take too long, and should dry soon enough. 10. Place bonnet in place, and laugh at what you just did. And then just remember... So far apart from petrol and paint its been free. Now we remember that his dad is coming, and he was promised death if his dad saw this. So we hurried this along. Piccie of what we were laughing at. http://www.angelfire.com/extreme3/dws/images/2.jpg Mind you all of these are phone pics (1.3mp), some taken in "night mode" so they might look s**t. Here's another pic of what you should (really shouldn't) have so far: http://www.angelfire.com/extreme3/dws/images/3.jpg 11. Time to drop in the air assembly and admire... mmmm... admi..WTF?? this b**ch sits WAY under the bonnet... s**t. Piccie of HOW far under it sits. And to think it didn't clear the bonnet. http://www.angelfire.com/extreme3/dws/images/4.jpg 12. With things sitting that far, we had to figure out just how to raise it up. The idea of a spacer under the air filter assy was the winner. So we got cracking. After searching for some sort of tube which will bring it up. This is what we came up with. Don't laugh. Ok laugh. Thats what we're here for http://www.angelfire.com/extreme3/dws/images/5.jpg http://www.angelfire.com/extreme3/dws/images/12.jpg 13. The can was cut in half, then it was cut apart, and a bit of the other can was used to pop rivet it back in. So now we had a larger diameter can. We drilled holes through the air assembly, and pop rivetted the can onto the air assembly. No we have a tall air cleaner. On the holley. Perfect. But how do we hold it down? the pins to short. Make another ofcourse. So we found a threaded long thing.. whatever they are called. And grinded it smooth. http://www.angelfire.com/extreme3/dws/images/6.jpg 14. Now we tapped the right thread onto this madgiggy. So it fits into the carby. http://www.angelfire.com/extreme3/dws/images/7.jpg 15. Test run the new thread and stick it in. If you wanted a new aerial, just leave it. lol. http://www.angelfire.com/extreme3/dws/images/8.jpg 16. Cut down the rod, bolt everything on. and now you should have something looking like this. http://www.angelfire.com/extreme3/dws/images/9.jpg 17. And now you admire your beauty.... Very nice.. lol, and cheap. http://www.angelfire.com/extreme3/dws/images/10.jpg http://www.angelfire.com/extreme3/dws/images/13.jpg http://www.angelfire.com/extreme3/dws/images/11.jpg I hope you enjoyed our tutorial. Please don't try this at home. All the previous statements and pictures were performed under controlled environments, with trained stuntmen and personel. Should any autorities be reading this. The car is a track only car, just for the record. And im not sure about legalities anyway. Cheers!
_________________ ;++JustForDimSim++;
|
|||
| Top | |
|||
| mitchg911 |
|
|||
|
i wouldnt have a clue what clown would do that to his car.. shouldnt be half obvious with the lovely pictures supplied
btw to view pics you have to right click and save as....
_________________ BF XR6T 6spd Auto. 60lb injectors, Hybrid Cooler, Custom Piping, Custom Surge Tank, Actuator. |
|||
| Top | |
|||
| justfordima |
|
|||
|
To save people asking... To view the pics if it don''t work... you might have to right click and go to save as... Angelfire is thinking Im using them for storage... lol, why would I? honestly...
Cheers
_________________ ;++JustForDimSim++;
|
|||
| Top | |
|||
| Spider_GT |
|
|||
|
what the f**k you done to my bonnet
|
|||
| Top | |
|||
| justfordima |
|
|||
|
Spider_GT wrote: what the f**k you done to my bonnet LOL, weight reduction!
He he Cheers
_________________ ;++JustForDimSim++;
|
|||
| Top | |
|||
| Spider_GT |
|
|||
|
no probs hey it was only goign to go into tip so you guys still intereste din a xf head?
|
|||
| Top | |
|||
| mitchg911 |
|
|||
|
how much would you want for it? and what number is it ?? the number stanped between intake ports 1&2
cheers mate.. the bonnet looks interesting matt black thanx again for the bonnet aswell.. your old man is a legend
_________________ BF XR6T 6spd Auto. 60lb injectors, Hybrid Cooler, Custom Piping, Custom Surge Tank, Actuator. |
|||
| Top | |
|||
| tickford_6 |
|
||
Posts: 6449 Joined: 11th Nov 2004 |
i know it's all fun to cut stuff up .
but... if it only just didn't fit why not remove some of the reo in the bonnet?? or if you must cut the whole and it's not hight enough try using the old double filter trick.. twice as high twice the filter area!!!!!!!! |
||
| Top | |
||
| justfordima |
|
|||
|
tickford_6 wrote: i know it's all fun to cut stuff up . lol, I like your thinking..
but... if it only just didn't fit why not remove some of the reo in the bonnet?? or if you must cut the whole and it's not hight enough try using the old double filter trick.. twice as high twice the filter area!!!!!!!! The filter couldve fitted.. but no fun that way... but the double filter... now there's an idea.... Cheers!
_________________ ;++JustForDimSim++;
|
|||
| Top | |
|||
| mitchg911 |
|
|||
|
yeh but that would have involved buying another filter.. filters are dearer than $2.85 so it rules that out.. i think when i make it fit for my painted bonnet ill be removing reo,, not cutting bonnet skin...
_________________ BF XR6T 6spd Auto. 60lb injectors, Hybrid Cooler, Custom Piping, Custom Surge Tank, Actuator. |
|||
| Top | |
|||
| justfordima |
|
|||
|
mitchg911 wrote: yeh but that would have involved buying another filter.. filters are dearer than $2.85 so it rules that out.. i think when i make it fit for my painted bonnet ill be removing reo,, not cutting bonnet skin... whinge lol
Triple filters, DO IT!! lol, I really shouldn't be convincing you to do stuff anymore... look what happens lol. Cheers
_________________ ;++JustForDimSim++;
|
|||
| Top | |
|||
| Spider_GT |
|
|||
|
about 50 bucks i guess mate
|
|||
| Top | |
|||
| justfordima |
|
|||
|
if you give it to us for free, we'll cut a whole in it! we're good at that! might even paint it! lol
Cheers
_________________ ;++JustForDimSim++;
|
|||
| Top | |
|||
| mitchg911 |
|
|||
|
lol ill trade you for a bonnet??
nah seriously,, if you could find out the number for us.. (not right now) but let me know and if its in salvagable condition $50 is yours cheers
_________________ BF XR6T 6spd Auto. 60lb injectors, Hybrid Cooler, Custom Piping, Custom Surge Tank, Actuator. |
|||
| Top | |
|||
| Spider_GT |
|
|||
|
lol mate as you can tell from my backyard i got plenty of xe/xf heads should get a xe head they flow better from what i read
|
|||
| Top | |
|||
| Who is online |
|---|
Users browsing this forum: No registered users and 35 guests |
