|
| burdeaux95 |
|
||
|
Go to my post on NOV 2004, well my headlights is still as good as new.
Make shure to cut the protector about 5mm bigger, it shrunk over time. I got some Phillips BlueVision globes (inc. parking globes) and I don't think I want any better light. It is still gives much whiter then the standard light. |
||
| Top | |
||
| Mash85 |
|
||
|
damn, this is an old thread! i dont even remember starting it!
every couple of months i give mine a rub with autosol, then polish em up with a bit of plexus and they look ok.
_________________
|
||
| Top | |
||
| fairmont599 |
|
||
|
mine arnt too bad, but give em another few months and ill have to do em. hoping to buy a new car before i have to go sanding headlights tho....
|
||
| Top | |
||
| EFRicho95 |
|
|||
|
My advice is to follow the idea in the technical docs.
I did it the first time and the headlights came up really well. Second time I had them at a cloudy stage and thought I'd stuffed them Really for someone like me not mechanically minded, this doc really helped get the yellow out and was cheap & easy to do. Try it before paying anyone to fix them for you...or im me and i will do it. The only thing that really got on my goat was that the neighbours kept asking what I was doing..... |
|||
| Top | |
|||
| Andw |
|
|||
|
Alrighty then ladies and gents, i know this is an old topic, but i read on it or somewhere else to use Brasso, now i tried this method with a variation on the fine sanding method, and while the results may not be up to scratch (no pun intended) with the sanding method, they appear pretty good for about 20 mins work.
First off, my mum recommended i try those steel wool soap pads to remove the yellowing on the lenses, i rubbed with these for about 5 mins on each lense, and this worked quite well, but left them with a bit of a white cloudy appearance. When water was on them, they would appear clear, prompting me to try a glass polish of some sort, and as i didnt have any Meguirs scratch x or anything similar, i tried Silvo, which is similar to Brasso, but this was only polishing the white cloudiness out a little bit. Then i tried the Brasso and the results were nearly instant! :O so after a bit of polishing with brasso, the headlights appear like new, nothing like their old selves. Unfortunately i cant upload any pictures right now cos the sites being b**ch with me, ill try in a few days time.
_________________ 2004 BA XR8 in Blueprint |
|||
| Top | |
|||
| WILLDB |
|
|||
|
I found mine cleaned up a fair bit using McGuiars Paint Cleaner, I tried it on my EF and the headlights are much more effective at night.
Don't blame me or try to hold me responsible if this doesnt work for you however.
_________________ 2004 BA XR6 Manual in Blueprint Blue |
|||
| Top | |
|||
| doofdoof23 |
|
|||
|
I have heard if you sand back yellow lights its only a matter of time till they turn yellow again
|
|||
| Top | |
|||
| XRFan101 |
|
|||
|
Ugly Igley wrote: I did this about 8 months ago and they still look like new. You will need the following: 1 x sheet wet and dry 600 1 x sheet wet and dry 800 1 x sheet wet and dry 1200 1 x sheet wet and dry 2000 detergent water tape (nothing too sticky, something like plastic packing tape will do) screwdriver Plexus, turtle wax, or some other polishing element Sanding Block prepare the car by removing the indicator. The screw is located in the engine bay just above the indicator. Slide it out. Next run tape uder the headlight the length of the bumper. Apply a couple of layers as they will wear through. ok now we are ready.... get a bucket of water mixed with detergent and dunk the wet and dry 600 in. start sanding slowly with light pressure, in a back and forth motion from left to right. keep dunking the sandpaper because it will clog fast. It will take some time, however be patient because soon you wil notice it has developed a milky film on the lens. next repreat the process with the 800, then the 1200, and finally the 2000. It should be nice and clear at the time you are ready to use the 2000 wet and dry, but i prefer to use it as it gets the finer detail. ok now apply the plexus (or whatever wax you have). this is it. your lens should look brand new. this has worked really well for me. If you want some pics of the process just PM me. Love thread mining, i just wanted to say i did this to my Fairmont Ghia headlights, and it came up a treat i actually used Megs Plastx as its a cleaner/polish and yeah it cost me $25 all up!
_________________
|
|||
| Top | |
|||
| gogetta |
|
|||
|
XRFan101 wrote: Ugly Igley wrote: I did this about 8 months ago and they still look like new. You will need the following: 1 x sheet wet and dry 600 1 x sheet wet and dry 800 1 x sheet wet and dry 1200 1 x sheet wet and dry 2000 detergent water tape (nothing too sticky, something like plastic packing tape will do) screwdriver Plexus, turtle wax, or some other polishing element Sanding Block prepare the car by removing the indicator. The screw is located in the engine bay just above the indicator. Slide it out. Next run tape uder the headlight the length of the bumper. Apply a couple of layers as they will wear through. ok now we are ready.... get a bucket of water mixed with detergent and dunk the wet and dry 600 in. start sanding slowly with light pressure, in a back and forth motion from left to right. keep dunking the sandpaper because it will clog fast. It will take some time, however be patient because soon you wil notice it has developed a milky film on the lens. next repreat the process with the 800, then the 1200, and finally the 2000. It should be nice and clear at the time you are ready to use the 2000 wet and dry, but i prefer to use it as it gets the finer detail. ok now apply the plexus (or whatever wax you have). this is it. your lens should look brand new. this has worked really well for me. If you want some pics of the process just PM me. Love thread mining, i just wanted to say i did this to my Fairmont Ghia headlights, and it came up a treat i actually used Megs Plastx as its a cleaner/polish and yeah it cost me $25 all up! do you have any before/after pics? did u use the wet and dry paper by hand or on a sander? at what stage did u use the plastic polish and how did u apply it? my previous efforts were a failure....
_________________ |
|||
| Top | |
|||
| XRFan101 |
|
|||
|
I used 600, 800 and 1200 wet and dry sandpaper, did about 2-5 min on each grit (made sure the area i was sanding was even as i was doing it by hand).
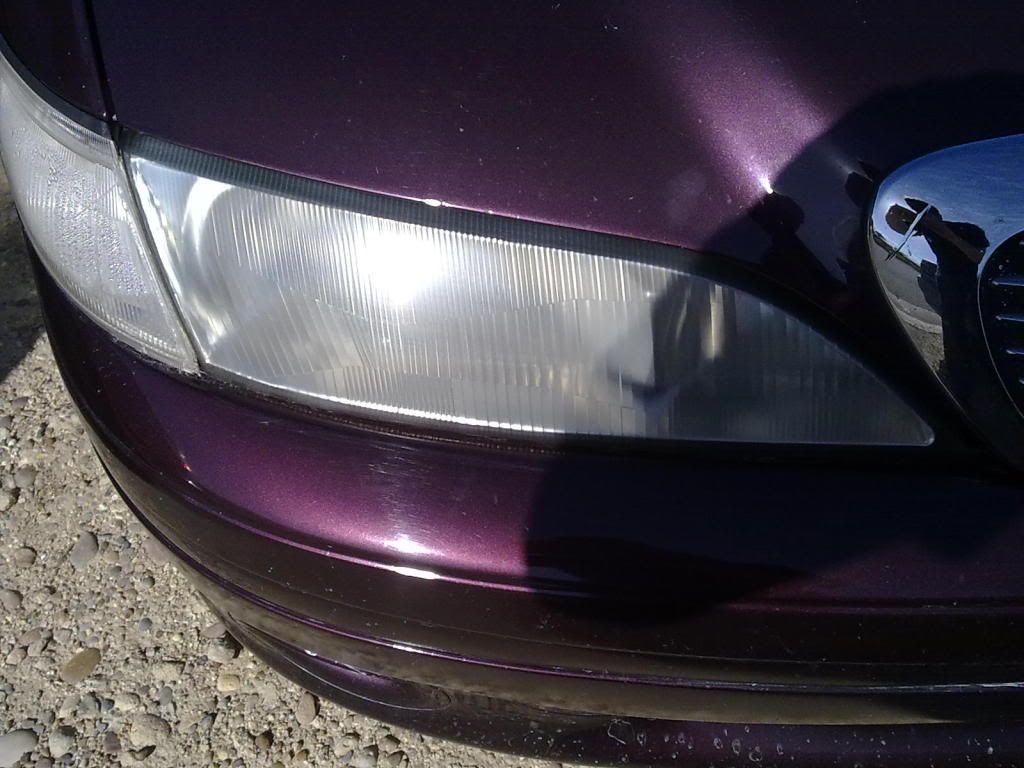
Then after i cleaned them up (as they do go cloudy) i then used the Megs plastx, 3 coats on each headlight (roughly used just under half of the bottle) which i applied using Megs hand applicators. Mine came up better using the Megs Plastx due to it being a specific plastic cleaner and a Polish as well (so it adds nice protective coats to it at the same time). Unfortunetly i dont have before pics but i do have pics after i i did this http://i614.photobucket.com/albums/tt22 ... 009345.jpg
_________________
|
|||
| Top | |
|||
| Sloxr6 |
|
|||
Age: 39 Posts: 862 Joined: 8th May 2005 Ride: BA Wagon Turbo, Ba Fairlane G220 Location: Colac |
I have used the sanding polishing method they come up good but it doesn't last long few months they are back to being yellow. The best stuff I have used so far is that lens cleaner from eBay. Only took about 10mins to do and they came up close to brand new. Time will tell if it lasts but.
_________________ Congo Green Ba Wagon With F6 6 Speed Manual Driveline. |
|||
| Top | |
|||
| Who is online |
|---|
Users browsing this forum: No registered users and 14 guests |


 -BF MKII XR6 Turbo in EGO-
