|
| spac |
|
|||
|
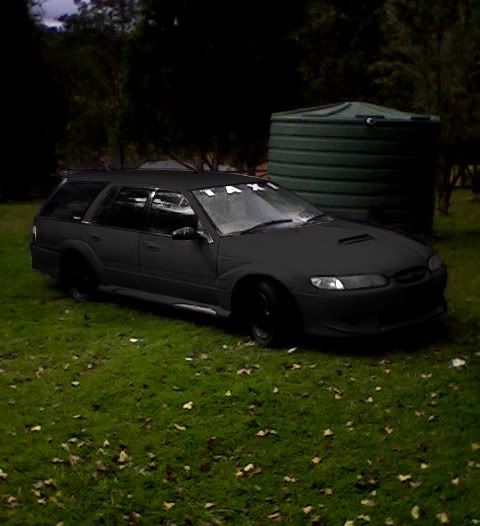
Well I got the correct sized nuts for the scoop, I have notched the 3 inch pipe inside the box so the filter fits, secured the filter, bent some of the warped metal and cleaned up the welds. I also trimmed the bonnet only to find the setup doesnt move as much as I would have thought.
I have been driving it and it hasnt lost much down low but when the bbm changes you can definately feel the increase. Now I need to start getting it all prepped for paint but in the mean time here are some newer pictures and a video. 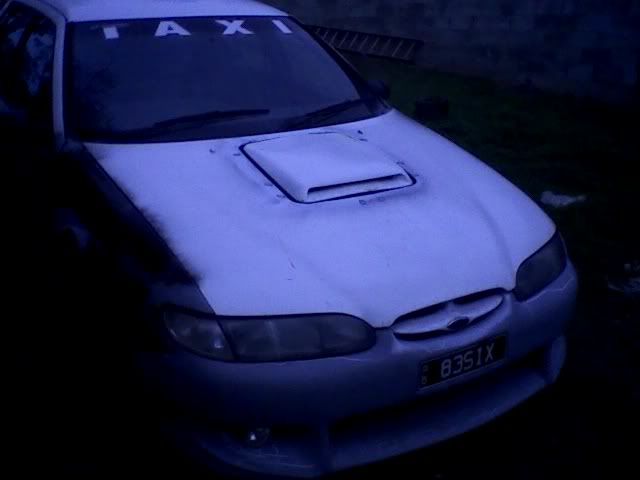 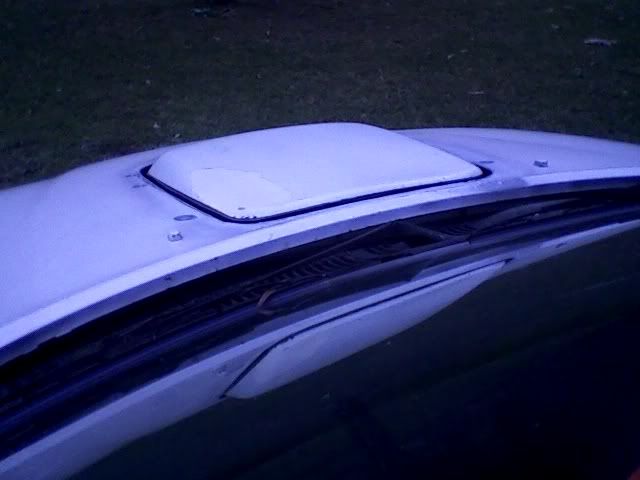 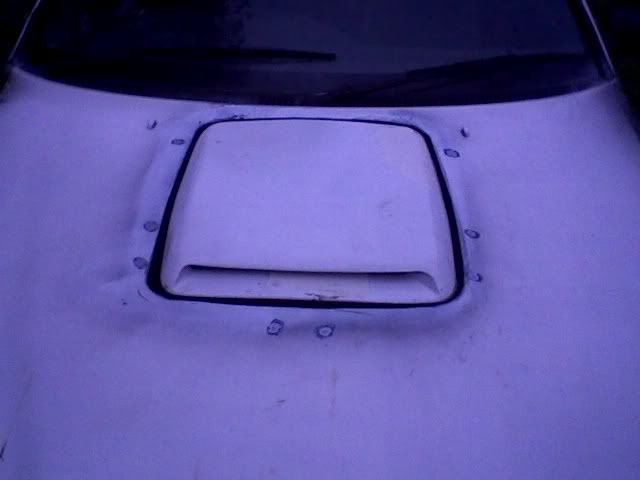 The video {DESCRIPTION} |
|||
| Top | |
|||
| spac |
|
|||
|
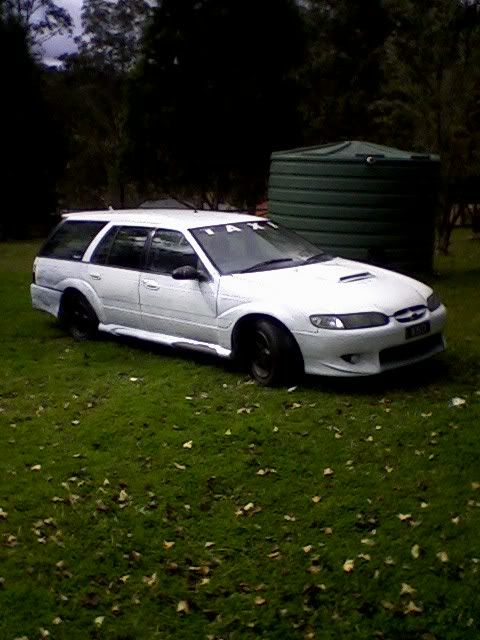
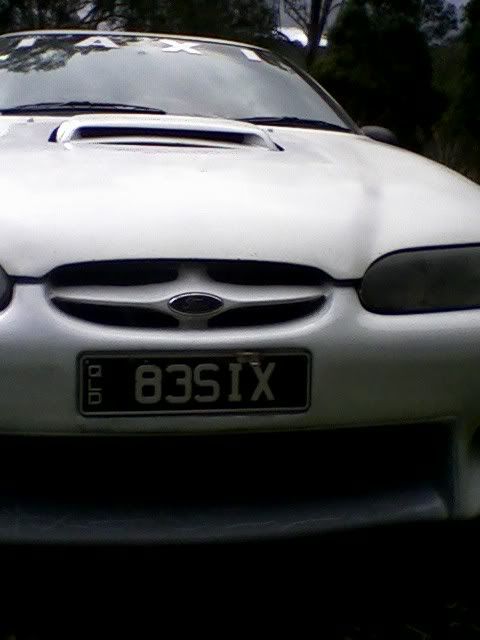
Well the car is kind of on hold until I can get some tools, namely a sander. Today though I was able to tidy the car a tiny bit so it was one colour and dot some work on the grille. Although while I was doing this I was looking at the shaker I got to thinking about XY GT HO phase 3's, I have my own version of the shaker, the bodykit is part GT and if I was to paint it white why not put phase 3 graphics on it with my own twist. So I awaiting and attempting to do a chop to see what I might do but in the mean time 3 quick shots off my phone
|
|||
| Top | |
|||
| spac |
|
|||
|
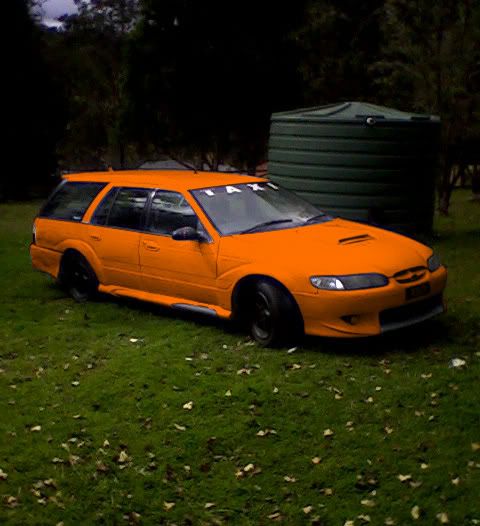
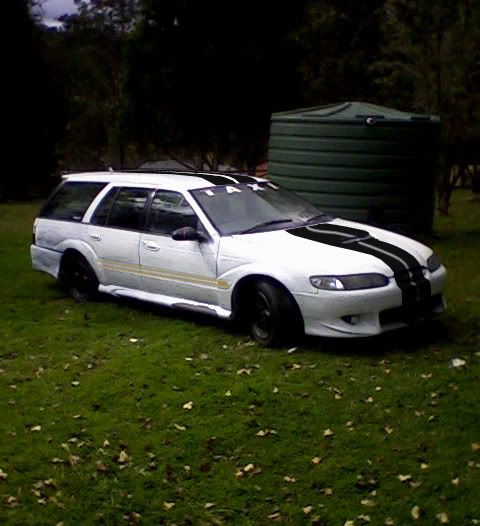
Ok thanks to a member on another forum here are 2 quick chops. I personally am not liking the orange anymore but really like the other one. What are peoples thoughts? hopefully I can decide and get the paint in the next week.
|
|||
| Top | |
|||
| spac |
|
|||
|
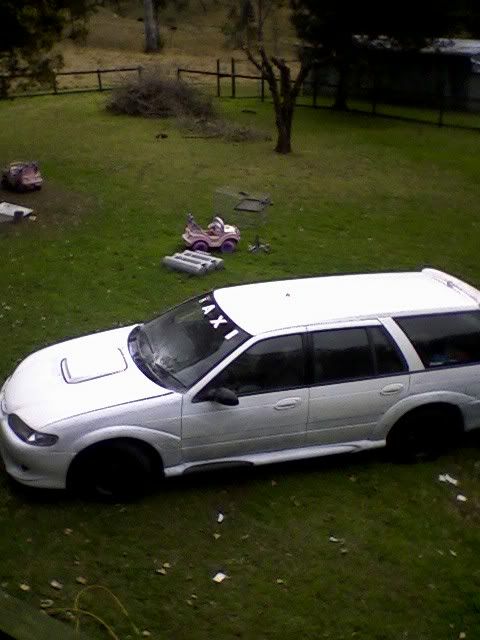
Well the car is back off the road again. I decided to try get rid of a few things I had laying around as well as the black/blue mom steering wheel that I had fitted to the wagon. So with no steering wheel its a bit had to drive.
The funds from that sale enabled me to get some new tools and a couple of things for the car. Hopefully in the next few days I will have some heat shield, aftermarket remote central locking, universal LED indicators and a few more switches ariving. The heat shielding is for the intake and fuel line and filler at the rear of the car and the LED indicators will end up being moulded into the standard EL mirrors. On top of all those things I am waiting to hear about a standard grey gli steering wheel, interior quater glass trims and a stereo surround but hopefully the ATO hurrys up and pays me my money as its been over a month already and they are now saying I will definately have my money by next friday which will alow me to get those few pieces plus paint and body stuff to really get stuck into the car. |
|||
| Top | |
|||
| 92EBFAIRMONT |
|
|||
|
With regards to the paintjobs, they both look alright, but i think the bottom one is overall better. Keep up the good work, your build has been a great read and the car is gonna be awesome!
Thanks
_________________ 2000 AU Falcon - 17" BA XR6 Turbo's, 2.5" Catback exhaust... |
|||
| Top | |
|||
| EFNA |
|
|||
|
{USERNAME} wrote: the LED indicators will end up being moulded into the standard EL mirrors. keep us informed on progress with this pls , had same idea.. would like to know how you intend too mould them
_________________ AU FAIRMONT GHIA: 5.0 Dealer ordered SVO mods ( seeking clarification ATM), tickford suspension. |
|||
| Top | |
|||
| spac |
|
|||
|
Here is a chop of yet another idea on colour
|
|||
| Top | |
|||
| 92EBFAIRMONT |
|
|||
|
That looks cool
{USERNAME} wrote: Here is a chop of yet another idea on colour
_________________ 2000 AU Falcon - 17" BA XR6 Turbo's, 2.5" Catback exhaust... |
|||
| Top | |
|||
| spac |
|
|||
|
Well the Car is on stands again with no steering wheel as I sold it, so today off came the door trims and the mirrors. The 3 remaining lock actuators are off the car also removed the little panels behind the mirrors that sit above the front door trims so I can repostion the drivers side tweeter as well as mould them more.
I have also removed the glass from the side review mirrors so I can get them ready for the indicators and I may even change them more then I had planned. Whille I was looking at the front door trims I decided to remove the carpet from the bottom and I have started cutting a hole to mount the cross over box for my splits into and again I may even mod that area of the door trim more. So I ham hoping that this week sees a couple of new tools arrive along with the indicators and the aftermarket remote central locking kit and I can finally get stuck back into finishing the body work and get my mate down here to paint it. If all goes to plan I hope to have the car painted before september so I can let the paint cure correctly prior to final finishing in preperation for the Kedron All Ford day at the begining of October |
|||
| Top | |
|||
| spac |
|
|||
|
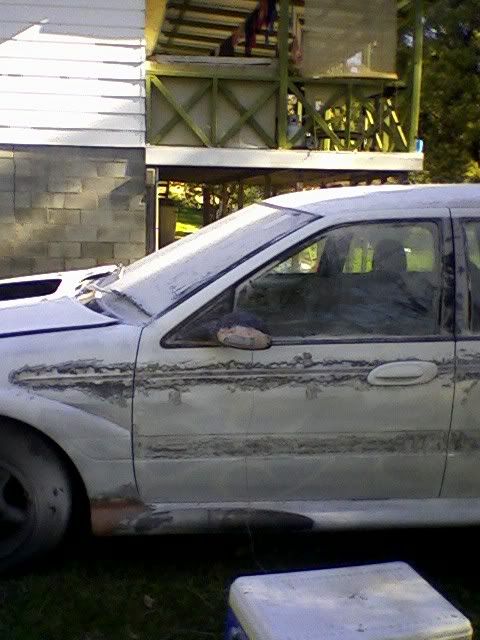
Well today my new grinder and accessories turned up, YAY. So this afternoon was spent playing with the new toys and according to my misses trying to kill them. But I am so glad I got what I got, it made everything go so quick. It went so quick that I have almost got everything shaped equally and almost ready for the light weight filler which will end up turning to dust like 95% of the fibre filler I had already used.
I also got the spoiler shaped and ready for light weight filler. So far the spoiler has held up extremely well as has all the other body work I have done. Tomorrow will see the door handles removed so I can begin on smoothing out the boddy line that runs along the side of the car at the same height as the handles. Here are some progess pictures 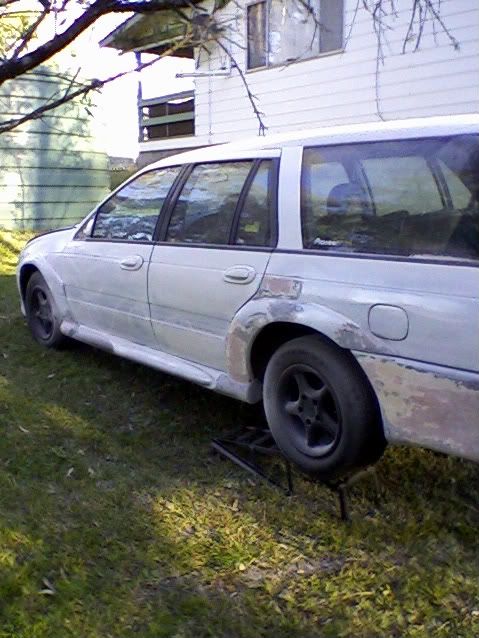 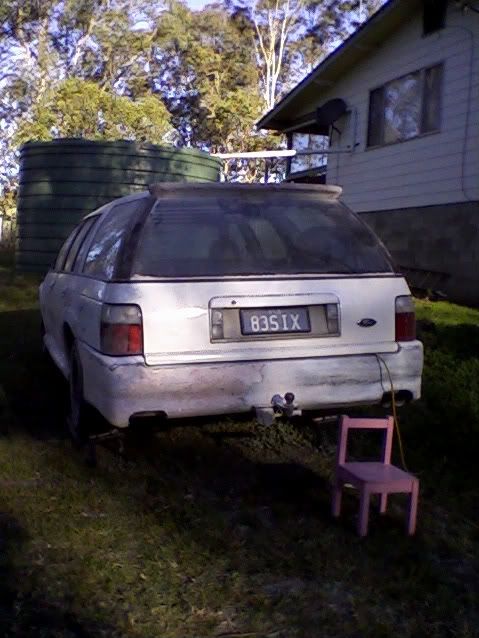  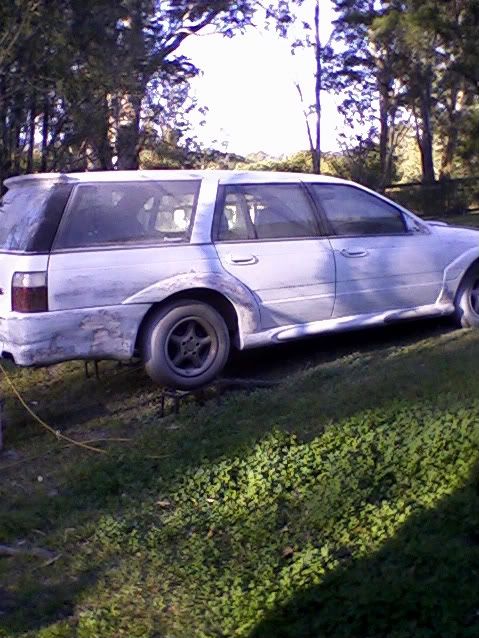 
|
|||
| Top | |
|||
| spac |
|
|||
|
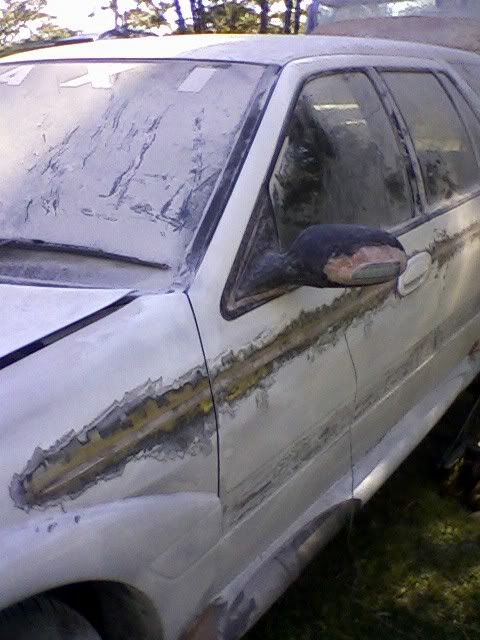
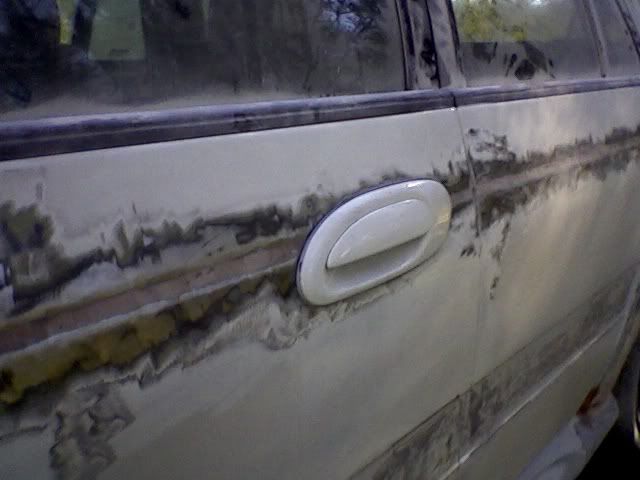
Well today I got the door handles off and started on the smoothing of the body line/ body crease. After taking the area to be smoothed back to bare metal I filled it and once dry it was then sanded back down to bare metal on the surrounding areas so it is smooth and level
|
|||
| Top | |
|||
| spac |
|
|||
|
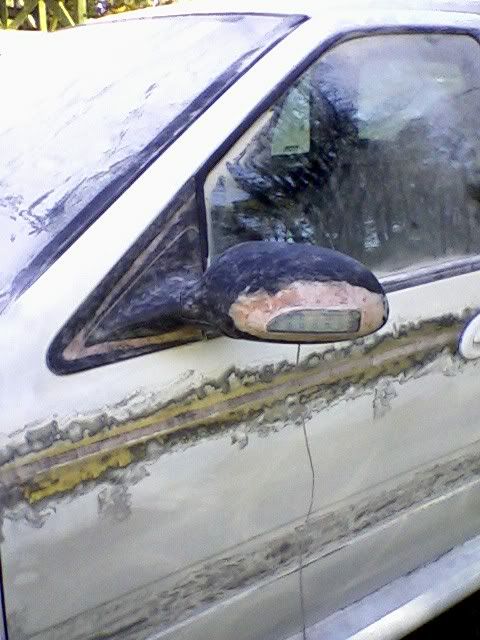
Well today my indicators arrived so right away the masking tape, tape measure, pen and drill came out. I have got both indicators attached to the mirrors and have started the moulding. I managed to fluke the shape of the moulding above and below both indicators so now I only have to concentrate on shapping and moulding the sides of the indicators.
Also while I was working on the car some how the induction and tappet cover came off and the grinder while running ended up falling on it removing all the casting marks, rounding of square edges and removing the whole raised 4.0L OHC badge. I am thinking the cover will most likely be painted in a gloss paint as there are going to be 2 red LED strips under the induction. Hopefully I can get pictures tonight or tomorrow morning |
|||
| Top | |
|||
| spac |
|
|||
|
Here are the pictures.
Stage 1 of the mirrors. Actual lights are taped up   Tappet cover 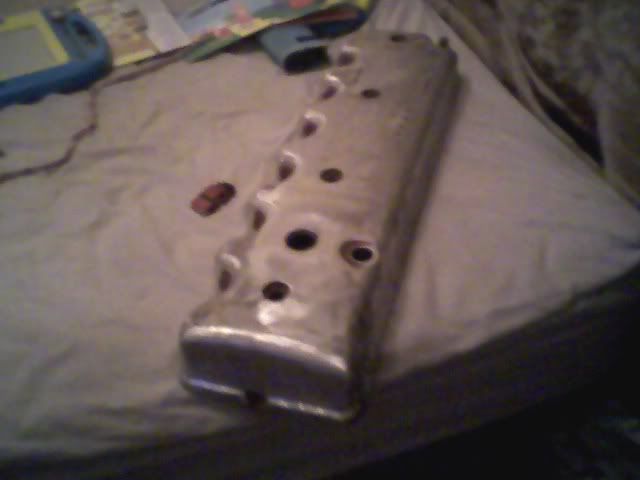 
|
|||
| Top | |
|||
| spac |
|
|||
|
Well I think I now have the shape of the mirror sorted and I have also smoothed the backing part of the mirror as well. Here is a picture showing the indicator on the mirror thats attached to the car. You can also see the body line/crease that has been smoothed.
|
|||
| Top | |
|||
| EFNA |
|
|||
|
{USERNAME} wrote: Well I think I now have the shape of the mirror sorted and I have also smoothed the backing part of the mirror as well. Here is a picture showing the indicator on the mirror thats attached to the car. You can also see the body line/crease that has been smoothed. looks good, how did you attach the light to the mirror? did you end up cutting into the casing?
_________________ AU FAIRMONT GHIA: 5.0 Dealer ordered SVO mods ( seeking clarification ATM), tickford suspension. |
|||
| Top | |
|||
| Who is online |
|---|
Users browsing this forum: No registered users and 31 guests |


