|
| ToranaGuy |
|
|||
|
All i really have to say is WOW!
Love the work on the doors & the rear bar! I think this summer i'll have a go at repairing my front bar on the EB. Cheers ToranaGuy
_________________ I am the ToranaGuy!|74 Lh Torana Turbo|78 Hz PanelVan|86 Mighty Boy Ute|93 EB2 Ghia,GT Mockup,5spd,LPGI,Full Leather|2 x EB Xr8 5spd's|{DESCRIPTION}|{DESCRIPTION}|{DESCRIPTION}| |
|||
| Top | |
|||
| smithykicks85 |
|
||
|
Sorry folks, its been a while since iv last posted as i got the winter flue i was out of action working on the car for 2 weeks. Any ways iv got back into it this week, and iam putting a fair few hours in to it this weekend to get a few little things finished and ready for paint.
For starters iv decided to keep the original EB garnish, remove the badges and make up a custom badge later on (instead of saying Falcon GLI, maybe something like EB Hybrid or what ever) Any ways ill do a write up on how to sand and debagde your box car garnish. Removing Badges Off Garnish: Youll need some sand paper, anything fromm about 800-1200. Iv used 1200 so its a bit easier on the plastic, A spray bottle, small sanding block, a cheap paint scrapper and a heat gun. With the heat gun youll need a very small tip on the end, if you dont have one you can use a empty can of coke or something, cut off the top and bottom of it and roll it in to a big cone, then some how attach it to the end of your heat gun with steel wire or a strong glue. The reason why you want a small tip is so you dont throw to much heat around and start heating the garnish up. Also with your paint scrapper bend about 30 or so mils of it so you have a right angle paint scrapper, i found it a bit eazier to remove the bandges with it like this. 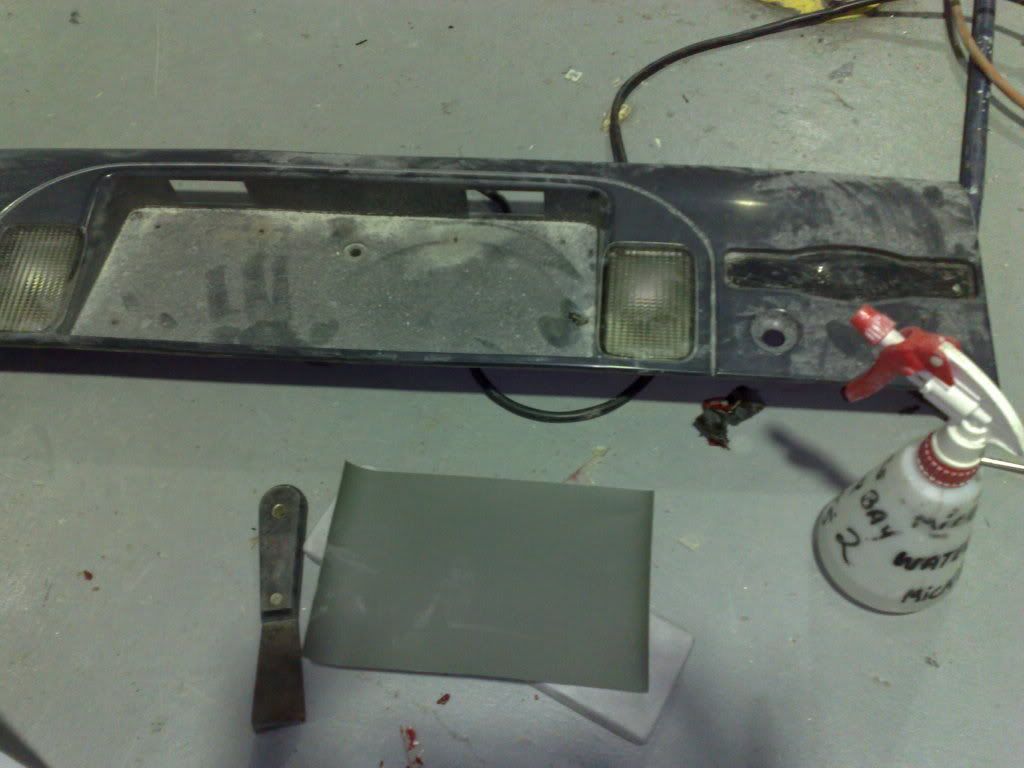 With the heat gun with the small tip, apply heat over the badge you are about to remove, Try and even the heat out by constantly moving the heat gun. When the badge is fairly warm (not flaming hot) use the paint scrapper to wedge it under and leaver it up like so: 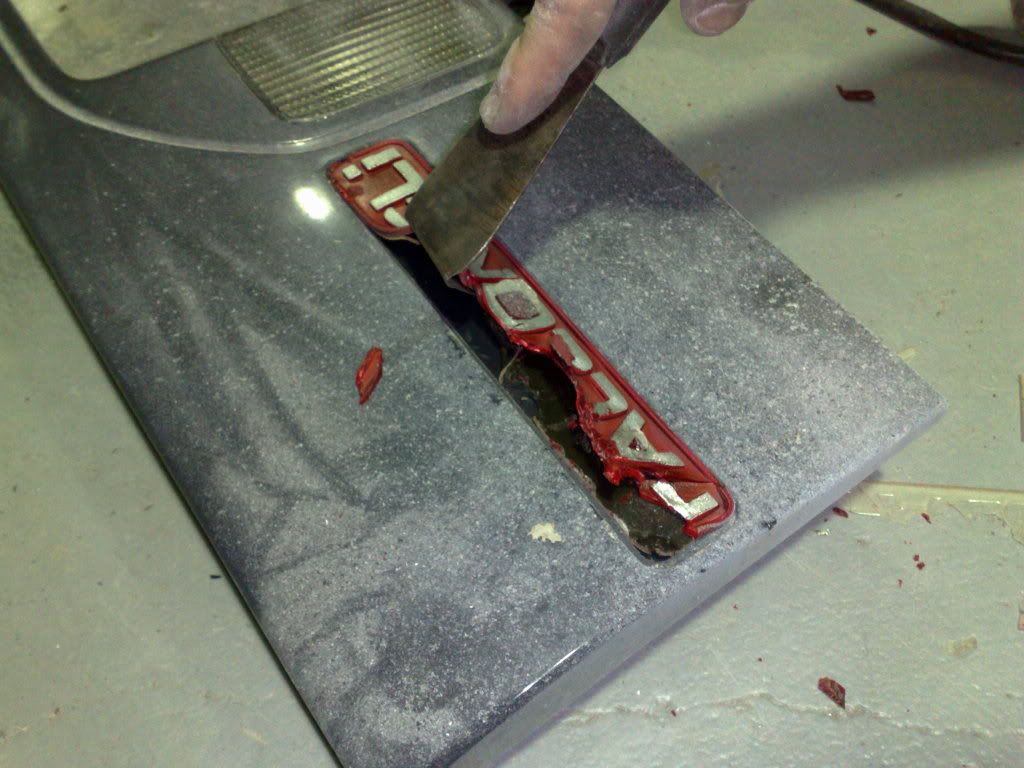 When badges are removed just clean the old double sided tape off with your finger or if your having trouble use some prepsol to remove it. With your sand paper, sanding block and bottle of water, start rubbing the garnish down. I should off first mentioned this is only done if your going to paint it. Make sure you wet rubb it down and avoide sanding the number plate lights. Also if you have small stone chips its eazy to wet sand them out. You wont need to prime the garnish unless there has been repairs on it. Sanding it down and applying scan sealer before paint will be just as suffeciant as priming. Ill come back to the garnish badges after the paint job. Iam thinking of seeing if a sticker shop can make up a sticker then i could apply it to a piece of cut out mould then painting it with some clear paint to give it that factory sort of look. But at the moment iam still brain storming on that and ill continue that later on. Any ways, i reprimed the roof last night as i wasnt quiet happy with the way it felt. It still felt a little wavey in one area so iam hoping a good amount of prime and a sand back should sort it out: 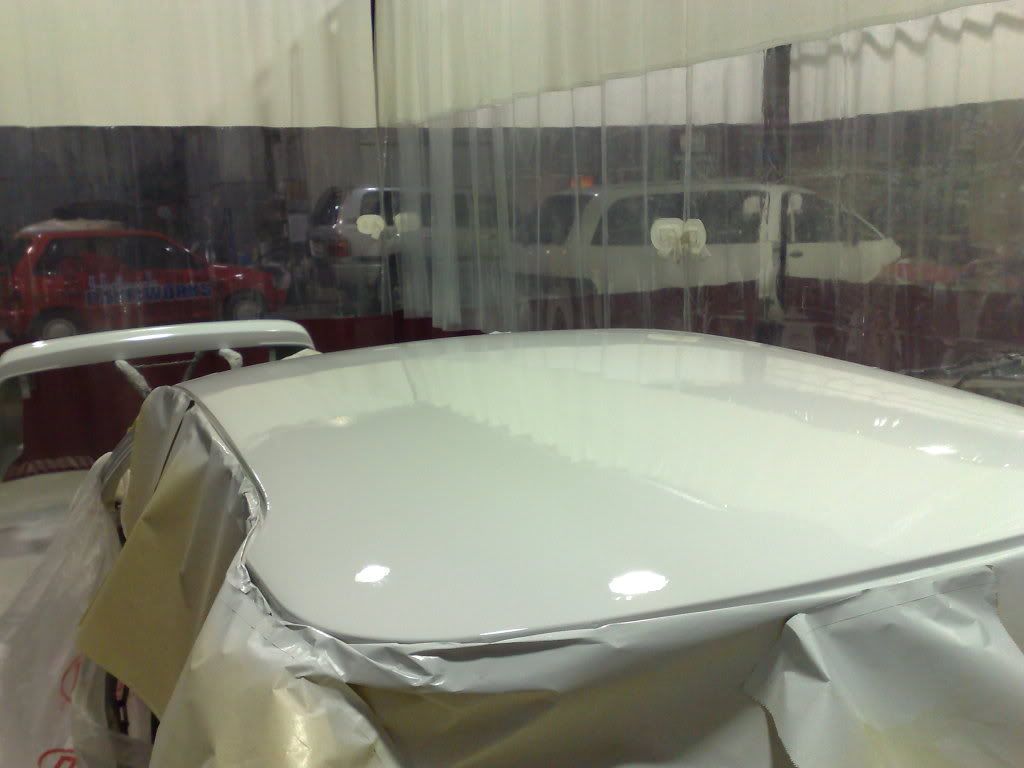 And as for the rear bar, i sanded that down and reprimed that as well to make sure itll come out straight: 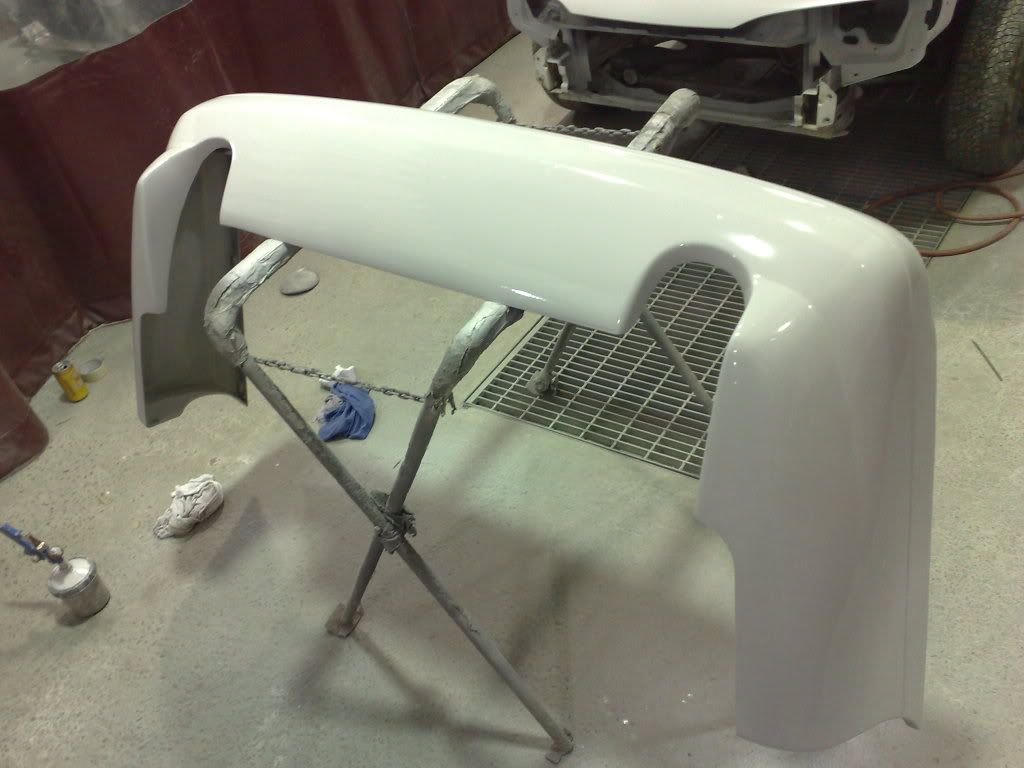 I thaught i might as well talk about primers while iam on the topic. Might help a few people out with doing DIY repair jobs so they can at least can there repairs primed. Also if your planning on doing a resto job on your car and wanna save cash from the painters this should help you out. Theres 2 types of primes that i have used with my car. Ones DP40 and the other is a Primer Filler. The 2 are very differnt, DP40 is applyed firstly on a repair. Its job is pretty much to seal the repair or bair metal from any moisture getting in. It is not ment to be piled on like primer is. It only needs a good 2 fine coats and its done. You can just apply DP40 on then later on sand it back very lightly with some 180-320 then apply primer or you can apply the Dp40 wait 10-20 mins and hit it with prime, up 2 you. With the primes they both have a different mixture ratio. You can buy these product from a paint and pannel shop. Iv used PPG as for other brands of prime iam sure itll be the same or similar mixtures. Heres the DP 40: Its a simple 50:50 ratio, You need the DP40 itseld and its hardner. So if you need about 200 mls of DP40 youll need to add 100 mls dp40 and a 100ml dp40 harder and mix it together, EZY. Heres the DP40, and its harnder: 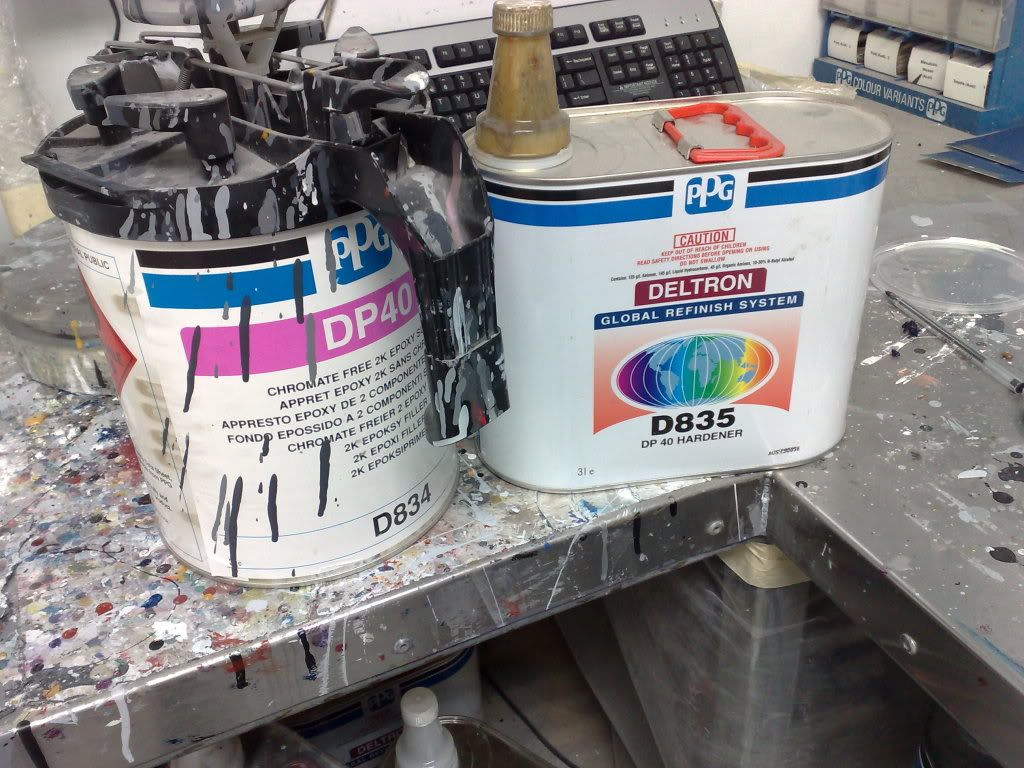 As for Primer, applying it can be tricky as you dont want runs all threw your work. The idea is to get build on your prime so you can sand it back eazier and fill in any small low spots. Primer is applyed with a dust coat fist. Wait 10 or so mins and apply a descent even coat. If you have heat lamps this can help accelerate your coats, but if not give it a good 10-20mins depending on the weather between coats. Finally Primer is mixed with its hardner and its thinner. There are different thinners that you can use such as slow, medium or fast. Depending how thin or how thick you want to go and same as the hardner depending on how fast you want it to set off. My prefered choice is a medium thinner and a medium harnder. So far i have had no troubles with it and seems to work great. With mixing it its a 5:1:1 part. Meaning 5 part Primer, 1 part hardner and 1 part thinner. (If your still unsure heres a demo: if you want 700 mls of prime youll need 500 mls of prime, 100 of harner and 100 of thinners.) There a different ways to measure paints and primers, you can use a scale, measuing cup or you can use a measuring ruler. Heres what youd need for making up some prime, you can purchase these in smaller amounts: 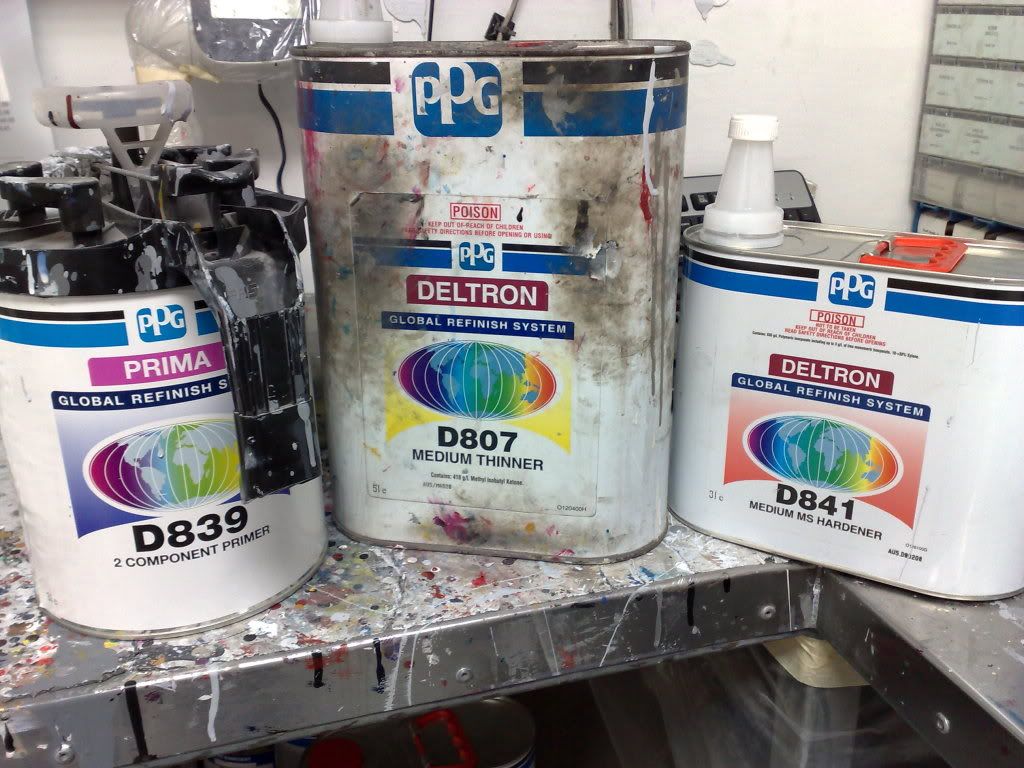 Heres the prime being measued with a stick: 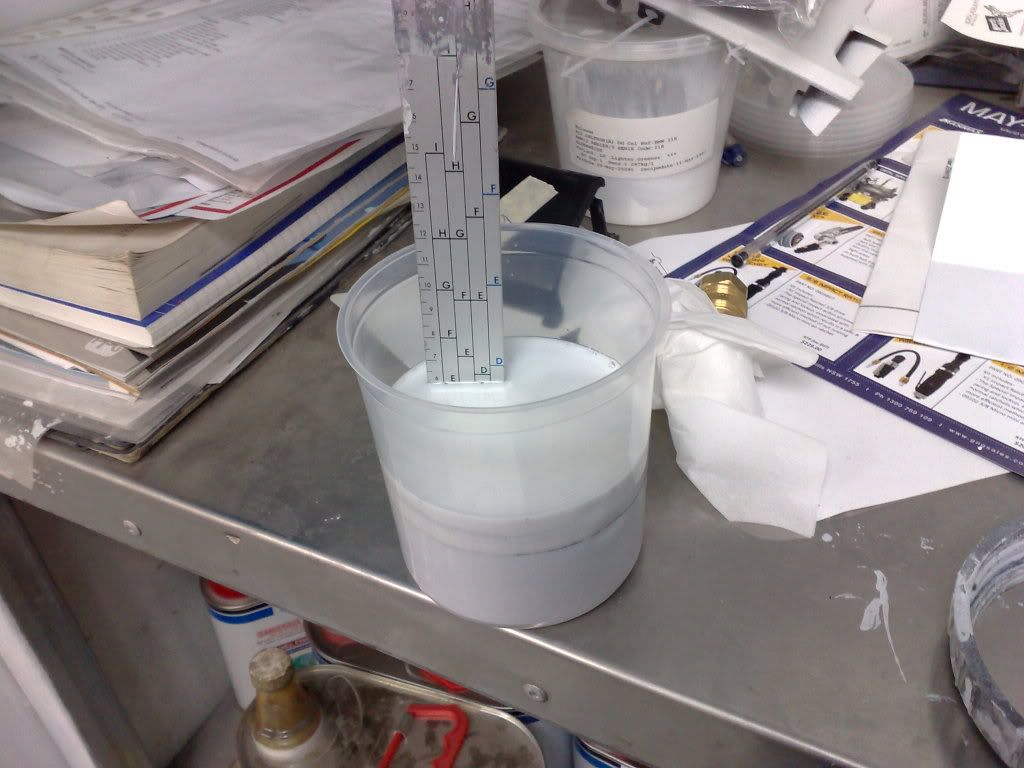 Lastly youll need a primer gun and a good air compresser but i wont go into detail with that sort of stuff. Also iam only a beater and this is the first time iv touched a primer gun, so iam sure other painters may tell you different as iv only been going by word of mouth from other workers here. Ill be getting stuck back into the car this weekend so ill have a heap more info and updates for you probably sunday. Also while i was sick i made a few purchases off ebay, i picked up 4 door handles off a EL for a sweet $10: 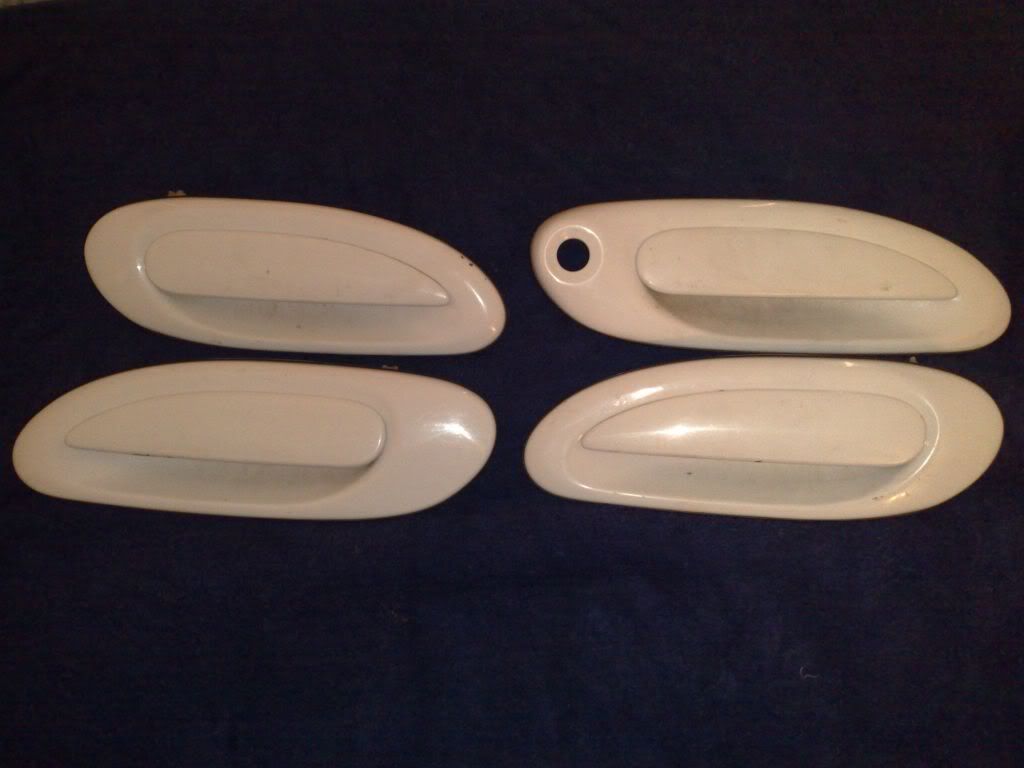 And a brand new electric saw for $30 bucks, its only a cheap hong kong brand how ever i decided to make the purchase so i can use it for my boot install which will be happening straight after the engine is dropped in: 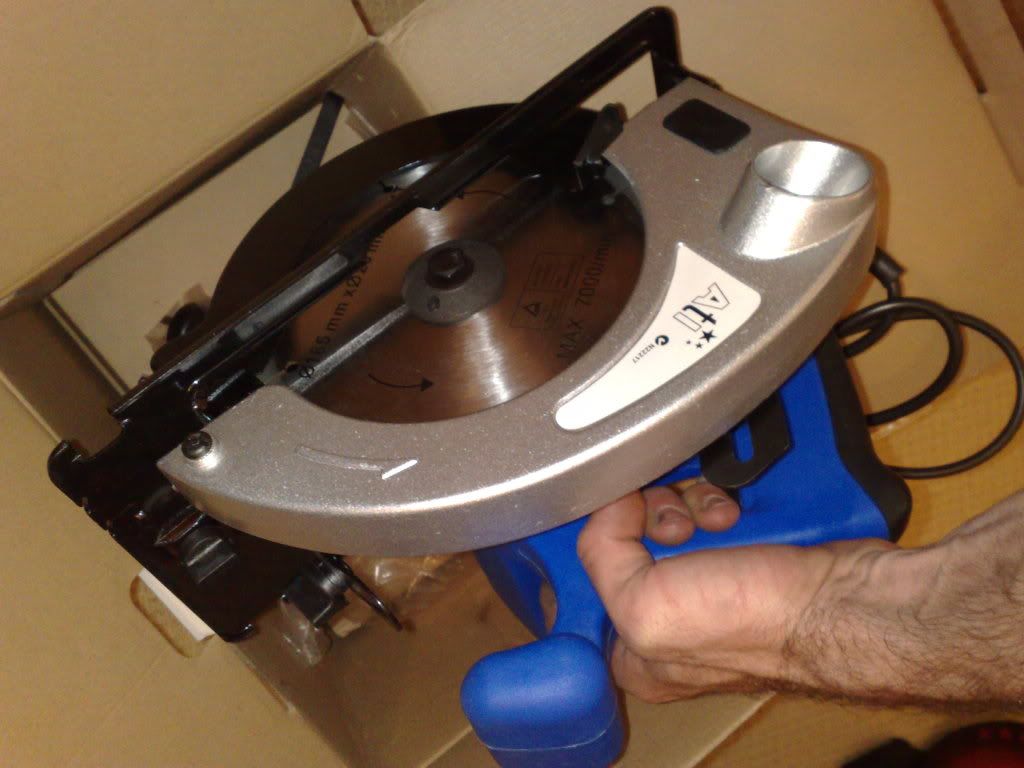 Also thanks for the comments guys its much appreciated. Cheers
_________________ Weapon of choice, EB shell with a EL XR front powered by a BA engine. |
||
| Top | |
||
| Froudey |
|
||
|
Good Stuff. So are you going to fill in the badge holes and make your own?
_________________ R.I.P Tobias my son. |
||
| Top | |
||
| smithykicks85 |
|
||
|
{USERNAME} wrote: Good Stuff. So are you going to fill in the badge holes and make your own? I did think of filling the badge holes, but i reackon itll look sweet if i get a piece of thick red plastic, cut it to the exact shape, then get the sign writting done up, put the sticker on and give it a few coats of clear. Then use double sided tape to stick it back in. Ill have to have a talk to this sign writter who pops into our work once a week, and see what they reackon. They may have a different oppinion of it. So if i keep the badge holes there itll look factory and not to noticiable. Thanks Froudey
_________________ Weapon of choice, EB shell with a EL XR front powered by a BA engine. |
||
| Top | |
||
| Froudey |
|
||
|
{USERNAME} wrote: {USERNAME} wrote: Good Stuff. So are you going to fill in the badge holes and make your own? I did think of filling the badge holes, but i reackon itll look sweet if i get a piece of thick red plastic, cut it to the exact shape, then get the sign writting done up, put the sticker on and give it a few coats of clear. Then use double sided tape to stick it back in. Ill have to have a talk to this sign writter who pops into our work once a week, and see what they reackon. They may have a different oppinion of it. So if i keep the badge holes there itll look factory and not to noticiable. Thanks Froudey That would work IMO....
_________________ R.I.P Tobias my son. |
||
| Top | |
||
| Baron.LSN |
|
||
|
Almost undoubtedly the best build thread I have ever seen, and one of the only ones I regularly bother checking in on... can't wait to see this done!
|
||
| Top | |
||
| smithykicks85 |
|
||
|
Heres what i got done today:
DIY UNBERBODY PAINT. This is a brief write up for anyone who is looking at tidying up their underbody of their car and respaying the K frame. Firstly youll need 3 types of paints (refer to phots below), Some scotchy, Degreasser, wire brush and some masking tape and butcher paper (news paper will work). Epoxy rub threw primer (you can use a etch primer if you want), matt black and under body spray:  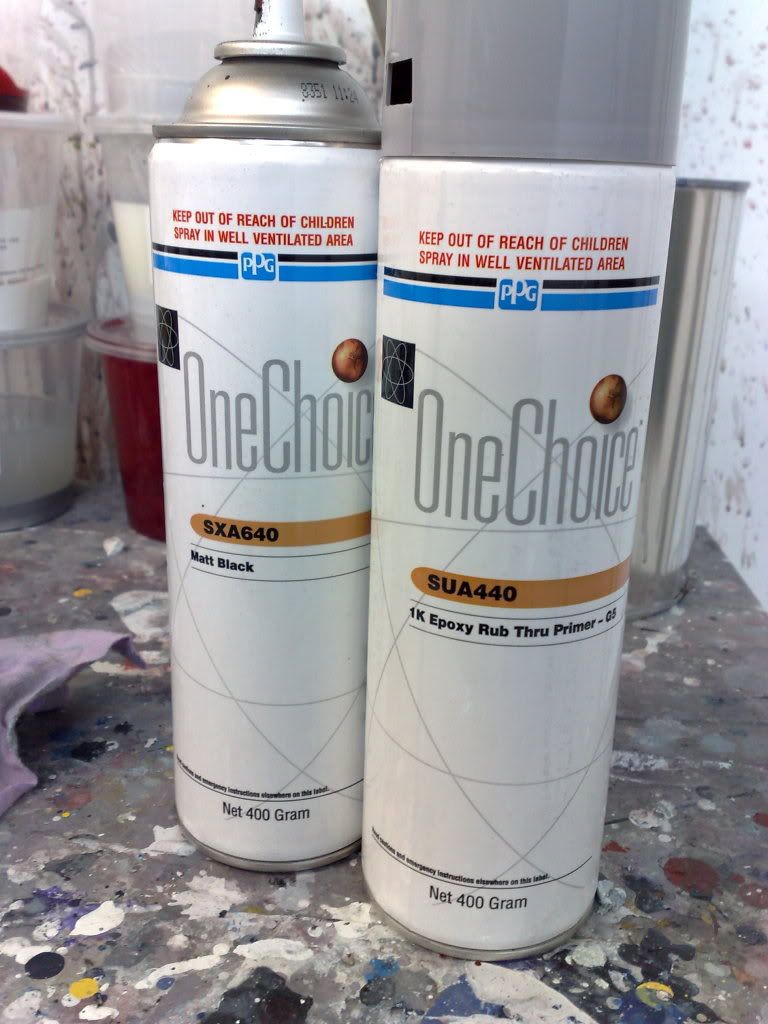 Spraying under the car: Step 1. Apply the degreasser under your car, wait for a while and hose off. Repeat this process untill most of the dirt and road grime is removed. Use the wire brush to help if need be: Step 2. Use the wire brush to scatch the old underbody paint so that the new paint will have something to grip to: 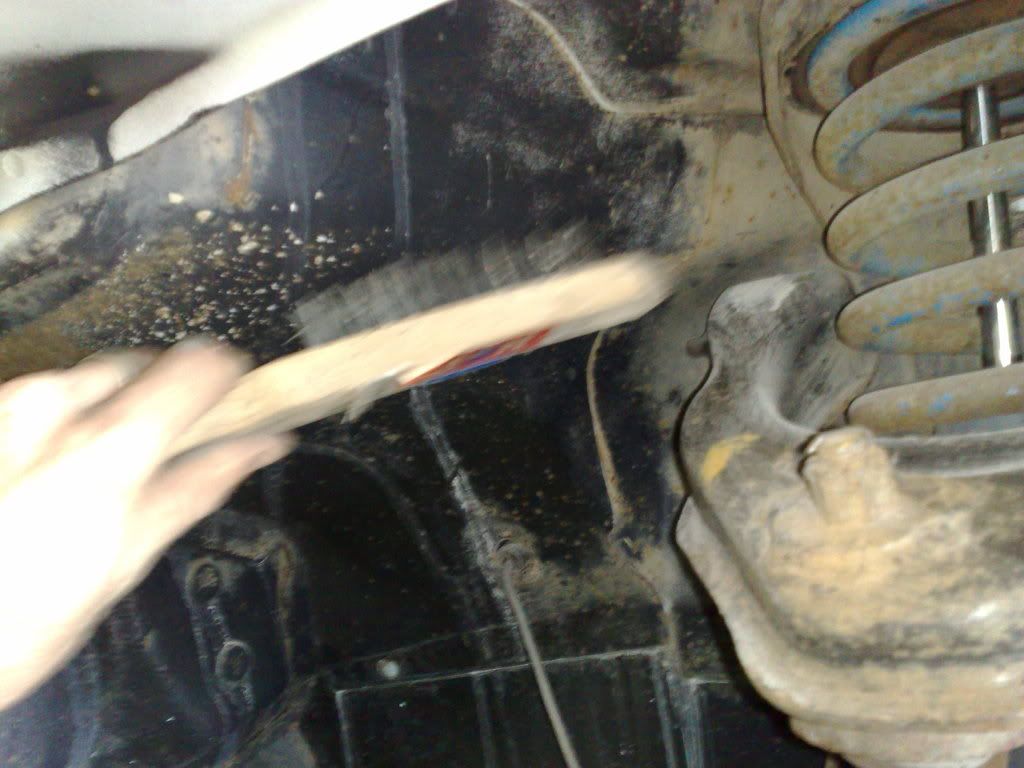 Step 3. Mask up any holes or areas that you dont want painted or over spray to go on to. Its only a pressure pack can so its pretty eazy to control. Step 4. Start applying paint, dont be afraid to bomb it on as you wont get runs in the paint. If your not wanting overspray on your coils and suspensions grab some alfoil and mask them up with it. Heres a few before shots of the car: 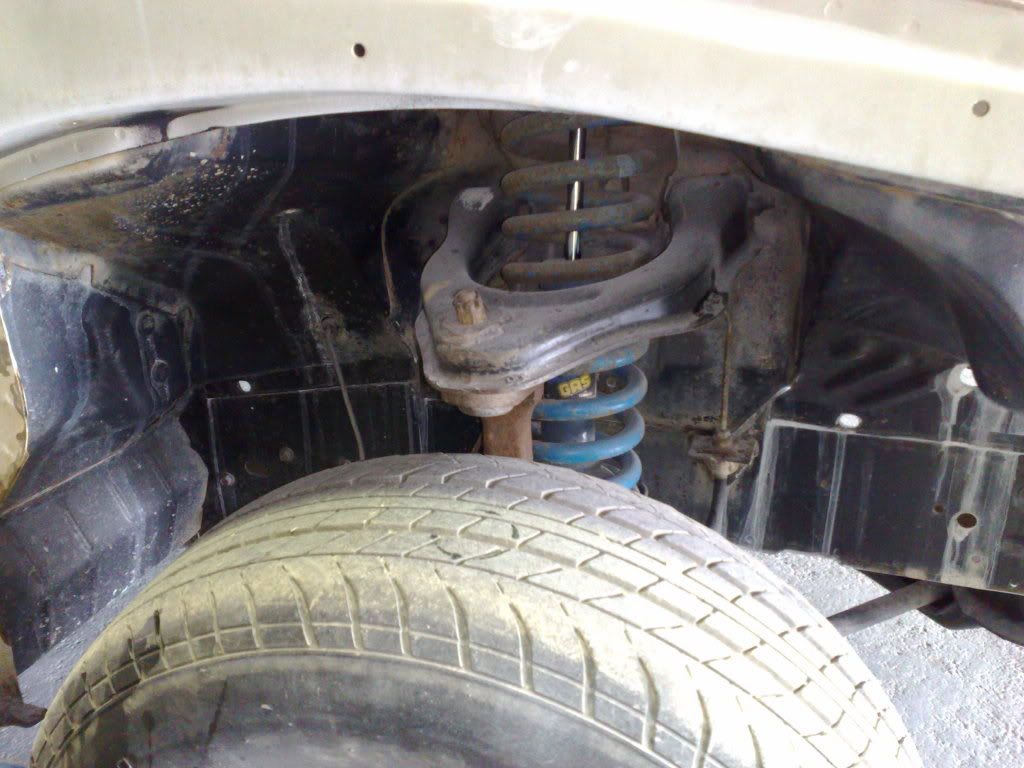 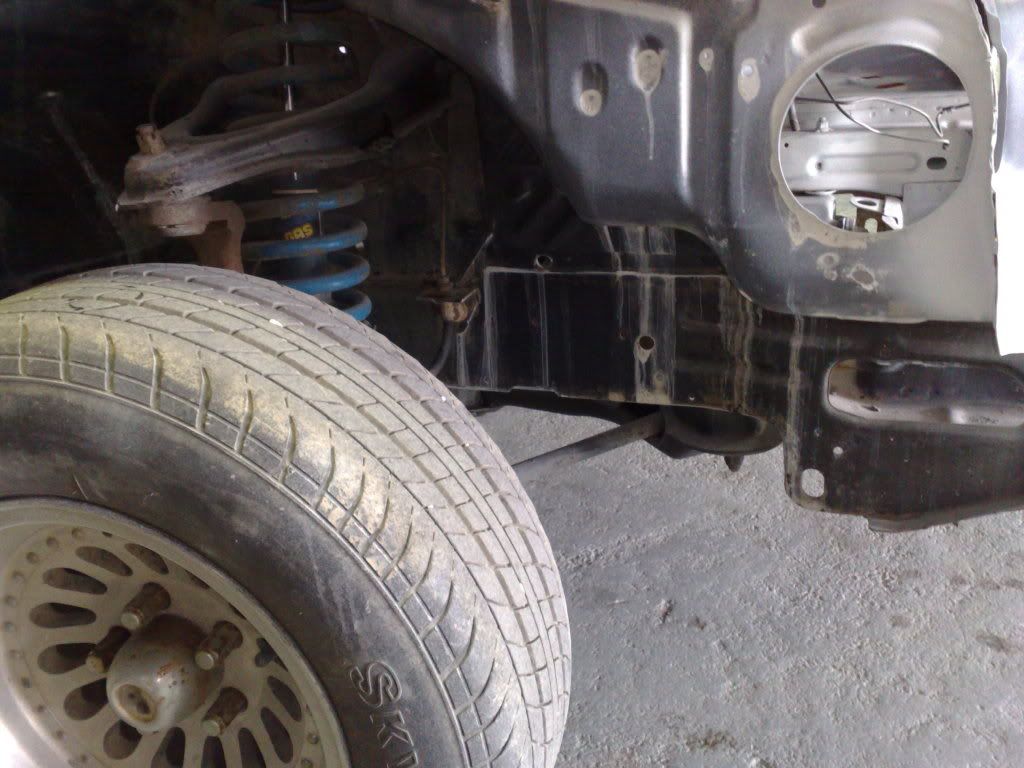 Heres the after shot, IMO weather your restoring a car or just want to neaten your ride up, it sure makes it look brand new: 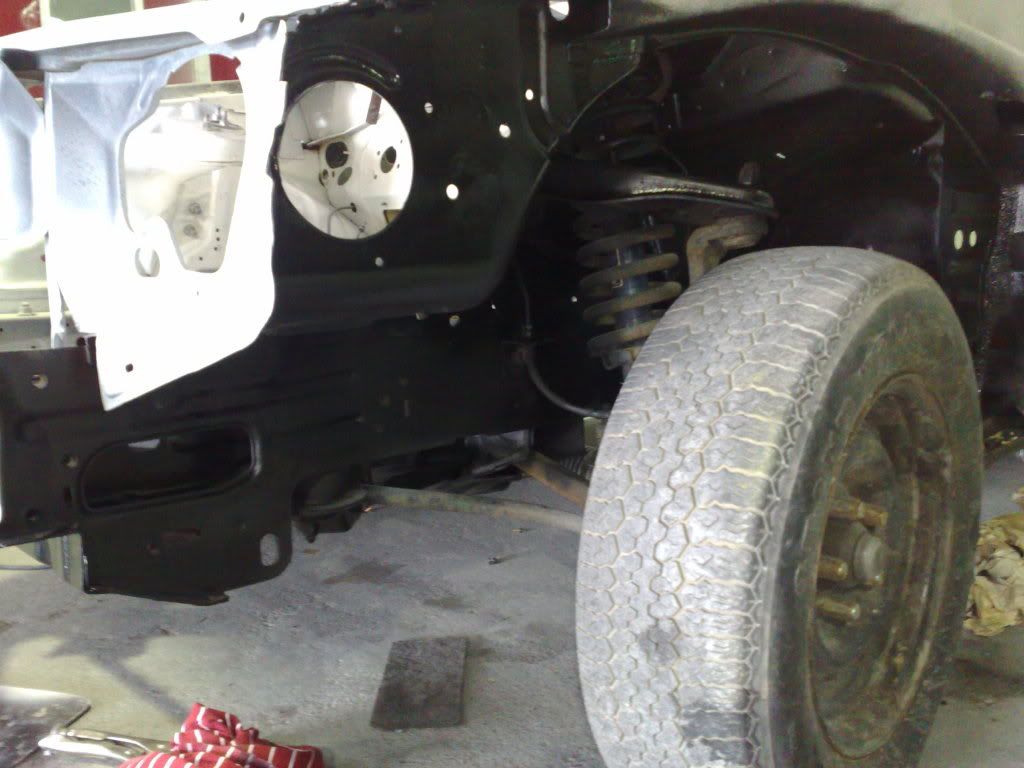 Respraying the K-frame: Step 1. Degrease the k-frame down and remove any oils or dirt off it: 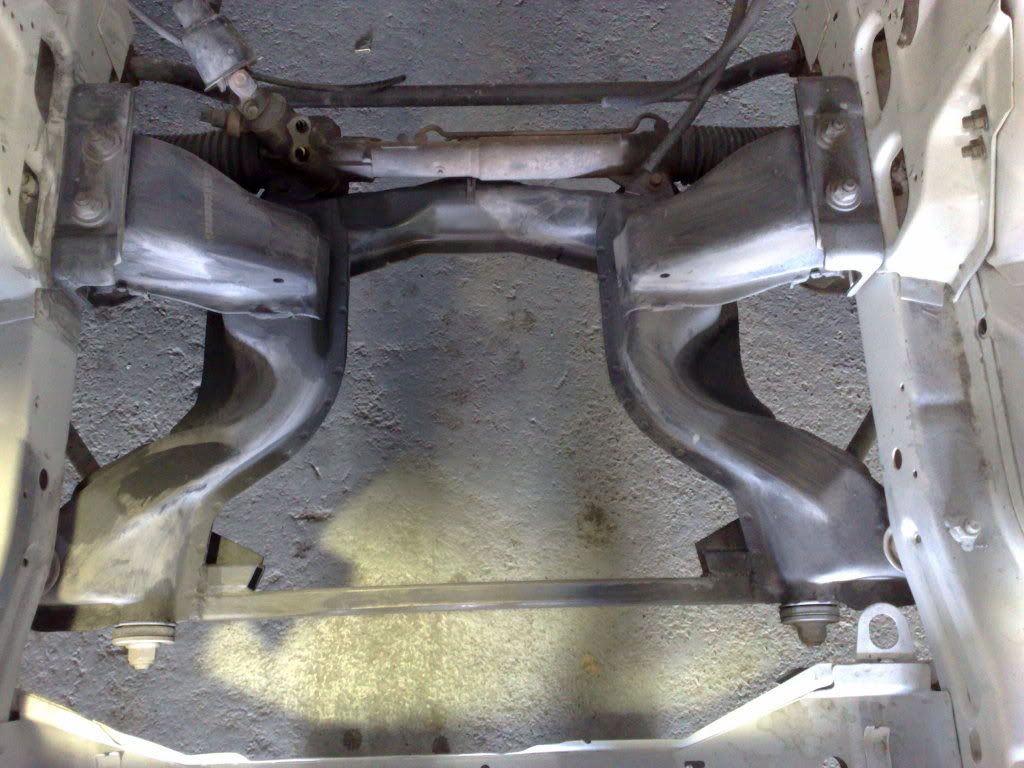 Step 2. Grab a scotchy and some degressor or prepsol and rub the k-frame down: 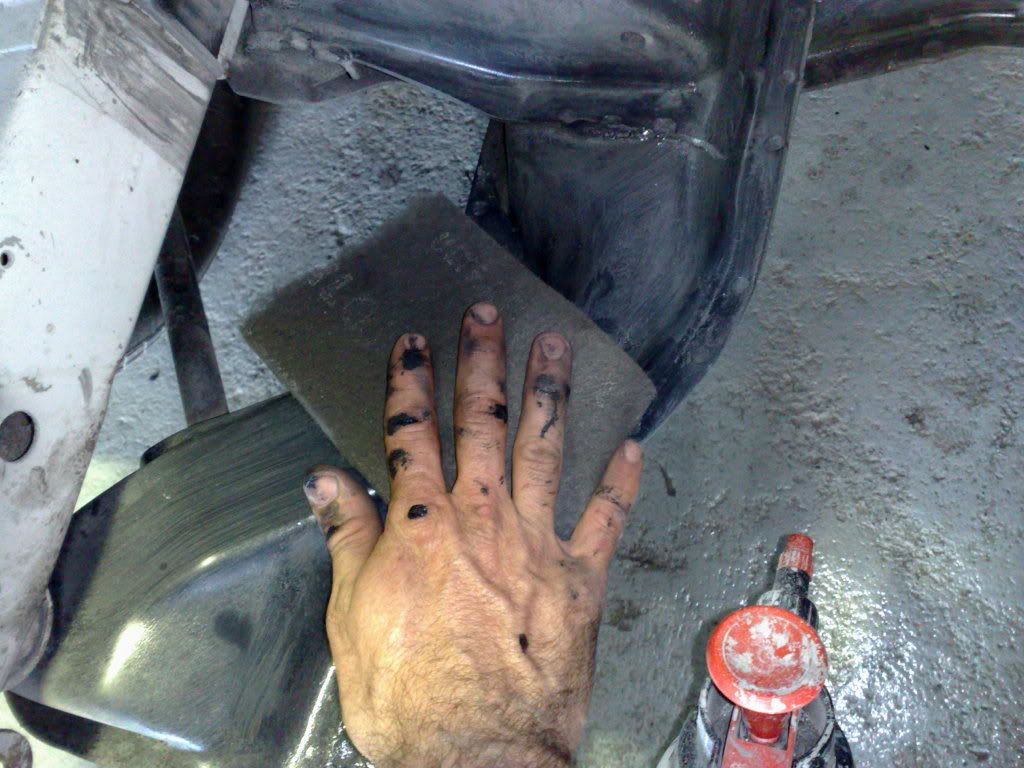 Step 3. Mask around the k-frame and remove the power steering rack if need be, as for me iam not fussed if i get over spray on it as itll be removed and reconditioned later on: 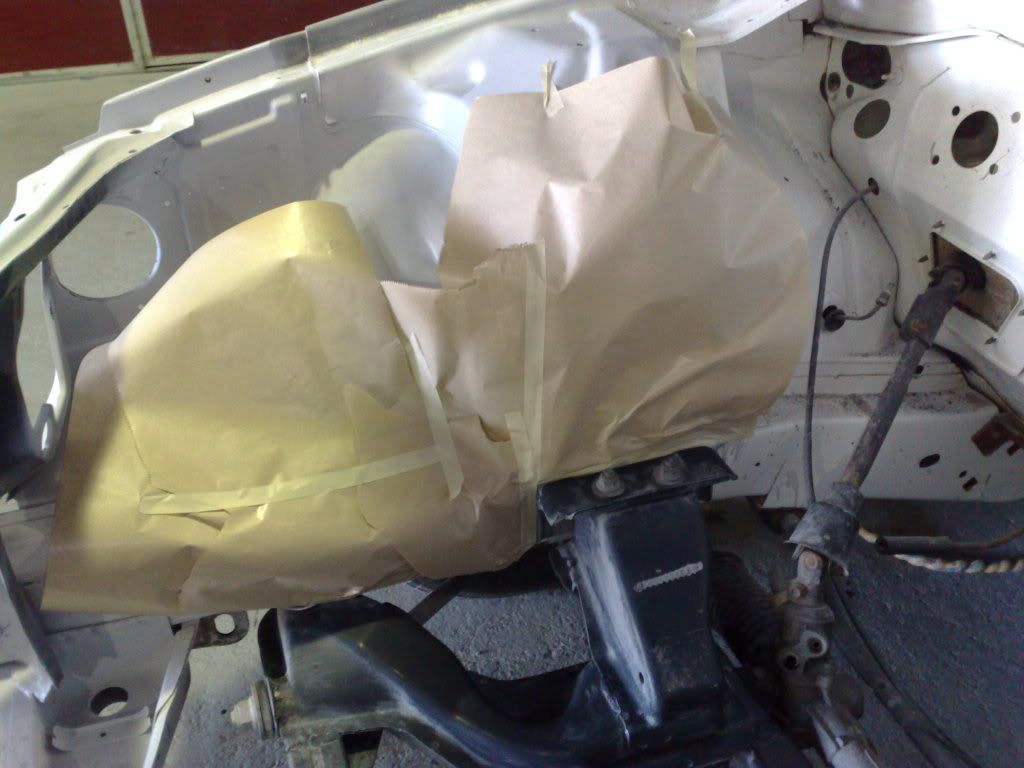 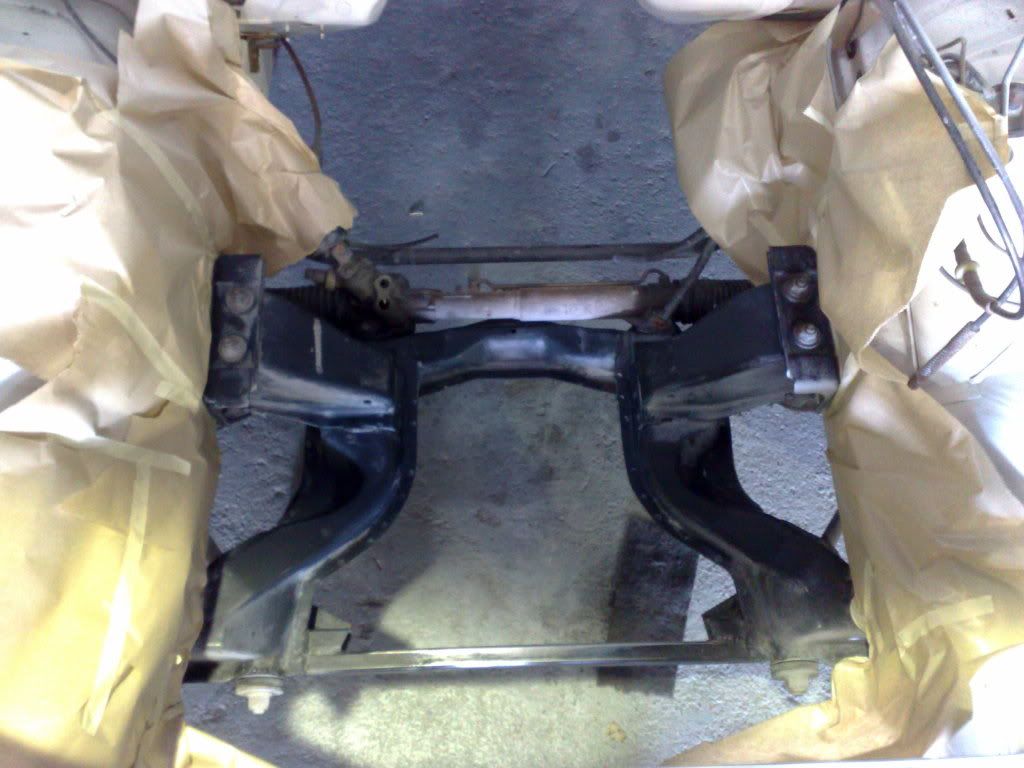 Step 4. Clean the surface down with some prepsol and a clean rag. Step 5. Use a can of 1k epoxy rub threw primer or an etch primer. Apply the primer on the k-frame. Just a light dust coat will be fine, this will help stick the paint on: 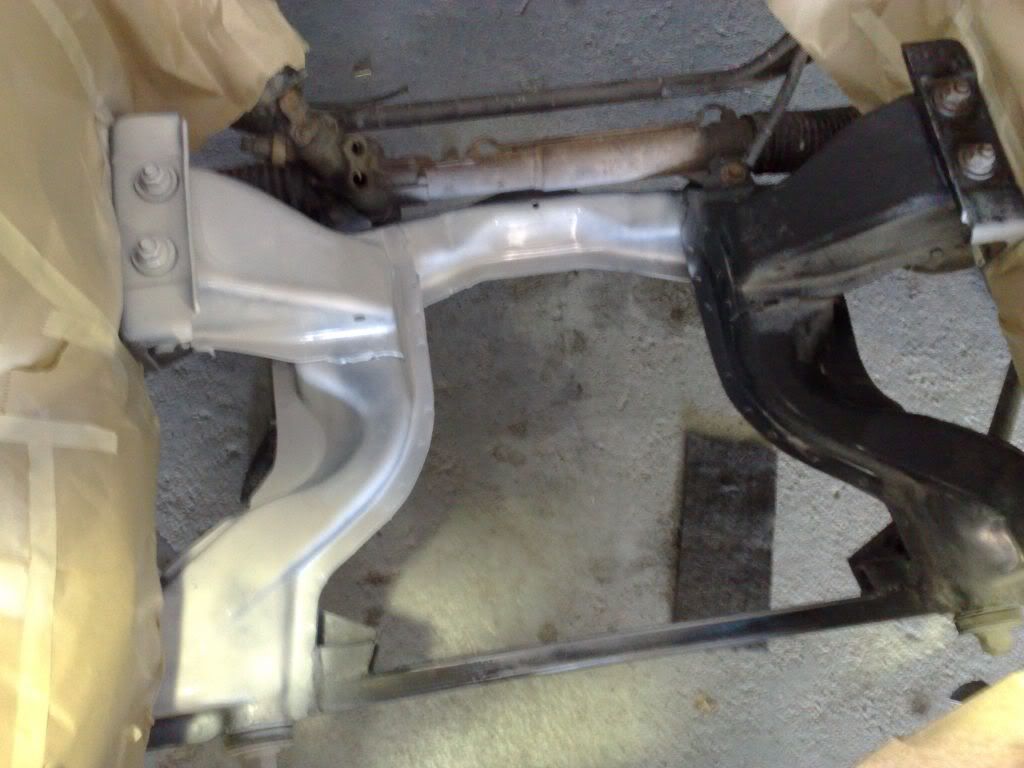 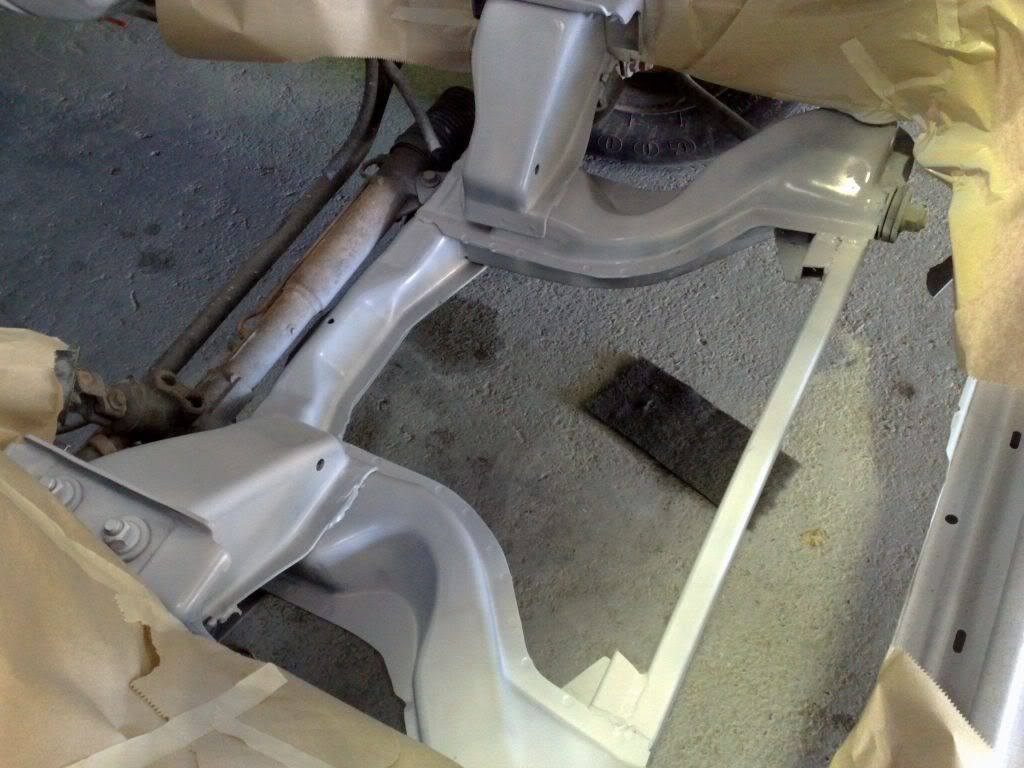 Step 6. Wait 5-10mins till the primer is tacky then apply a light coat of matt black paint on. Wait for 10 mins then apply a thicker coat on: Step 7. Allow to dry off for 20-30 mins and begin removing tape and paper: 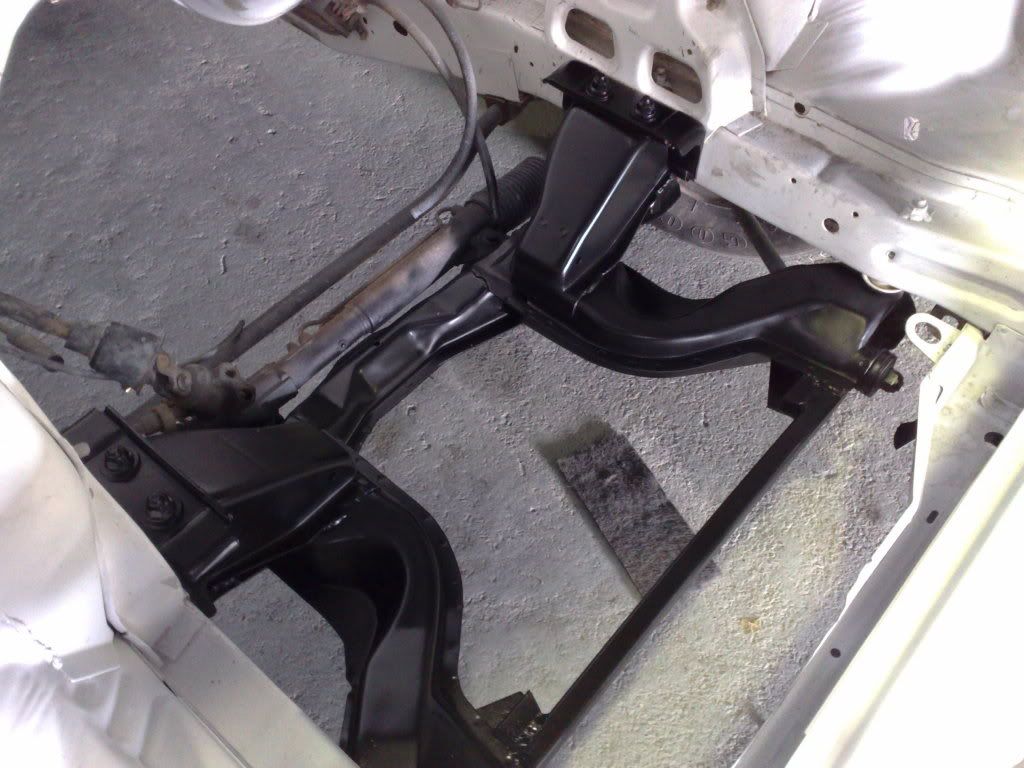 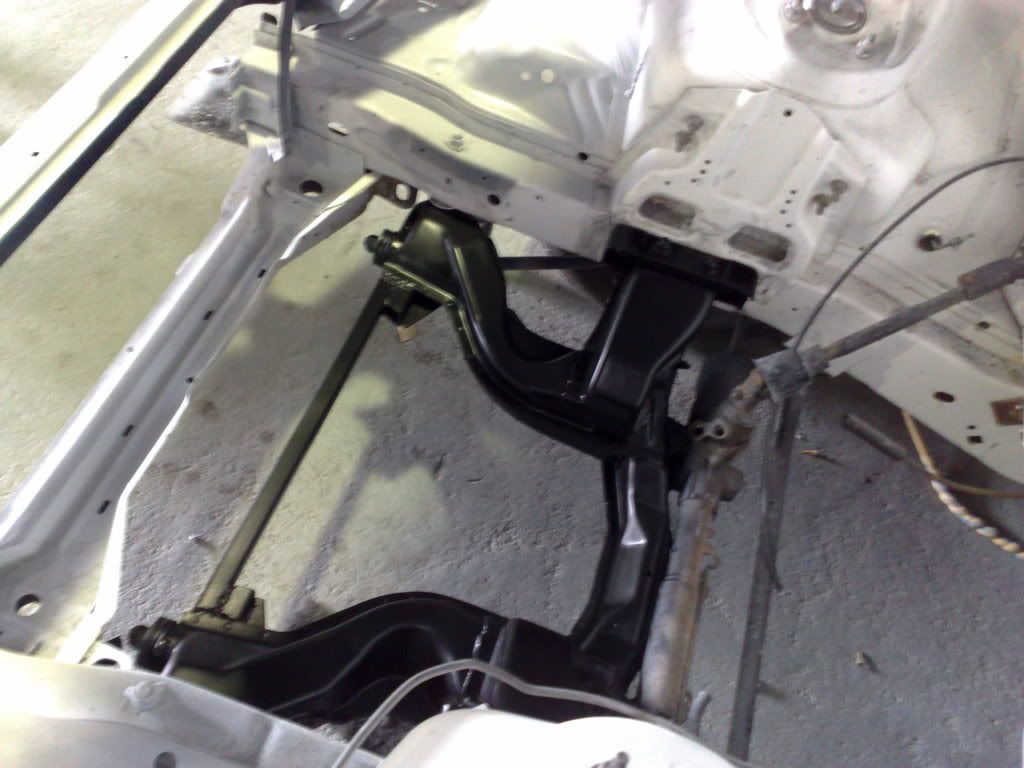 Also heres a shot of under the radiator support pannel:  I have started on doing the AU/BA/F door skin fit on one of the back doors today as well. Iv neraly completed it, just have to add body fill and prime it hopefully tomorrow. It was alot harder to do then the front doors, as the back door trim on the later model fords are alot smaller then the old e series. This made it hard to place and allign the trim so it would be even, how ever i finally got it sitting good and have welded the plate on. Took nearly a day to do and i havent finished it. As for the car iv still got the other back door to do and a few little things needed to do till paint. Iam hoping to push things after work this week to get it into the paint shop soon. Heres a few step by step shots of how i went with the back drivers side door: Heres the AU door: 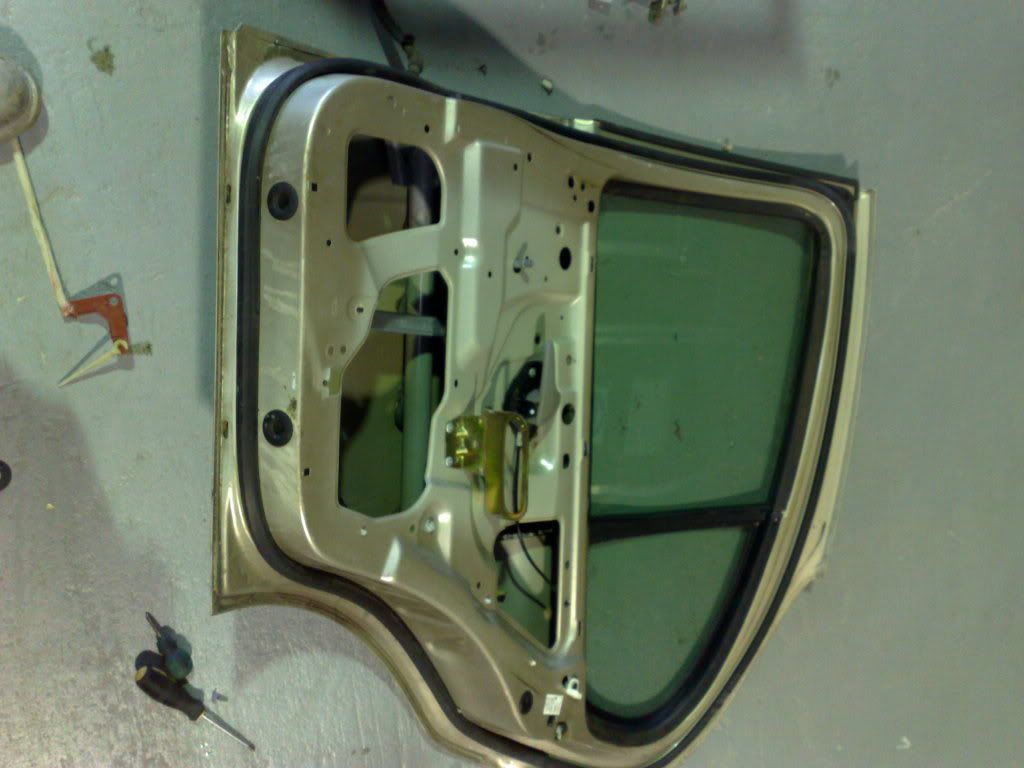 Removal of the inside skin: 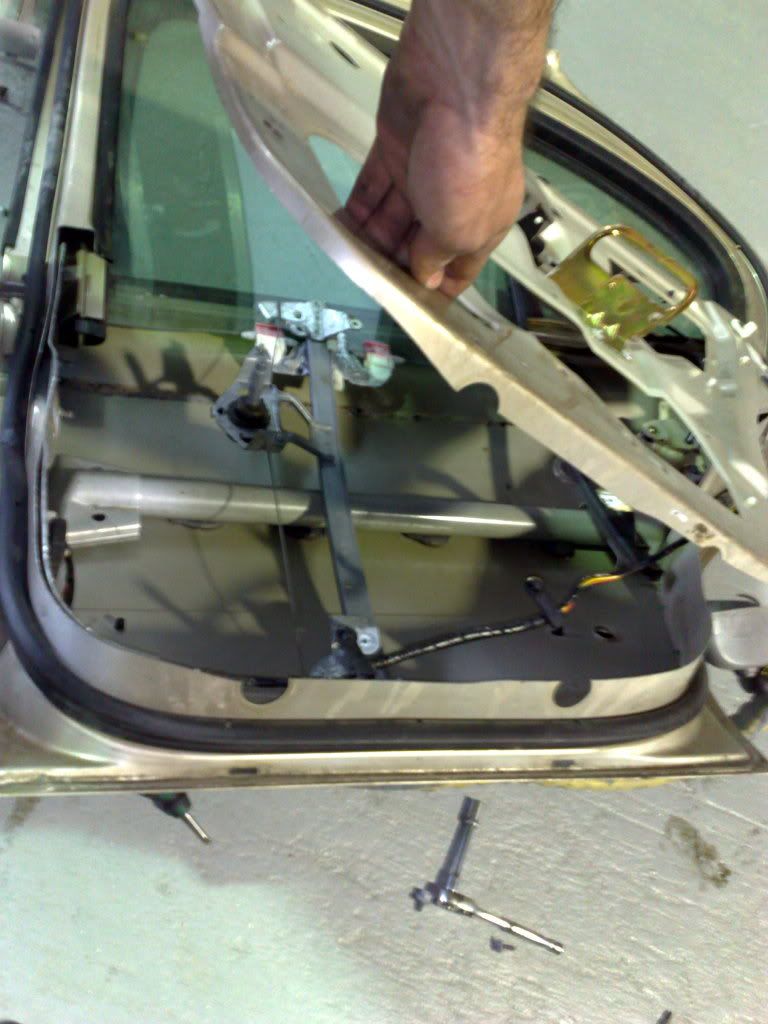 Alot of trial fitting and trimming of both the new skin and the e-series door. If your planning on doing this be patient and take your time: 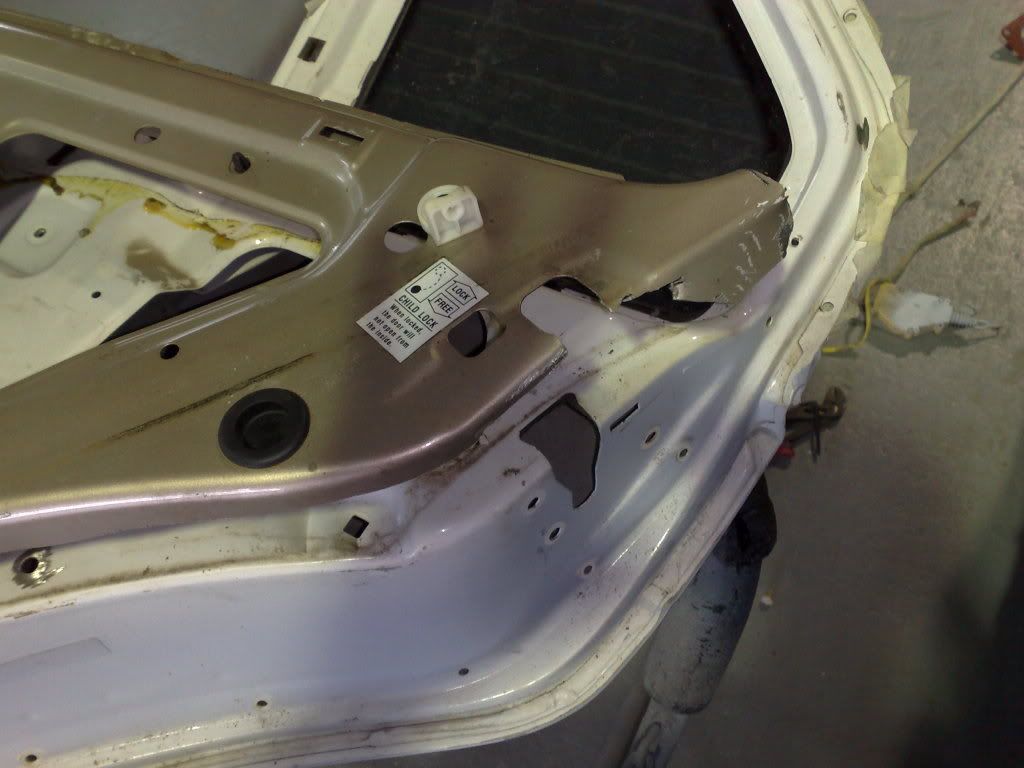 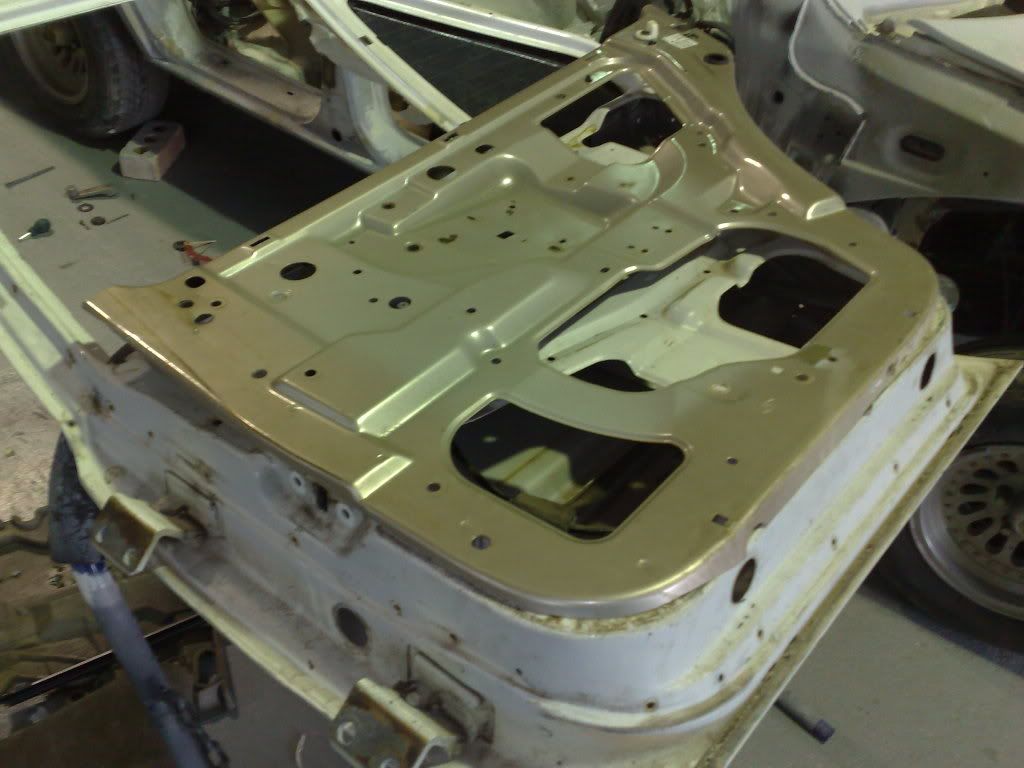 I dont have a back BA trim to trial but i got an old crappy AU trim which i used to do the trial fit, heres how it looks on the door: 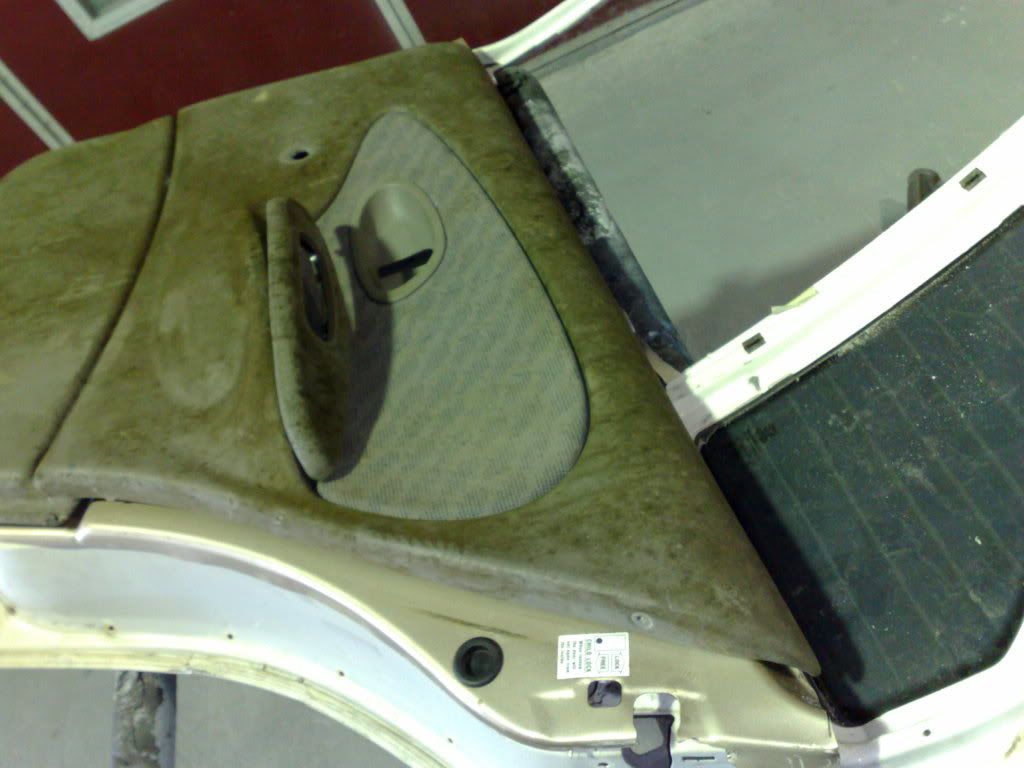 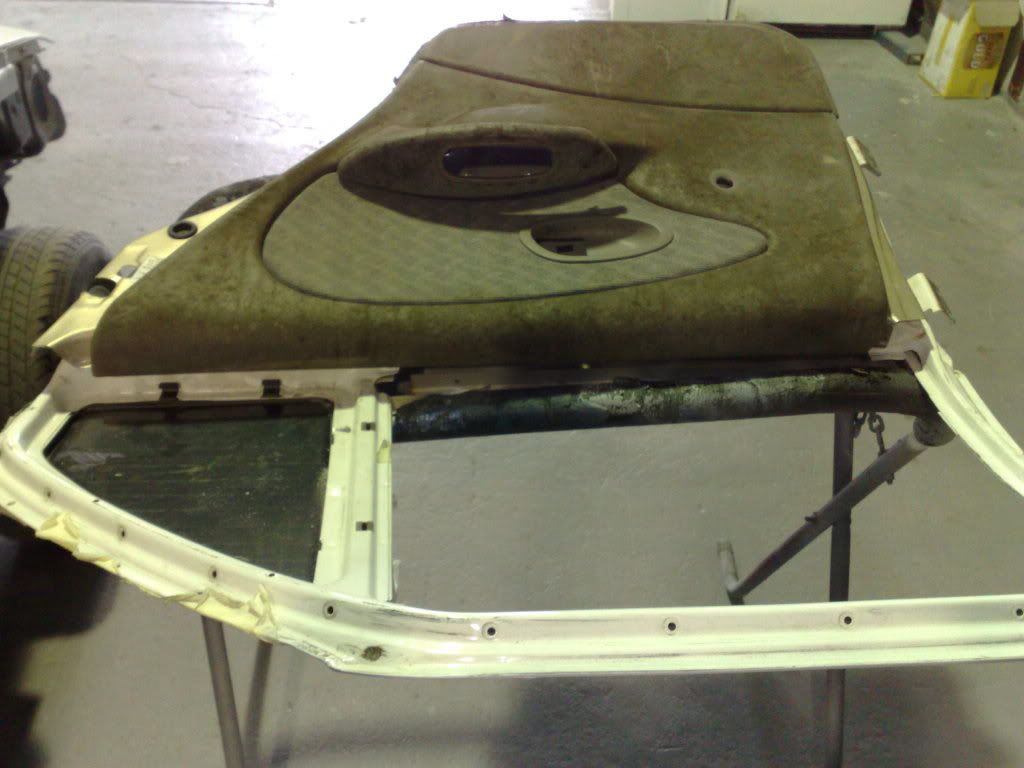 Heres where i got up to tonight, iv welded it up, but still have to grind and fill. Heres a trial fit shot:  Also more good news, i bought a set of 2nd hand mags for a dam good price. Iv been searching for a set of BA/F XR or FPV mags for a while (genuine and non gen). I was going to buy a set of 18-19 inch, non gen, pre AU, BA GT look alikes. But I figured the car has an XR front, XR dash and soon to be XR interior i didnt see the point in putting FPV rims on. So i went searching for a set of XR ones. I finally came acorss a set out of town a bit, and made a bid. I am now the proud owner of a set of 4 BA series one XR rims. Won them for a sweet $145!!! With a bit of tread on them to. I havent picked them up yet but heres some photos of them from the ebay page: 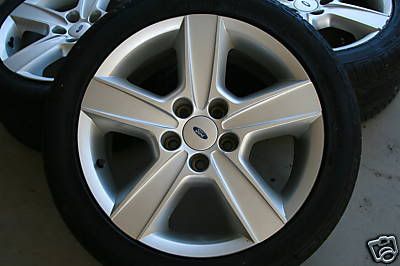 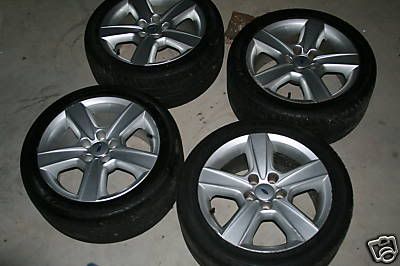 I know that they are only 17's but a set of 17's do fill the wheel archs up on the e-series. And they shouldnt attract to much attention from the fuzz. I know ill have to invest on some hub adapters but ill do that later on. I had a chance to pick up some cheap BA MK2 XR rims but IMO they are the ugliest mags ever to be developed, i carnt wait to wack the series one rims on and get some photos of her for you guys. Also i got a complet BA steering wheel and coloum. Picked it up for $70, comes with the air bag, turning switch, wiper switch, audio and cruise switches heres a shot of it: 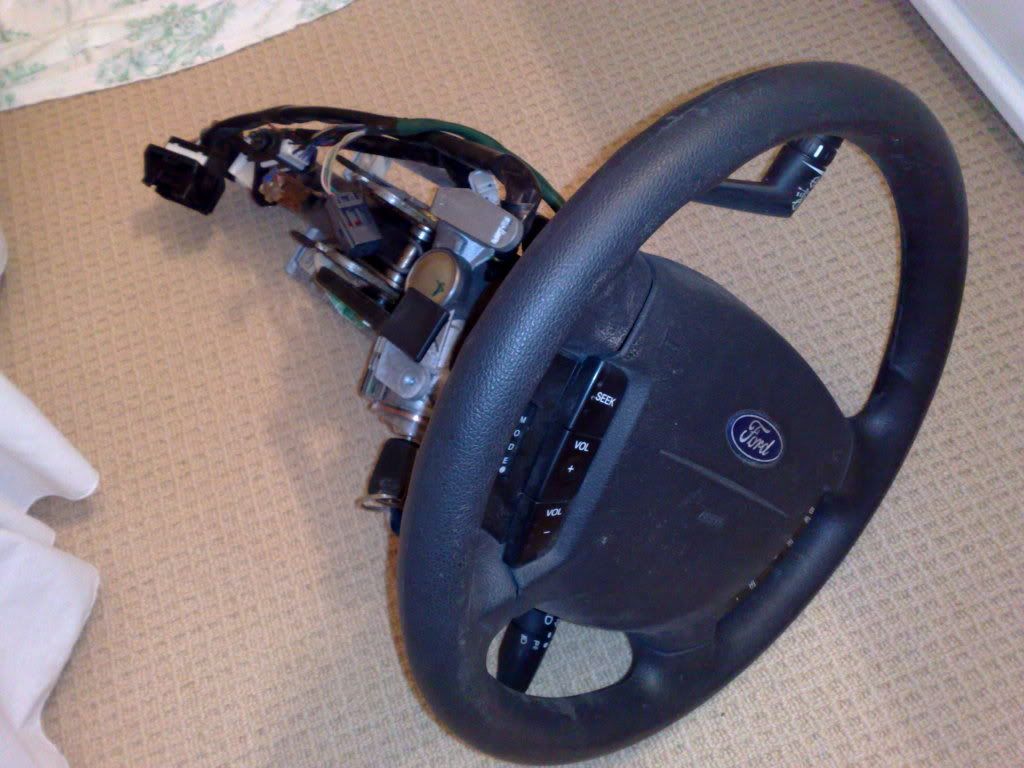 Thanks for reading, as usual still HEAPS more to come.....
_________________ Weapon of choice, EB shell with a EL XR front powered by a BA engine. |
||
| Top | |
||
| mitchell g |
|
||
|
that pretty good score there smithy
ps kelvin cut up the bar just need to fiber glass it and mr Willis remember u from ag |
||
| Top | |
||
| raff-26 |
|
|||
|
This is not a productive post- but I bloody envy you guys who have time to do this FANTASTIC stuff!! With 3 kids, and work, I find it a task to change a heater tap! Well done, a great read-what a combo!
_________________ EF Ghia 5L V8 |
|||
| Top | |
|||
| mitchell g |
|
||
|
smithy any news? or r do have the flu again?
|
||
| Top | |
||
| smithykicks85 |
|
||
|
{USERNAME} wrote: smithy any news? or r do have the flu again? Hey mitch, no havent got the flue again, iam hoping to get a few final things done this weekend, how ever it would get painted next weekend but iam doing a trip up north to c the v8 supercars. So it wont be till the following week. Ill keep updates of what i did this weekend and let you's know. Cheers
_________________ Weapon of choice, EB shell with a EL XR front powered by a BA engine. |
||
| Top | |
||
| Froudey |
|
||
|
{USERNAME} wrote: {USERNAME} wrote: smithy any news? or r do have the flu again? Hey mitch, no havent got the flue again, iam hoping to get a few final things done this weekend, how ever it would get painted next weekend but iam doing a trip up north to c the v8 supercars. So it wont be till the following week. Ill keep updates of what i did this weekend and let you's know. Cheers Nearly a week no update hmmm? Maybe young smithy is at the townsville event?
_________________ R.I.P Tobias my son. |
||
| Top | |
||
| mitchell g |
|
||
|
we he did say he was goin north for the week end
|
||
| Top | |
||
| nicco |
|
|||
|
enjoy the v8s? where did you set up camp to watch the racing?
|
|||
| Top | |
|||
| smithykicks85 |
|
||
|
{USERNAME} wrote: enjoy the v8s? where did you set up camp to watch the racing? Mate the v8's were unreal. We were up on grand stand 11 with a good view of the shakane. I was blown away with the set up they had. Iam definetly making the trip up to Townsville every year for it. Also iam happy to see a few e series GT's in there little car show they had. Where were you camped at? Also good to see a Ford break it in with a win.
_________________ Weapon of choice, EB shell with a EL XR front powered by a BA engine. |
||
| Top | |
||
| Who is online |
|---|
Users browsing this forum: No registered users and 27 guests |