|
| tickford_6 |
|
||
Posts: 6449 Joined: 11th Nov 2004 |
So the metric water temp gauge is on back order. I have the fittings and line to do the oil pressure gauge.
Also have a new Sanden A/C compressor and cooldrive condenser and dryer, The evaporator It seems is going to be a pain in the d**k. There are 3 possible part numbers and the only way to know which you need is to take your old one out. On top of that only two of them are still available. My A/C guy tells me he has in the past cut and shut the pipes to make them fit, so at least I know either way it possible to do. Also picked up some 2 inch wide rubber wheel arch flare and a sheet of 6mm black insertion rubber on friday. The plan is get my wheels inside the arches and get some legal quick release mud flaps on the back and a set of flaps for the trailer. That'll keep the boys in blue happy. |
||
| Top | |
||
| tickford_6 |
|
||
Posts: 6449 Joined: 11th Nov 2004 |
After all this time,money,effort, I don't want the pain on this patrol to got the same way as the old one with peeling clear etc.
I browsed a few car detailing forums, watched a bunch of youtube how to's done by some of the product suppliers. I figured I would put the How to guides to the test. Going by the guides, a car with paint this bad and this neglected needs to Clay'd down first. I bought a Meguiars 'Quick clay kit'. comes with a small 'fine' clay and some quick detailer for clay lube. I'm using the bonnet for the test and only doing the passenger side. The process is wash and dry the panel. which looked like this. 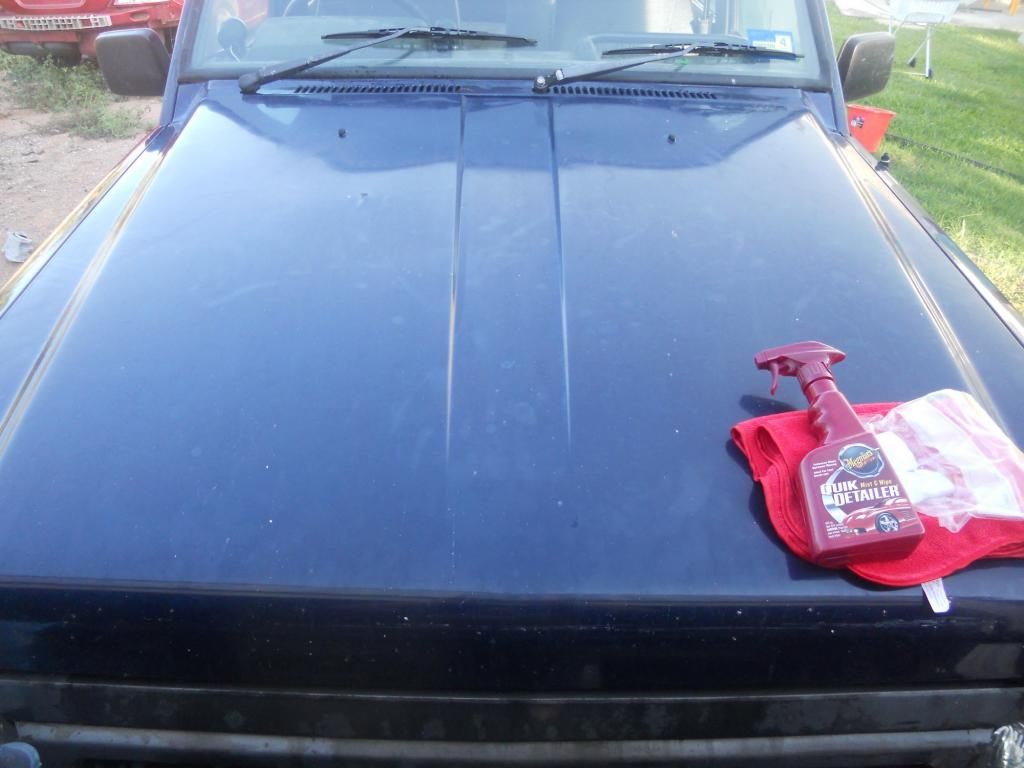 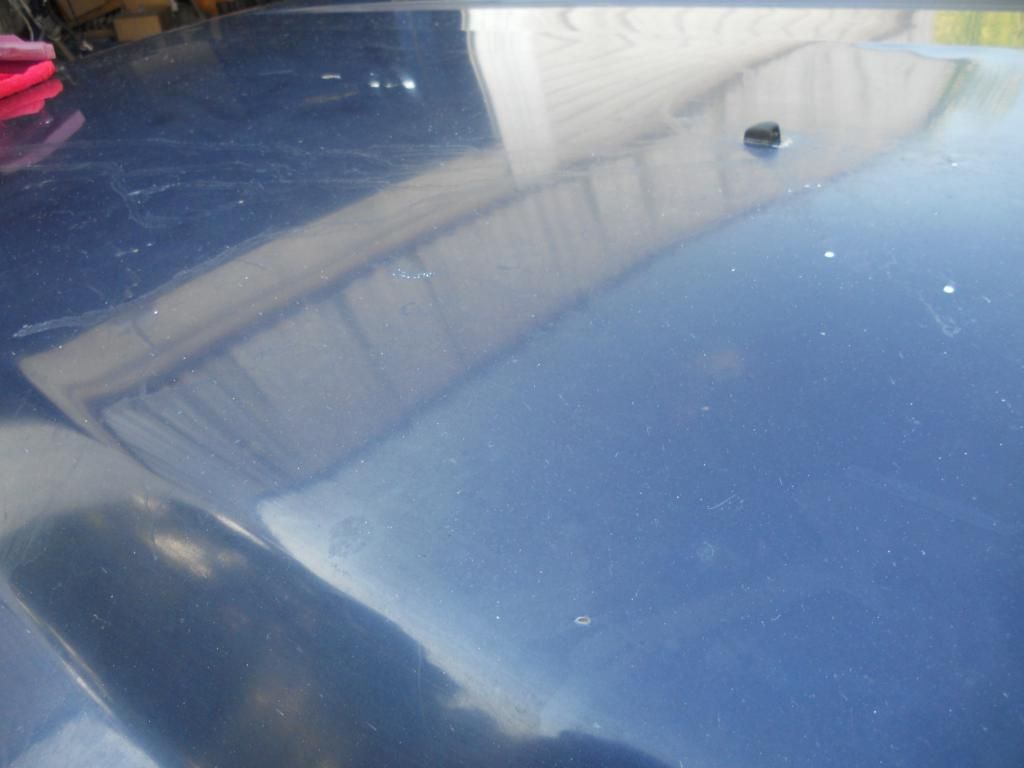 Working on 40cmx40cm sections, spray the panel down and with NO pressure glide the clay across the paint, working in straight lines from left to right and then from top to bottom until the clay glides smoothly and you can feel any resistance. Then wide the excess QD off with a micro fiber cloth. The clay will turn yellow with contamination. These shots are after the clay, remember I washed this bonnet. 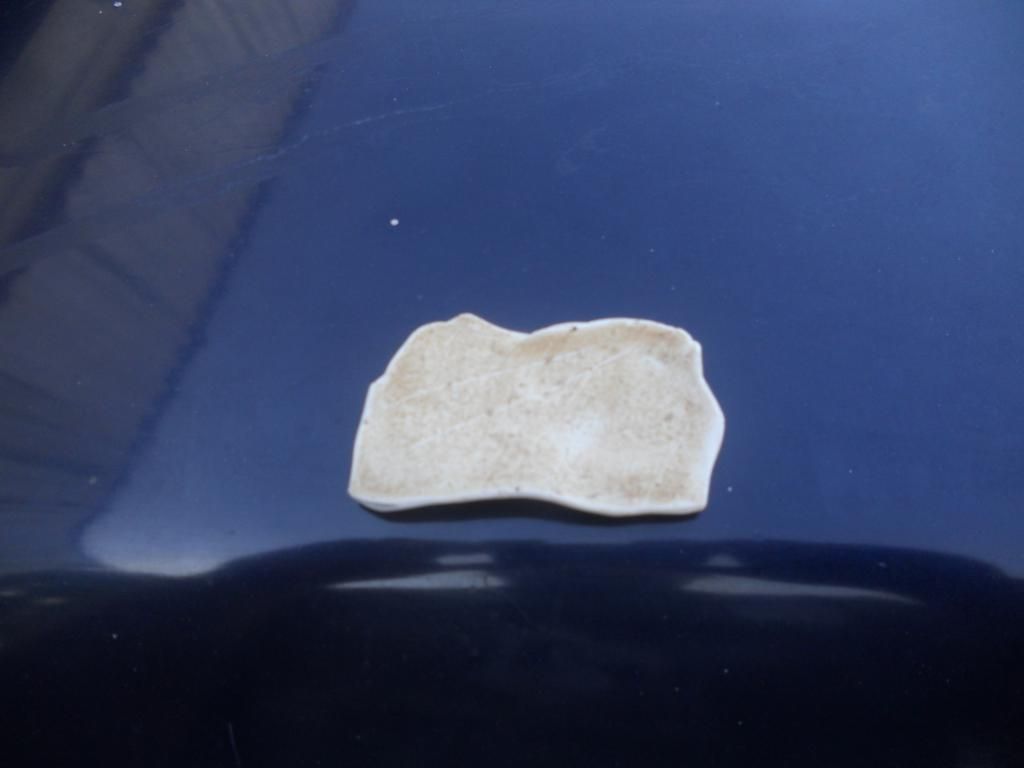 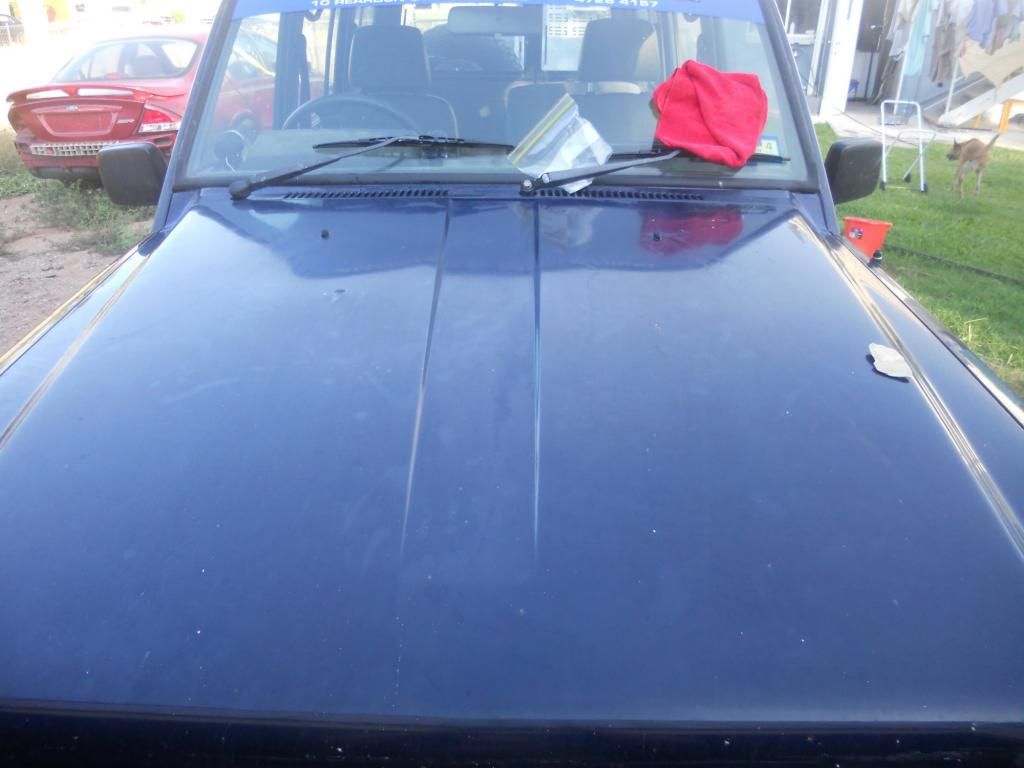 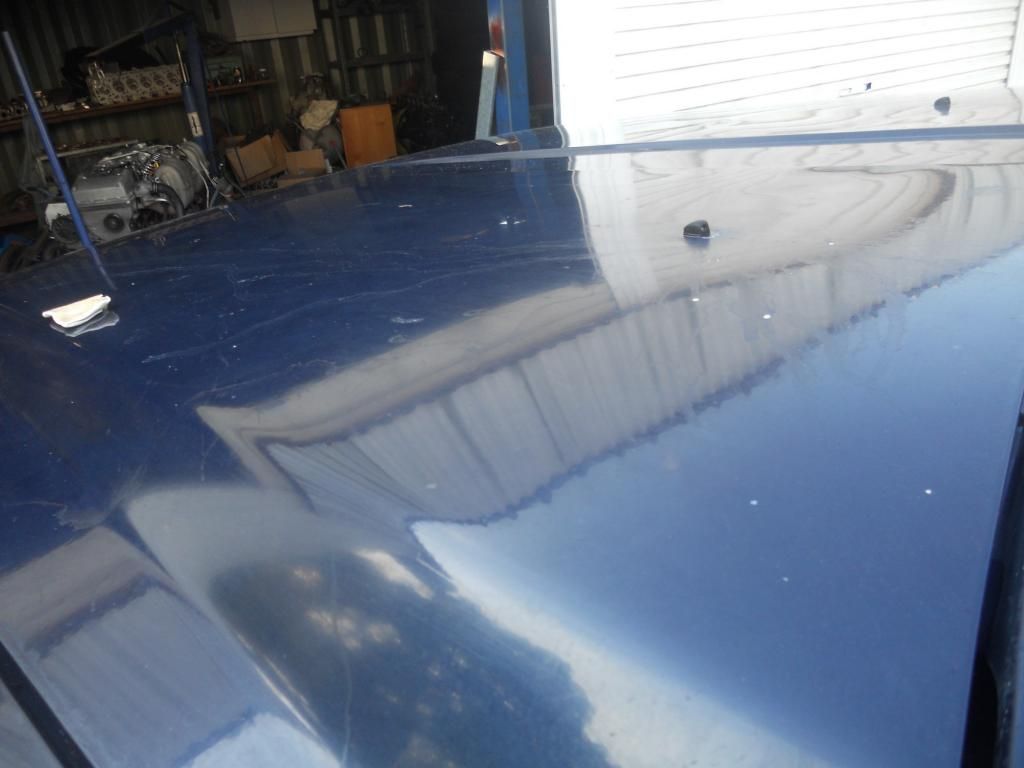 Next is the least aggressive correction process, using a paint cleaner with a finishing pad on a sander/polisher. Paint cleaners have NO abrasive in them and only remove oxidation and contamination. As it turns out, my paint will need some thing with a some fine abrasive, like a fine machine polish. I used Meguiars DEEP CRYSTAL PAINT CLEANER The process is, with a 180mm pad put four to six pea sized drops of cleaner on the pad. With the machine off dap the pad on to the area you are working. I did half the bonnet in three sections. Then with the machine on the slowest setting, spread the cleaner over the working area. Stop the machine and turn it up to about 3000rpm and again work in straight lines from left to right then top to bottom making 2 to 4 passes in each direction. Stop and wipe off the excess cleaner with a microfiber cloth. 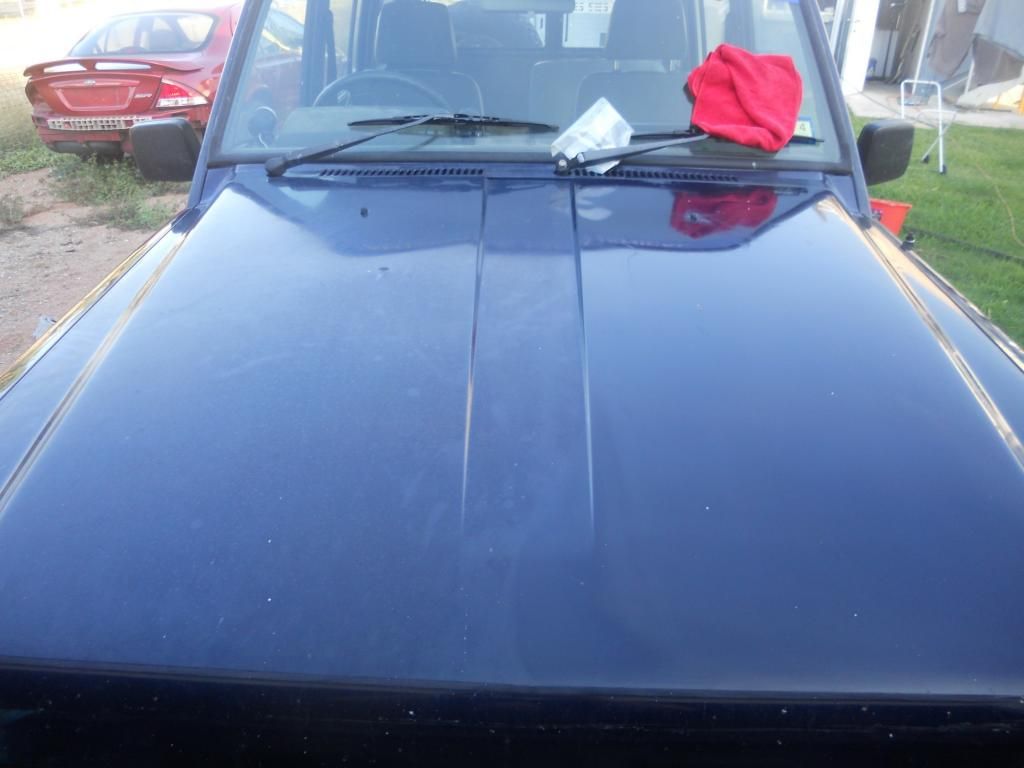 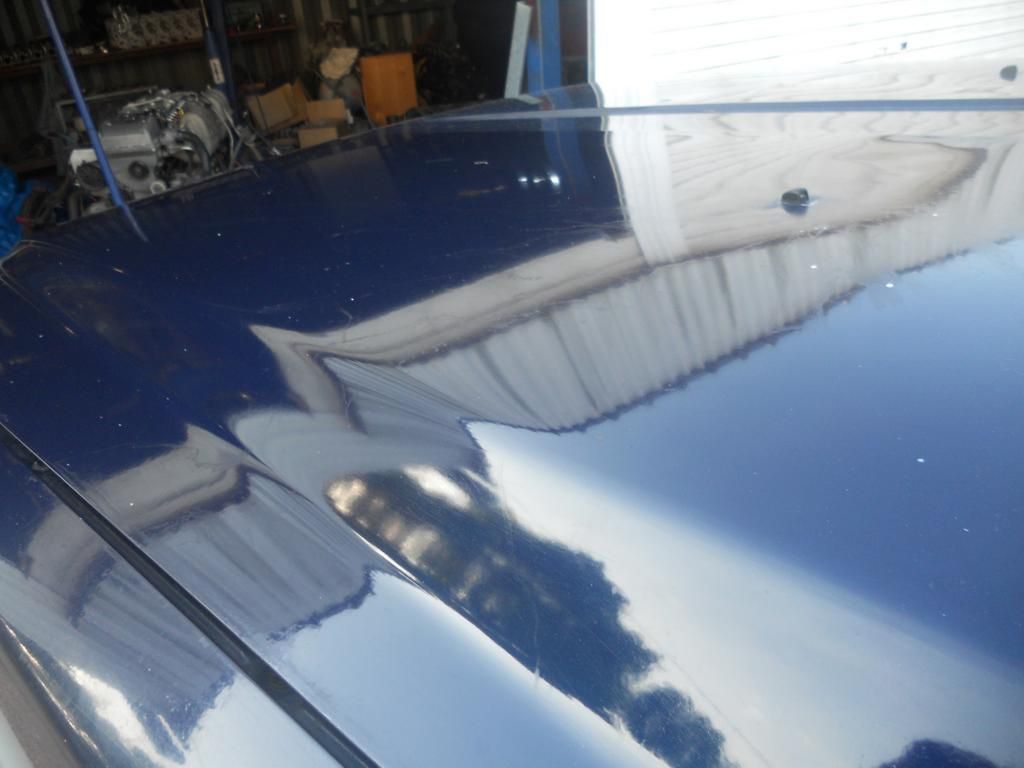 The paint should be smooth and shiny. Paint is porous and left in this condition with absorb water (and dirt with it) and will get water mark and start to deteriorate. You need to protect the paint. The most commonly available product is carnauba wax, I used Meguiars Gold class carnauba plus. this bit is easy, with the supplied applicator, working in front of you, reach out and put a line from the far side of the area back to your self, then at 90 degrees to the line work left to right across the line to spread the wax. Leave it for an hour and buff off with microfiber cloth. 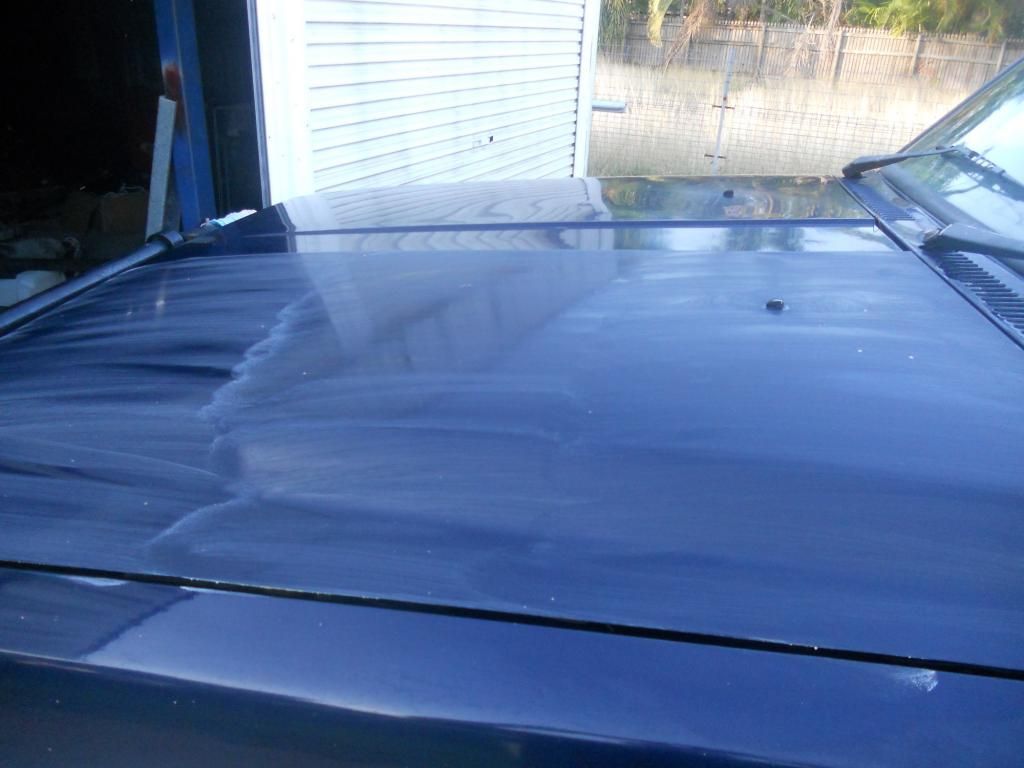 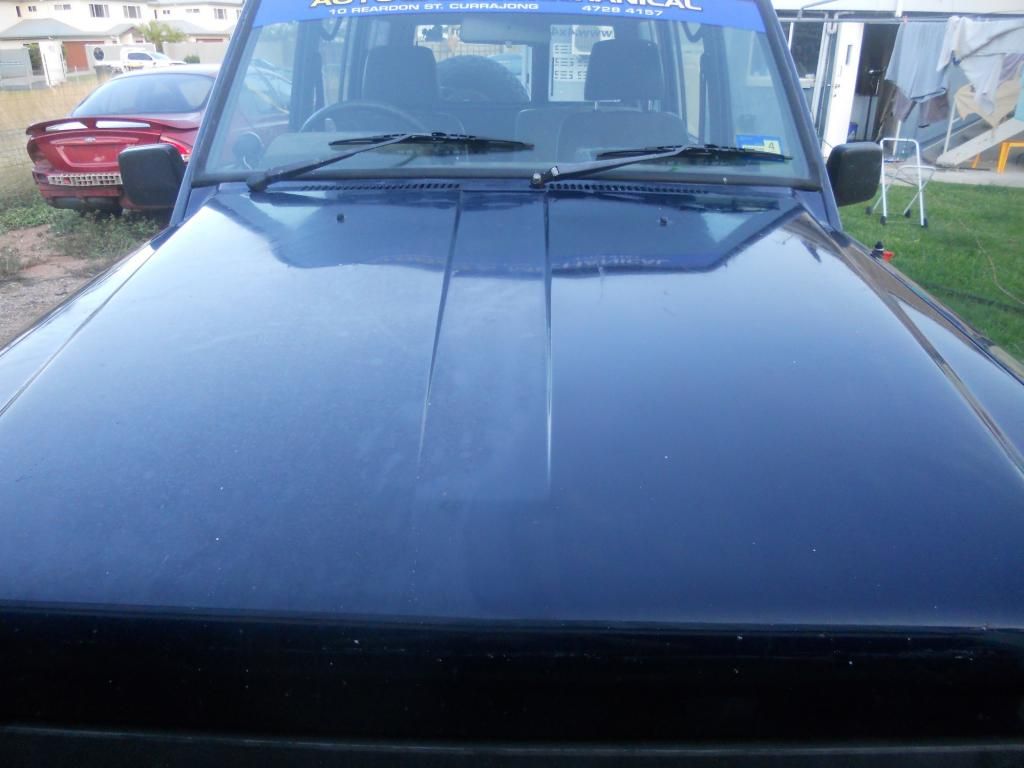 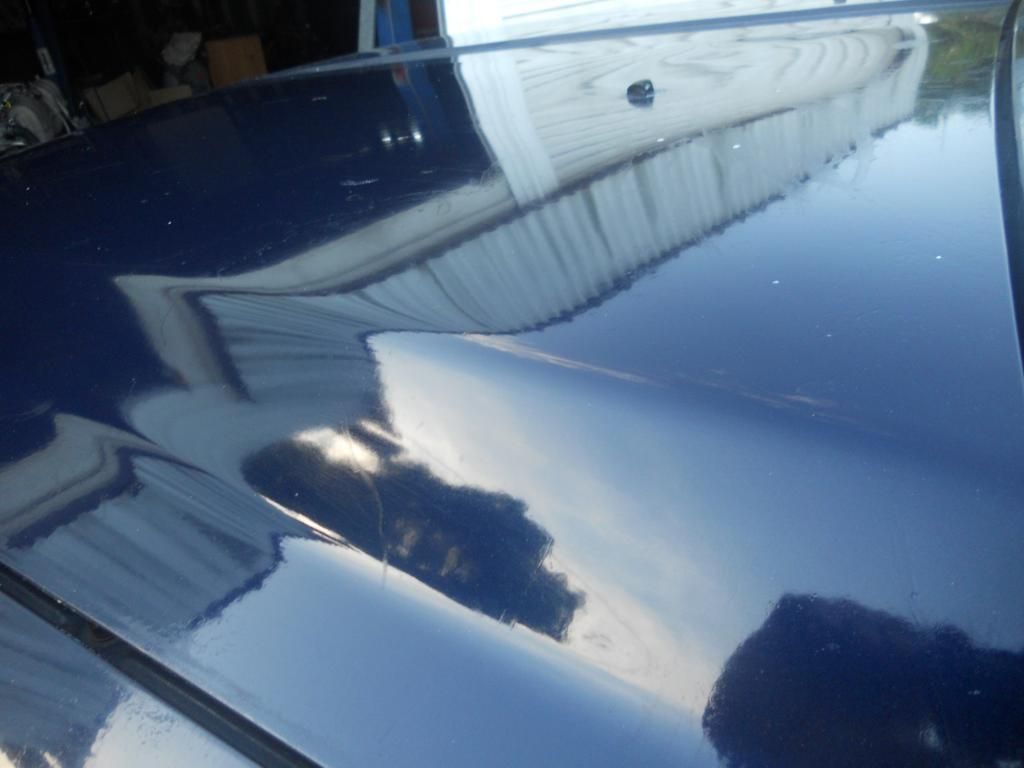 This took me about 30mins to do as the paint is very bad and still needs more work to reduce some damage. I'm going to buy a light polishing pad and some very fine polishing compound and spend some more time doing the other half of the bonnet to compare the results. Once I get the process sorted to restore this paint, i'll do the rest of the car and finish it with multiple coats of wax to protect the paint. I know it's going to get dirty and damaged off road but it will still last longer and be easier to clean if I get on top of it now. I used a cheap rotary polisher that I bought from supercheap and cheap finishing pad from supercheap. I only used Meguiars products because they are easy to get. |
||
| Top | |
||
| tickford_6 |
|
||
Posts: 6449 Joined: 11th Nov 2004 |
After doing the paint clay-paint cleaner-wax treatment it was obvious the paint needed more.
Being such an old car with unknown history and me being an amateur at this I don't want to use anything to harsh. I stopped at supercheap (again) on the way home today and picked up a second finishing pad and bottle of meguiars Ultimate Compound, basically the finest compound I could get. First step was remove the wax from yesterdays effort. Then using the same process as before went over the same half of the bonnet with Ultimate compound. I also tried a hint I found on youtube. as the compound dried I gave the pad a small spray of the quick detailer to allow me to work the compound right down to break up the abrasive as fine as possible. Then wipe it down with a micro fiber cloth. This is what I got. 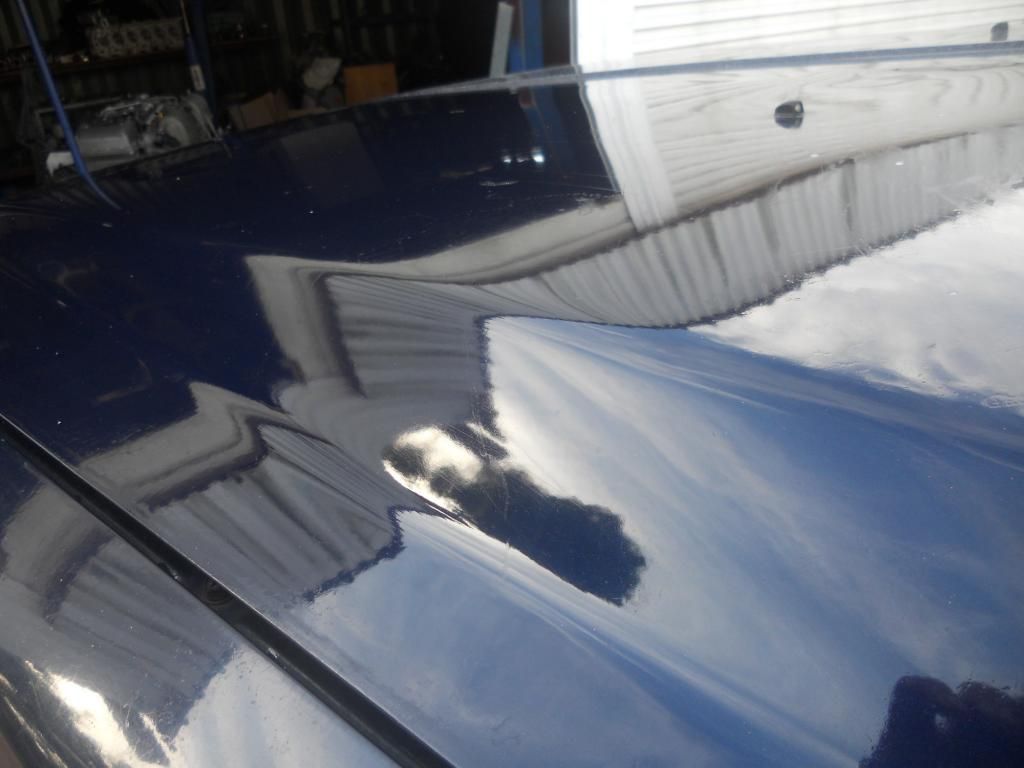 The once over with the paint cleaner. 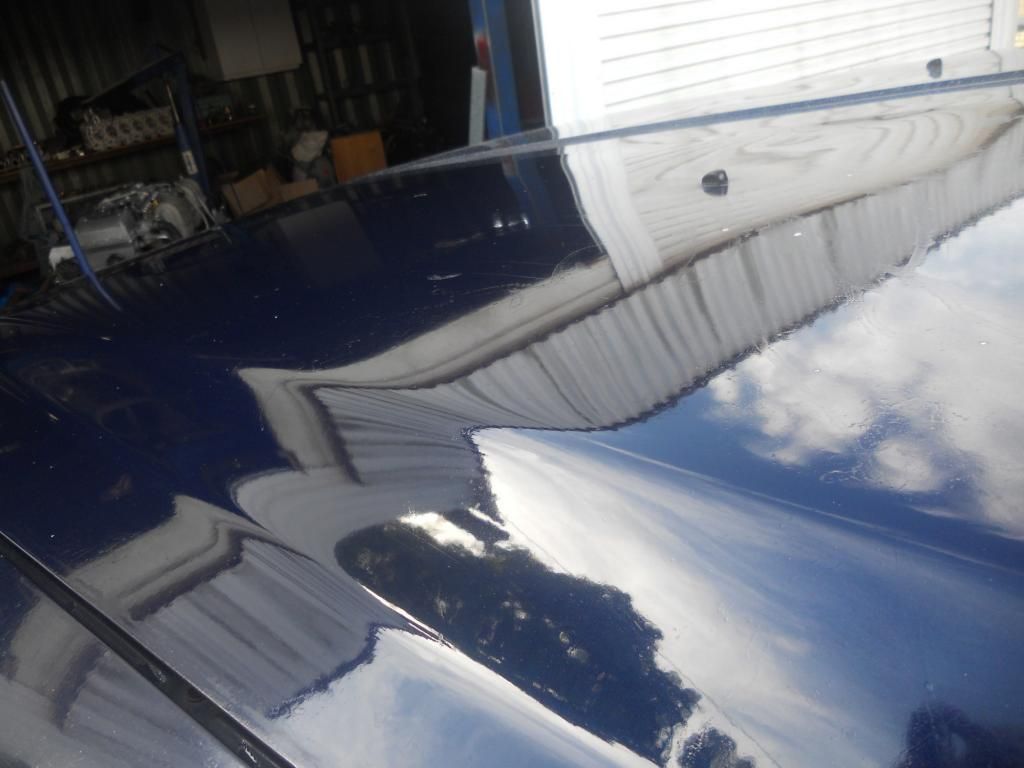 then wax, Thought I'd grab some shot of how to put it on. (incase my explanation in the previous post sucked balls) 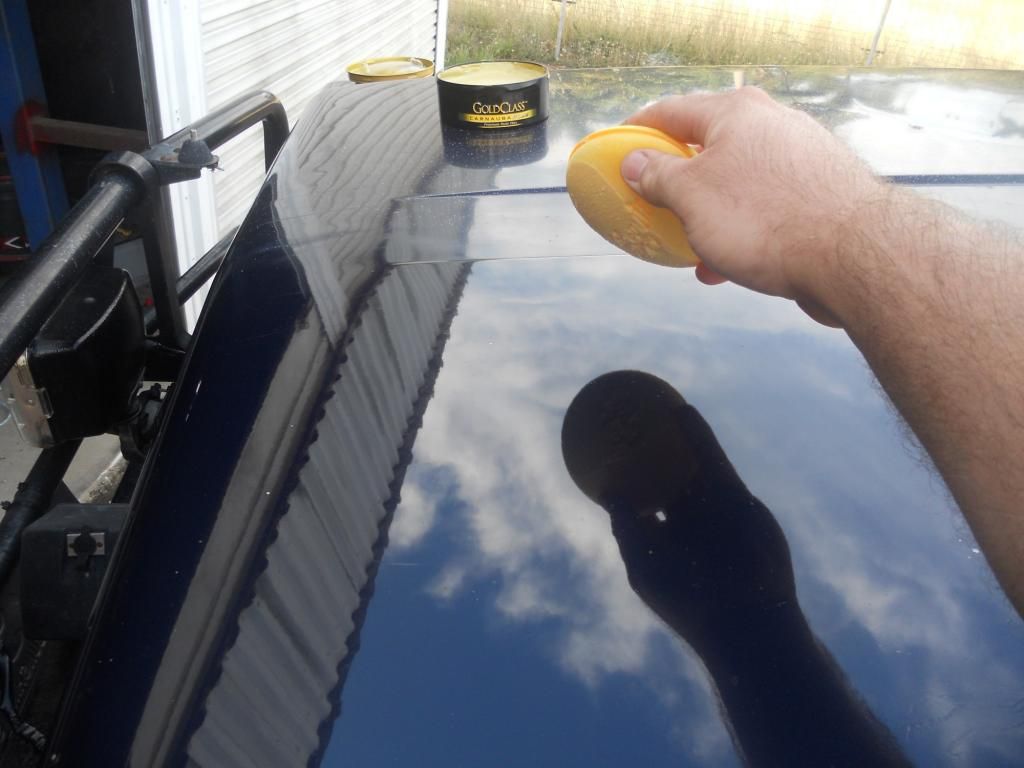 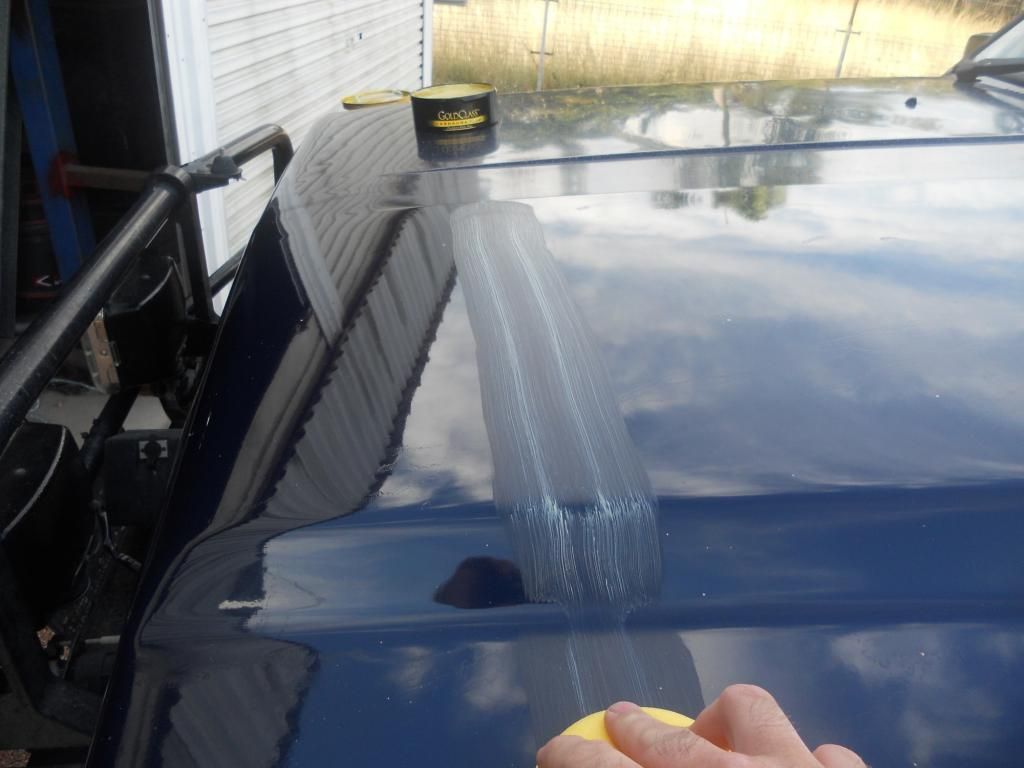 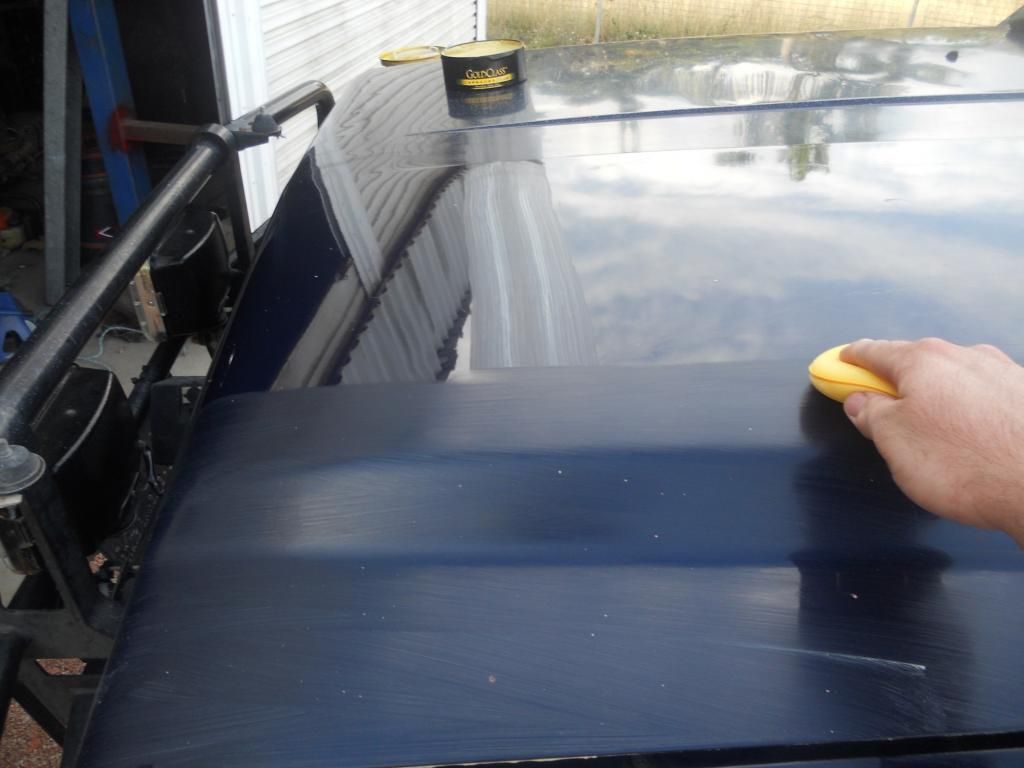 Wait 30 mins and bush off with micro fiber cloth. 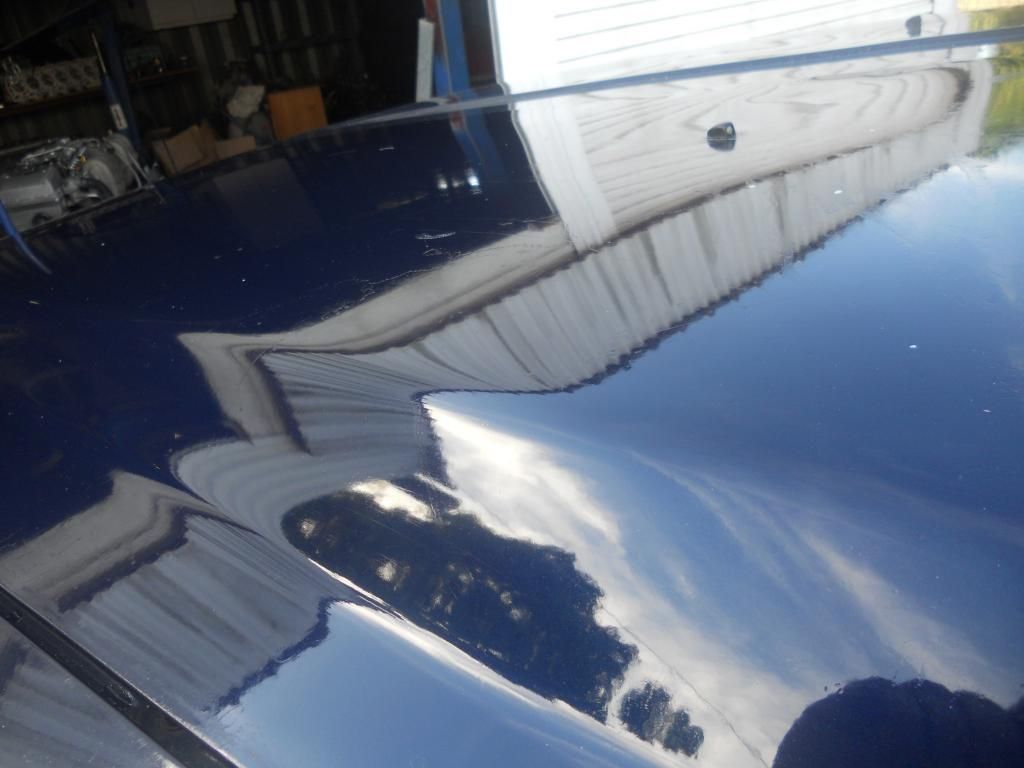 Here is some of the unfixable damage from some using soemthing really really harsh as washer fluid. 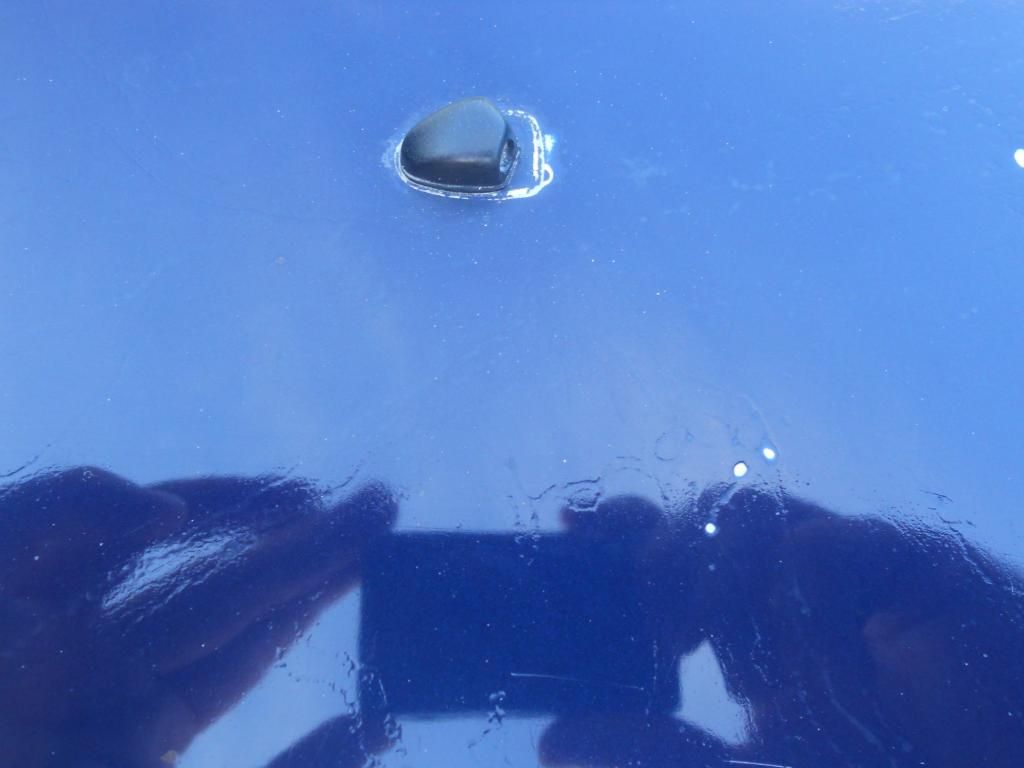 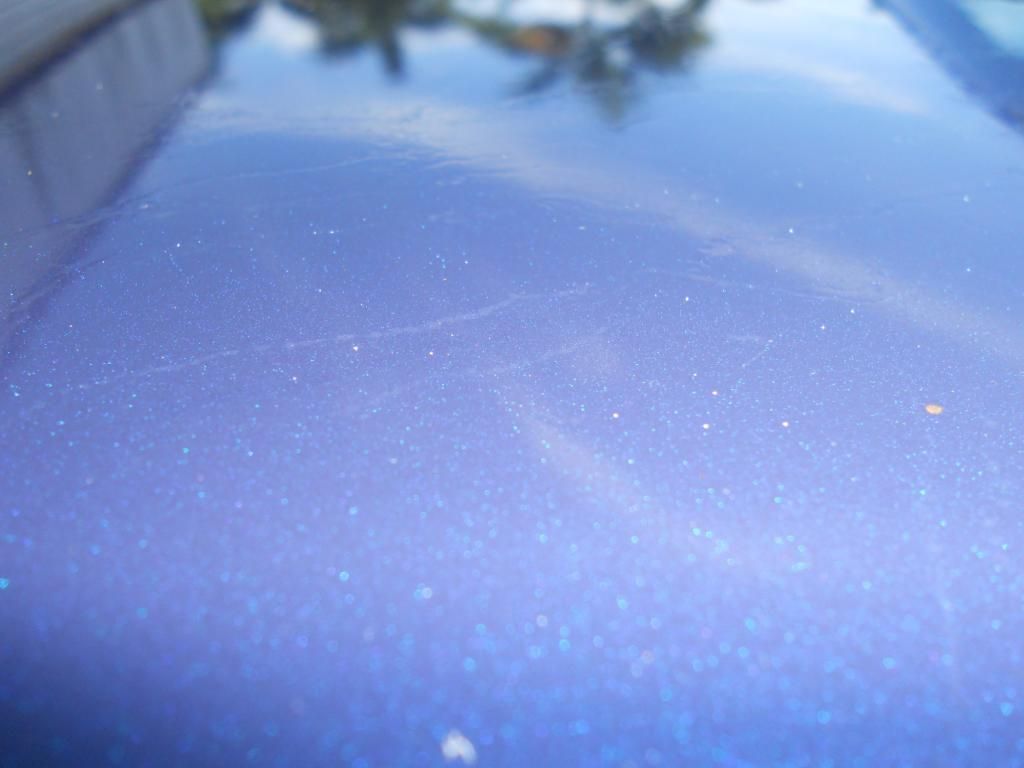
|
||
| Top | |
||
| tickford_6 |
|
||
Posts: 6449 Joined: 11th Nov 2004 |
I didn't feel that the other photos really showed the difference of each step when viewed separately, So I put this together.
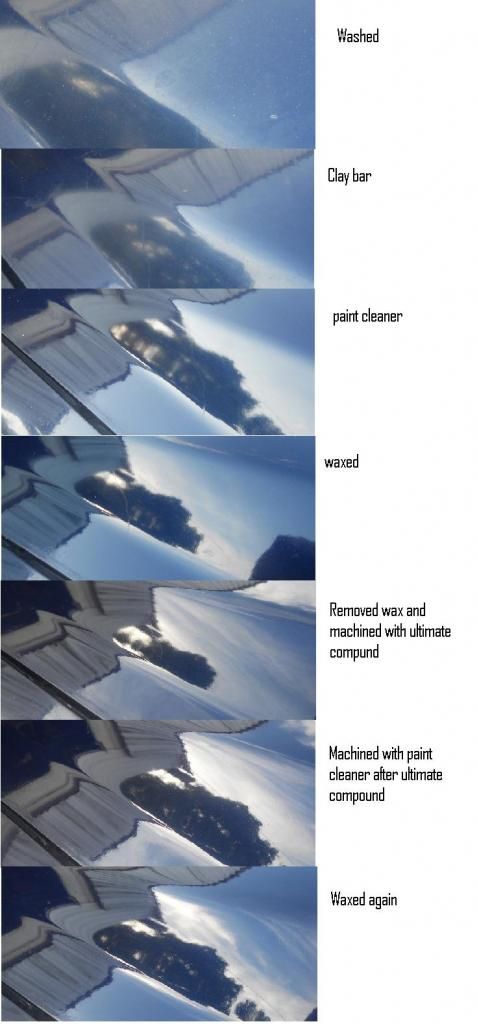
|
||
| Top | |
||
| Who is online |
|---|
Users browsing this forum: No registered users and 32 guests |