

|
| XESP351 |
|
||
|
While I was looking closely at the door handles I noticed the arm rest wasn't great as the face plate glue was coming off and the arm rest itself has been recoloured grey and the grey paint is peeling off in some spots..
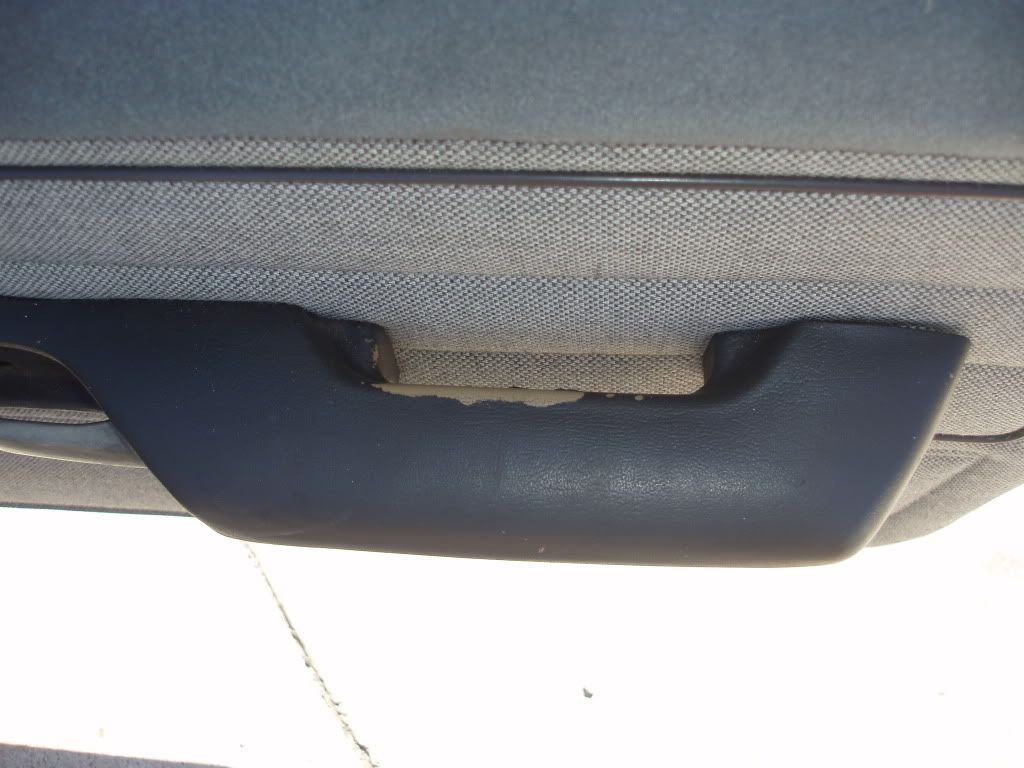 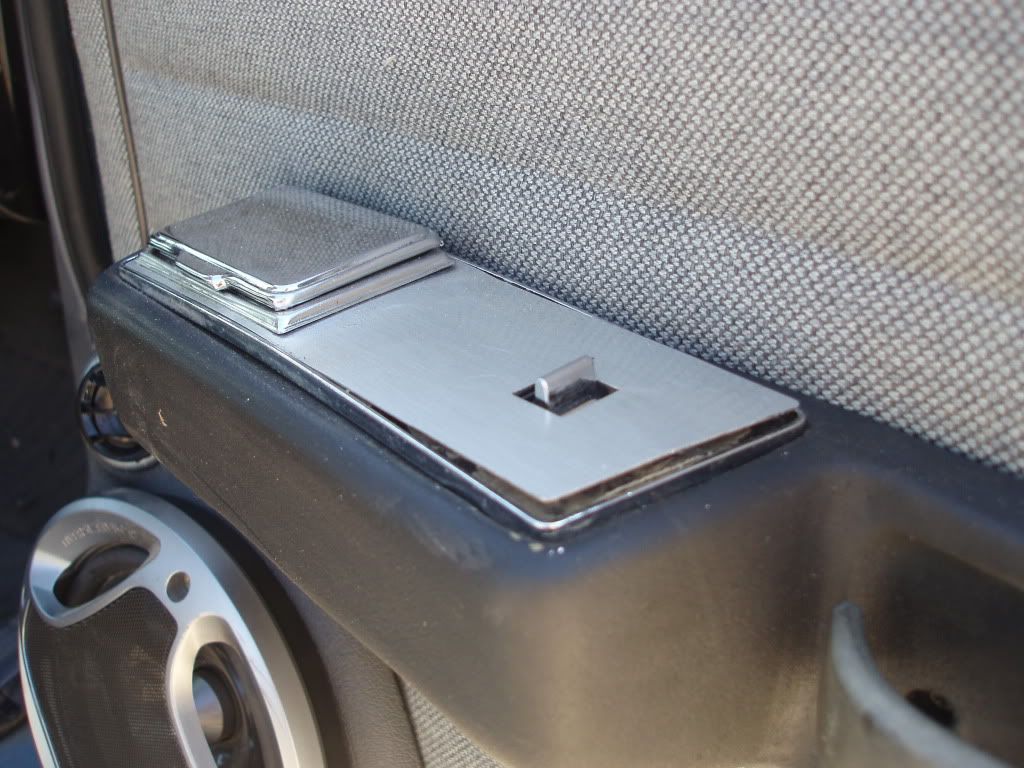 So I looked around the garage for another driver's arm rest in good condition and found a mint one I kept spare for the ESP, so I decided to use that since the one in the ESP is near NOS and the car doesn't get driven often enough to get any wear so I doubt I would need the spare. Only problem is the face plate wasn't in very good nick so I took face plate off the one in the ute (since it was peeling off anyway) and put that on the spare. I glued it and clamped and let it cure. Next will be pics when the new armrest is on |
||
| Top | |
||
| XESP351 |
|
||
|
And here is the new arm rest all fitted. Driver's door all done.
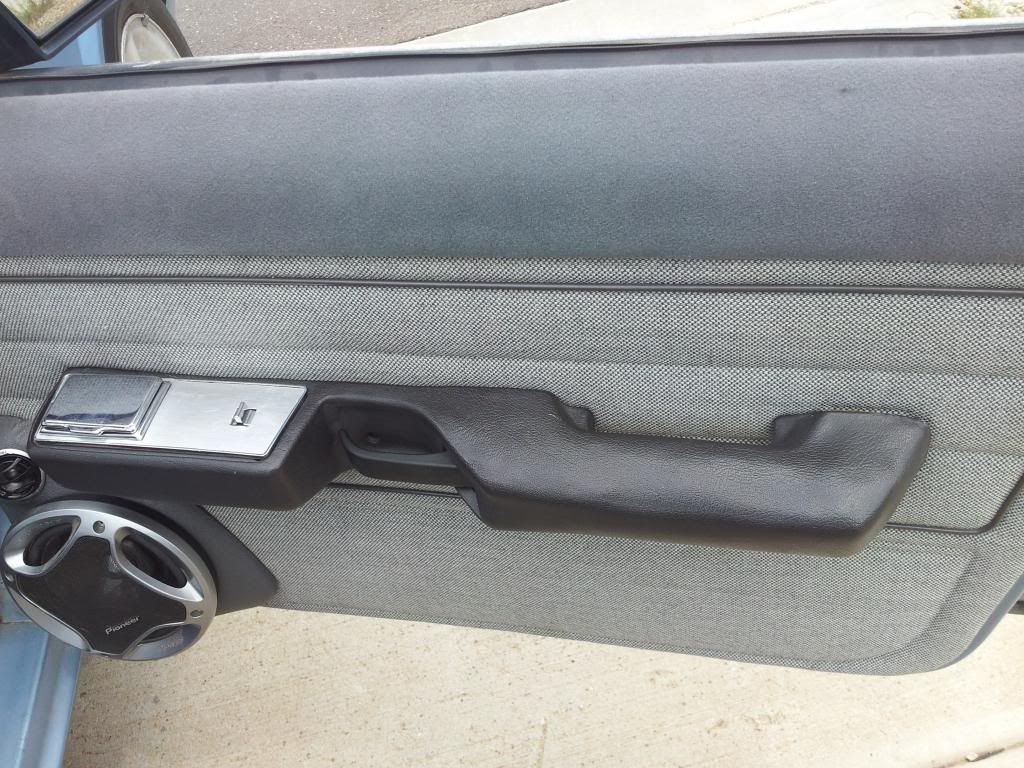 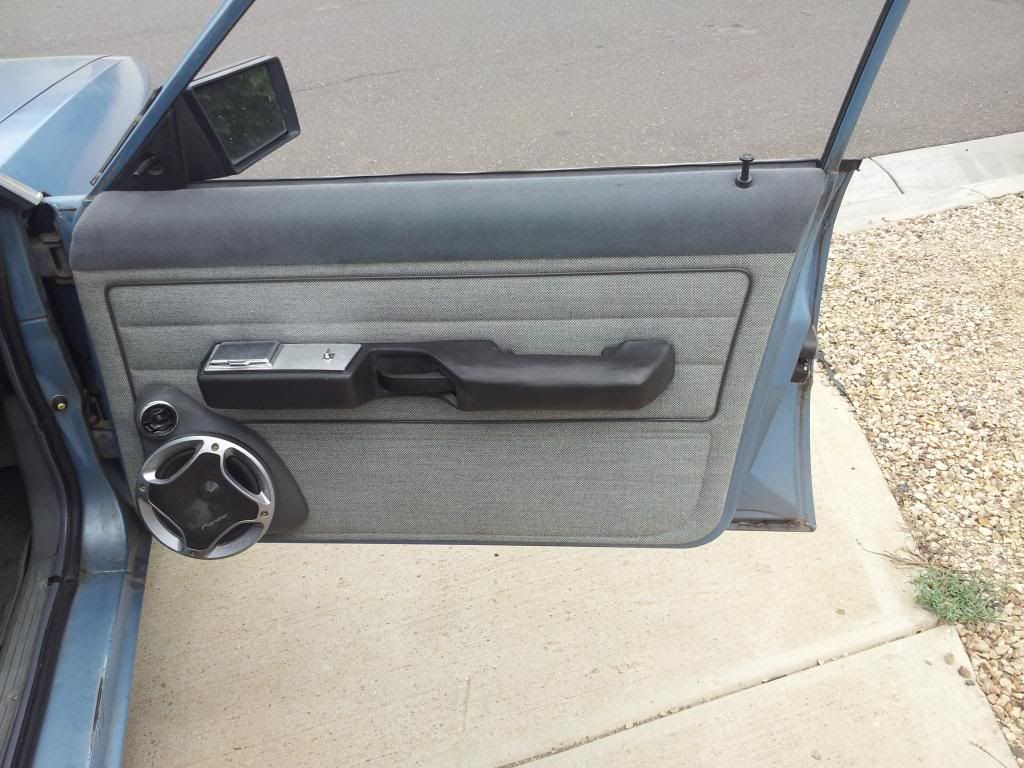 Electric window fascia arrived and fitted. Looks great. I asked him to customize it for me as there was no need for Back-left and Back-right wording and switches. 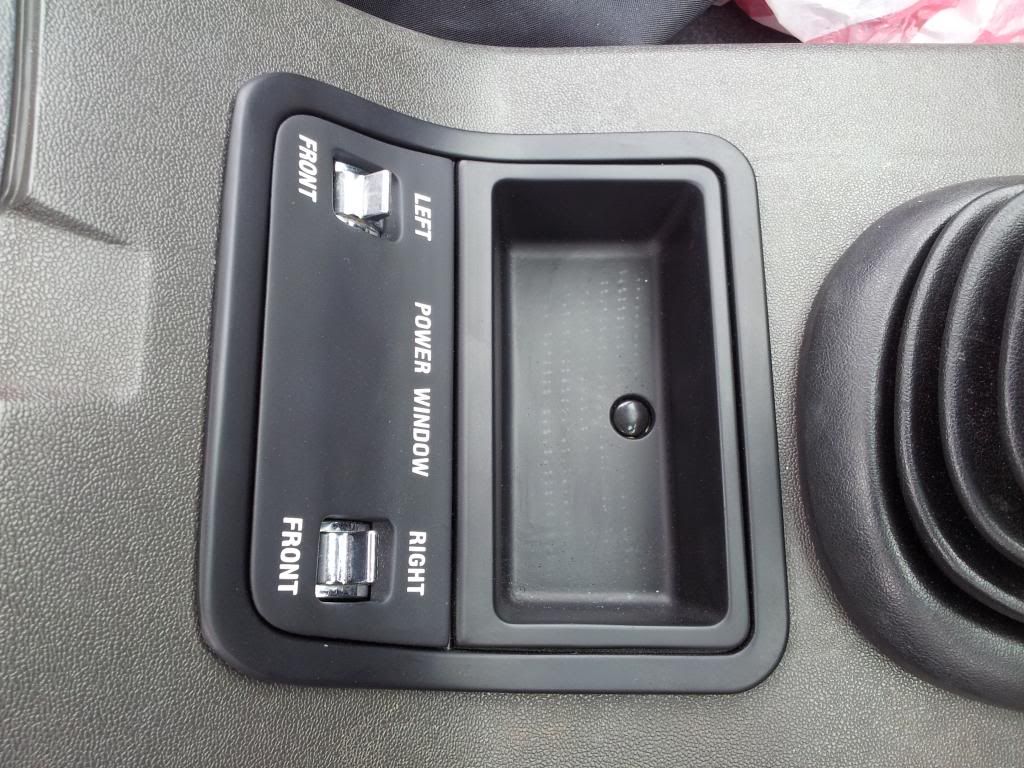 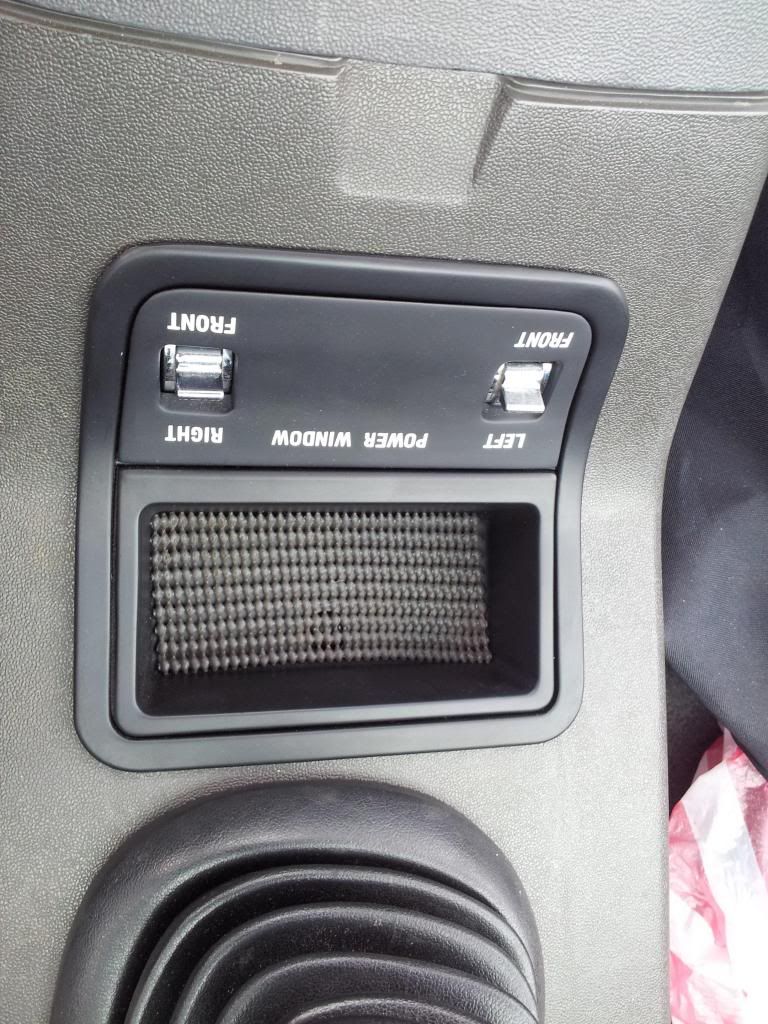 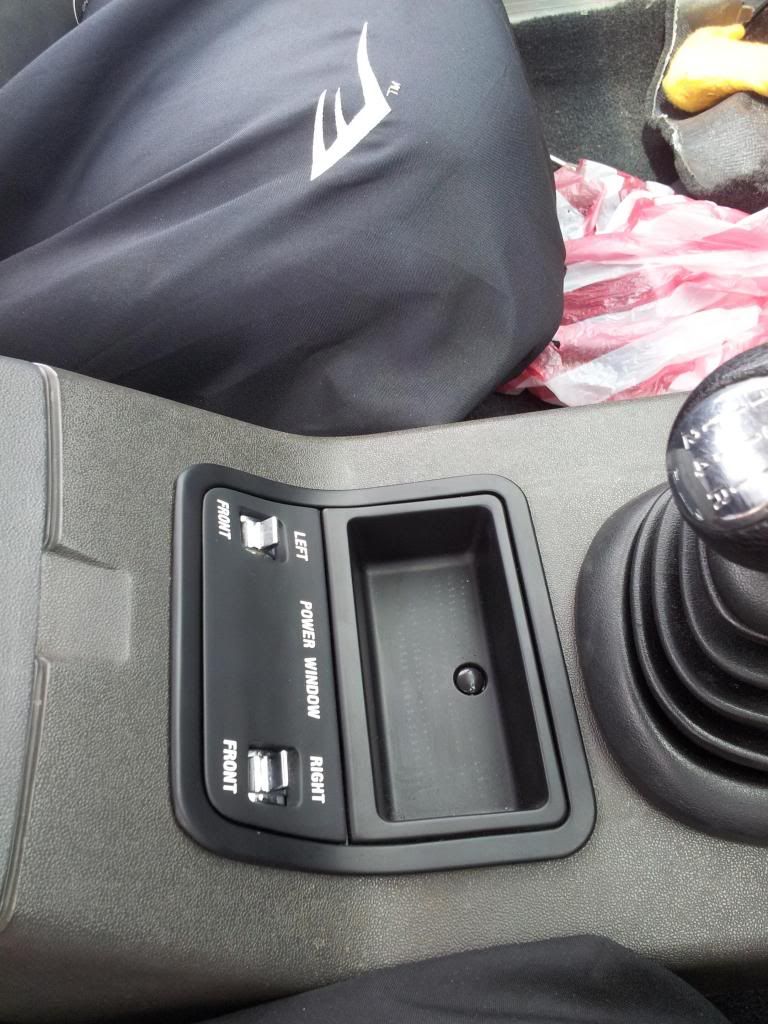 And a random shot of the ute doing some work 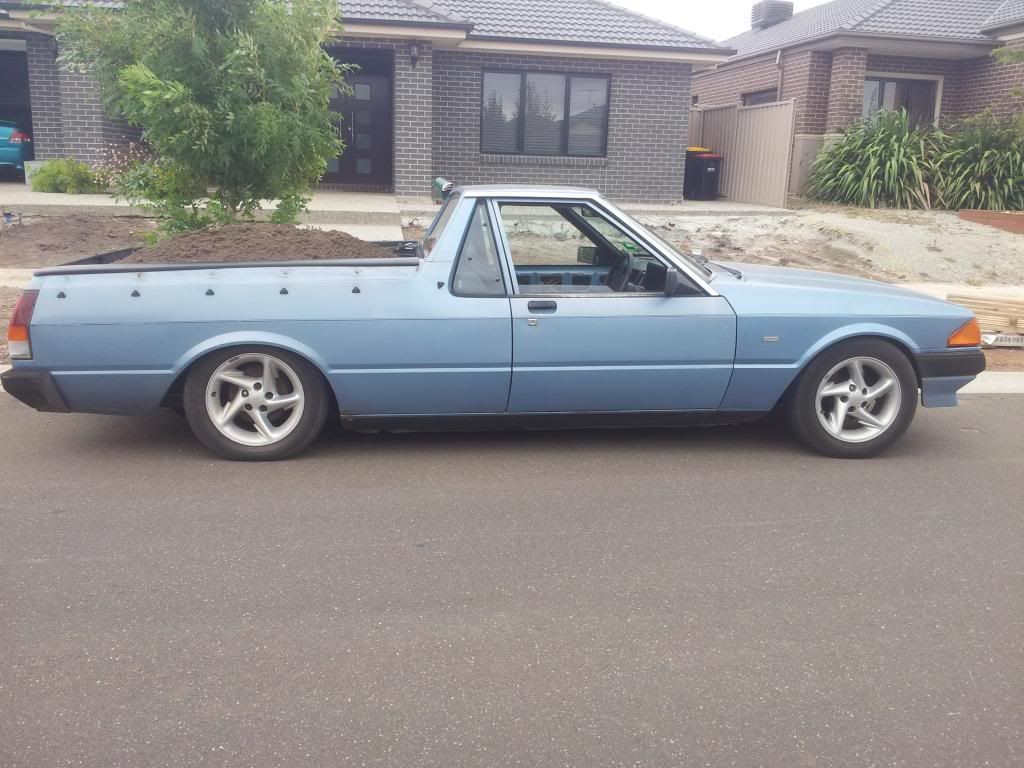
|
||
| Top | |
||
| XESP351 |
|
||
|
Everything was progressing well. Found a complete ESP interior and went to pick it up on a Friday night. Ute sounded funny on the way there but it's always made noises so I just put the music up.
Got to the place, had a long chat, loaded the interior into the tray and off i went. As soon as i drove off from there I knew something was wrong, there was a loud knocking noise coming from the engine. I knew I wouldn't make it home and just hoped I can get anywhere close. I was in Melbourne's Outer East, I live in outer west, hmmm. Engine started sounding like a pot full of cutlery being shaken and just kept getting worse and worse but I kept driving, it started raining and the interior in the tray wasn't covered. It was starting to get ugly. But then it got uglier, it got me as far as the Bell st. on ramp onto the Tulla Freeway and as soon as i got on the freeway, BANG. Loud noise, rear wheels lock up and smoke everywhere. The old girl finally gave up. Great. 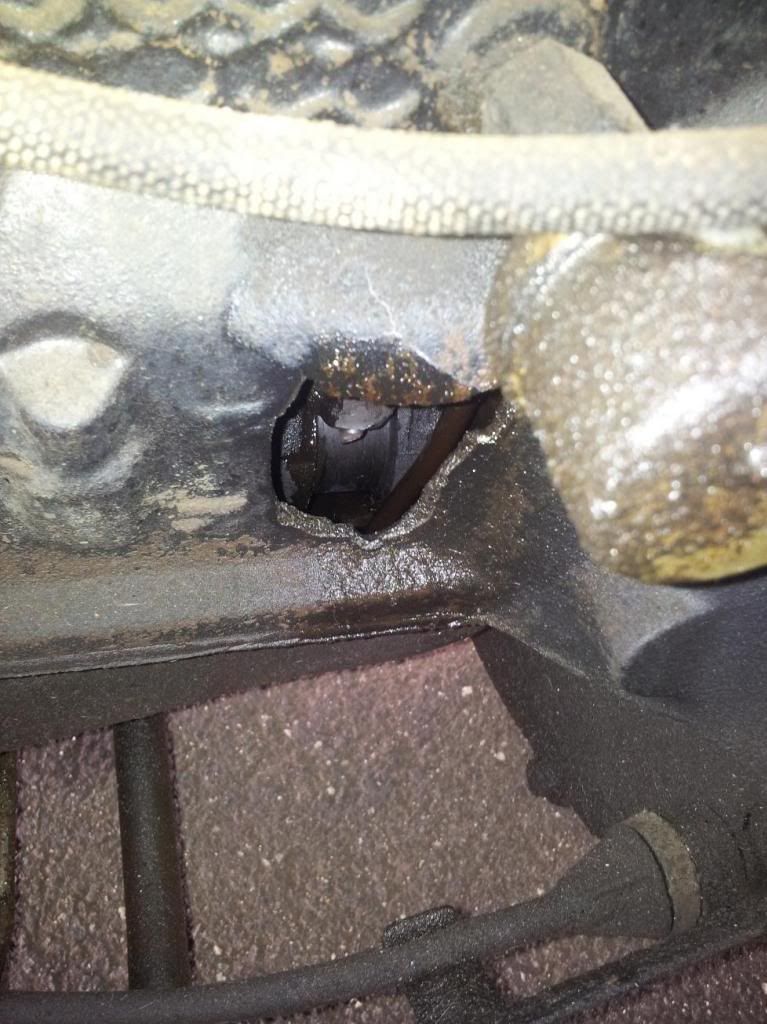 By then it was 2.30 AM and raining heavy, rang the missus and told her to come and get me and the interior (she drove a wagon at the time). Also told her to bring a chain in case I change my mind and decide to tow the ute home. Sure enough, ended up towing the ute home, took the ESP interior out, put it straight on ebay (except for front seats of course but included the two SAAS seats I had) and kept the ESP front seats in the garage (still there). This was obviously not planned but was good excuse to get a nice fresh engine in the old girl. A nice AU XR6 engine I decided. So I took the engine out and pretty much stripped the engine bay and gave it a degrease then it sat for about a year. The ute then arrived at the panel beater to spray the engine bay in Bionic (the eventual colour of the ute) before I put a new engine in. Was told 'should be finished in a couple of weeks'. Currently looking for a good AU XR6 VCT engine. Ute was at Panel beater for 18 months due to shop being busy and me not being in a hurry and having no where to store it anyway. |
||
| Top | |
||
| XESP351 |
|
||
|
Then about 4 months ago engine bay was done and ute was nearly ready to come home. I then asked the panel beater to cut out all the rust shown earlier and weld new metal, this was done in a month or so and the ute came home, some progress pics
Engine bay when almost finished. it looked awesome {DESCRIPTION} {DESCRIPTION} While ute was being finished off, I bought an XR6 VCT with a shagged diff and decided to use the engine and wreck the rest. The new engine was ready to go in as soon as i got the ute back, here is the new powerplant.. {DESCRIPTION} |
||
| Top | |
||
| XESP351 |
|
||
|
FINALLY the old girl was back home, sharing a bedroom with prettier sister..
{DESCRIPTION} {DESCRIPTION} So the engine bay is ready for the VCT motor to go in, sorry for the bad pic.. {DESCRIPTION} And a lot of rust repair was carried out where new metal was welded in.. {DESCRIPTION} {DESCRIPTION} {DESCRIPTION} {DESCRIPTION} The car will need a lot of work in the engine bay before the engine makes its way in there, the wiring is a bit of a mess and there are lots of things that need to be replaced/purchased so over the next couple of months I will slowly get her ready, put the engine in and then it will be on the truck and off to JPC to get her running and sort out things like ignition, straight LPG gear etc. First step is remove the XE sway bar so it doesn't foul on the engine when it eventually goes in, DONE. Later a whiteline one will make it's way on there once it's running. Next step is to pull all the wiring back into the engine bay as body shop guys pulled it all inside the cab to clear the engine bay of all wiring. Pulling the wiring back into the bay is not as easy as it sounds but after a lot of time and patience it's DONE, wiring still looks like a ****fight which i will have to sort out later. I'll take photos in the coming days. That was all I got done in my first session, next will be to feed the bonnet cable through (again easier said than done, that grommet is a PIA to get through properly), remove XE power steering lines, remove leaky steering box and replace with reco unit, replace column shift steering column (too long and steering wheel ends up being too close) with standard column, paint and fit shock mounts, fit XG power steering lines, fit XE engine mounts to AU engine. Once all this is done I'll assess what needs doing from there and come up with new list. I'll post pics as I go. |
||
| Top | |
||
| XESP351 |
|
||
|
Spent some time on the ute doing bits and pieces.
Took the old exhaust out {DESCRIPTION} XE power steering lines gone {DESCRIPTION} All wiring out of the cabin and back in engine bay where it belongs. Bit of a mess and will take a fair bit of sorting out. {DESCRIPTION} {DESCRIPTION} Also started fitting XE engine mounts to AU engine, will only need very slight modification with die grinder. {DESCRIPTION} {DESCRIPTION} Also started removing fuel lines and spent too much time on the bonnet cable with no results, will try again tomorrow with fishing lines instead of wire. The plan is to take out all fuel lines and fuel tank tomorrow and also take out the bellhousing you see in pics which is for 250, VCT engine has it own bell housing mounted to it. Fair bit of work right there, see how it goes. |
||
| Top | |
||
| XESP351 |
|
||
|
Got a bit more done over the next couple of days....apologies in advance for some of the blurry pics but i'll put them up anyway i figure blurry pics are better than no pics..
Removed all fuel lines and fuel tank {DESCRIPTION} {DESCRIPTION} {DESCRIPTION} Tank ready to come out {DESCRIPTION} And gone...lots of cleaning up to do in its place, 31 years worth.... {DESCRIPTION} {DESCRIPTION} After a quick clean and vacuum, when the ute is running, i will give this area a proper clean with a pressure washer and rust proof the lot.. {DESCRIPTION} {DESCRIPTION} Removed the old steering box {DESCRIPTION} New one is ready to go (sorry for pic) {DESCRIPTION} Finally managed to get the bloody bonnet cable grommet through after many attempts and broken fishing lines hahah, patience paid off.. {DESCRIPTION} Then I decided to take out the steering column which involved a fair bit of work because the car has an alarm and immobilizer with lots of wiring that's hooked into the ignition and indicator switch etc and i didn't want to cut any wires, also the shear bolts on the ignition barrel gave me the skits so this took a fair while but it's out now, here is the column shift unit next to standard unit which will be replacing it, the difference in length is clear.. {DESCRIPTION} And finally here is a random shot of the ute before it was pulled to pieces, gives me a bit more motivation. {DESCRIPTION} |
||
| Top | |
||
| XESP351 |
|
||
|
Some of the bottom mounting plates and brackets had a bit of corrosion so I gave them a couple of coats of POR15 and let them dry
{DESCRIPTION} Sorted a replacement bolt for the stupid shear bolt on the ignition barrel {DESCRIPTION} Assembled, cleaned and lubed the steering column, now ready to be installed as soon as the painted bits are dry {DESCRIPTION} |
||
| Top | |
||
| XESP351 |
|
||
|
So the steering column ended up being too short so much so that I didn't have any thread to fit the steering wheel.
{DESCRIPTION} {DESCRIPTION} And here is the difference in length between the old manual column shift steering column shaft and new steering column shaft, I need something somewhere in the middle:D {DESCRIPTION} Turns out the short column is out of an XC auto column shift and they are shorter, I have since got another column out of an XD ghia and will be fitting that soon. So i removed the old steering box and didn't like what was underneath, so I cleaned, rust proofed and painted underneath then fitted new unit, also note old brake master cylinder as it was replaced too. {DESCRIPTION} After shots {DESCRIPTION} {DESCRIPTION} {DESCRIPTION} {DESCRIPTION} Refurbished booster {DESCRIPTION} Removed bellhousing {DESCRIPTION} New engine with bellhousing already on it {DESCRIPTION} Also hit a stumbling block with the engine mounts, the LHS mount needs a fair bit of meat taken off it as the oil filter gets in the way so i'm going to see if I can get some XG upper mount brackets and see how they line up. I'm starting to do a bit of work to the AU engine as it's easier to do it while it's out of the car, stripped the A/C pump off so need to source an A/C delete pulley out of an AU I, also need remove inlet manifold so i can degrease the engine properly and paint it. Plenty of work to do. |
||
| Top | |
||
| XESP351 |
|
||
|
After much friggin around with steering columns, the XD ghia one I has above was also too short for the XE steering wheel to fit, so i swapped that for an XE ghia unit (you can see the difference in length in the pic below) and sure enough it fit like a charm.
{DESCRIPTION} {DESCRIPTION} Next the wiring and electricals needed to be sorted out, here is what it looked like before.. {DESCRIPTION} {DESCRIPTION} Old battery terminals and wiring {DESCRIPTION} {DESCRIPTION} {DESCRIPTION} {DESCRIPTION} {DESCRIPTION} {DESCRIPTION} And after new terminals, and much wiring, connectors, heat shrink, soldering, sleeves and sh!t loads of time.. {DESCRIPTION} {DESCRIPTION} {DESCRIPTION} {DESCRIPTION} {DESCRIPTION} {DESCRIPTION} {DESCRIPTION} {DESCRIPTION} {DESCRIPTION} {DESCRIPTION} Pretty much rewired entire engine bay with the exception of LPG system, dizzy and alternator which are all XE wiring and need to be converted to AU by JPC (i converted the starter motor wiring). Also you can see above i also cleaned washer and overflow bottles best I can and fitted them, wired the washer motor and fitted new hoses. |
||
| Top | |
||
| XESP351 |
|
||
|
The coolant sensor at the back of the AU head was shagged
{DESCRIPTION} So I got and installed a new one along with other bits and pieces {DESCRIPTION} {DESCRIPTION} {DESCRIPTION} {DESCRIPTION} {DESCRIPTION} Also as I am not running AC on the AU motor I needed the delete pulley which came out on the AU I utes, this proved to be quite rare to find second hand so I got the sh!ts and paid stupid money for a new genuine one, last one in the country according to Bayford as the part is obsolete. {DESCRIPTION} |
||
| Top | |
||
| XESP351 |
|
||
|
Next up the engine needed a good degrease and a paint, here is what it looked like before..
{DESCRIPTION} And after {DESCRIPTION} {DESCRIPTION} With the engine mounts on {DESCRIPTION} {DESCRIPTION} And the AC delete pulley {DESCRIPTION} {DESCRIPTION} Got everything zinc plated, all the dirty greasy stuff came up well {DESCRIPTION} {DESCRIPTION} {DESCRIPTION} {DESCRIPTION} |
||
| Top | |
||
| XESP351 |
|
||
|
Now the engine was ready to go in...
{DESCRIPTION} {DESCRIPTION} {DESCRIPTION} {DESCRIPTION} And finally at home, fits like it was there from factory {DESCRIPTION} {DESCRIPTION} {DESCRIPTION} {DESCRIPTION} {DESCRIPTION} |
||
| Top | |
||
| XESP351 |
|
||
|
Now that engine is in, it was time for some ancillaries, and first up was power steering. I used XG power steering hoses complete with the cooler that comes on XG's, the only difference is that the fitting from the XG hose does not fit into XE power steering box, wish I knew that before I paid for a full reco XE box, otherwise I would have got an XG box which would have been a straight bolt on. Anyway I ended up getting Enzed to make me an XG high pressure hose with XE fitting at box end. The whole thing fitted beautifully, I had to get a bit inventive with the mounting of the cooler, but it looks like it was there from factory. Here are some pics of the whole system fitted.
{DESCRIPTION} {DESCRIPTION} {DESCRIPTION} {DESCRIPTION} {DESCRIPTION} {DESCRIPTION} |
||
| Top | |
||
| XESP351 |
|
||
|
I then started thinking about the cooling system, got some new radiator insulator rubbers
{DESCRIPTION} {DESCRIPTION} And I got a new XE V8 radiator with the outlets swapped over to match AU engine and sized to match AU hoses. I also had a thermo fan switch tapped into the radiator so when the fans are wired up they can plug straight into there. While the radiator was being made, I thought I would clean up the interior and put the driver's seat in {DESCRIPTION} {DESCRIPTION} New radiator {DESCRIPTION} And fitted straight in {DESCRIPTION} {DESCRIPTION} {DESCRIPTION} A photo of the bottom hose and the switch in the radiator, as you can see the hose is a universal one. {DESCRIPTION} Top hose was just the standard AU hose shortened and it fitted fine {DESCRIPTION} |
||
| Top | |
||
| Who is online |
|---|
Users browsing this forum: No registered users and 0 guests |