|
| bennettpr |
|
|||
|
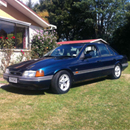
Hi all,
Sadly, the mighty EB V8 had to go to pay down some debt (sold too cheap too - guy that got it was a lucky bugger in hindsight). With the remaining cash I got a 1998 Fairmont from Auckland sight-unseen. Turned up running and warranted until Jan 2014 but rough as guts inside. Long story short, I watched all the '13s for $1300' videos and thought "Hell, I could do that!". My one has to remain street legal and roadworthy, as it needs to do double duty as a general second car, but it doesn't need to be flash, or shiny as I'll be the only one driving it. Before I could think about it too much, I started gutting the old girl to strip some weight out. Plan is to mod the air intake to get more direct cold air in, install better headers and a straight-through exhaust that still meets NZ warrant standards, mini spool and taller gears and then hook up a NOS kit and purge valve, fit a second set of sticky rear tyres and see how quick it runs (and how long it lasts). Might do a couple of small cosmetic things along the way. I've done a cost up and I reckon I can get the whole thing done for around $3,500 given that I won't be able to do the diff mods or weld up the new exhaust myself. At the moment it's had the guts stripped out, interior cleaned and seats reinstalled. (Discovered it must have been a taxi at some point - mobile comms kit was still buried in the dash wiring.) Distributor died 2 days after getting it (a great sign!) and when it was pulled out the module had died and it wasn't spinning freely either. Dizzy is being refitted tomorrow and hopefully I can get it running again then. Looks like it's had and XR6 head fitted at some stage too, not sure yet if head internals got changed out for better XR6 ones. Biggest decision at the moment is how to get cold air in without needing to cut a scoop in the bonnet - not sure how cop-friendly a home made bonnet scoop would make me... 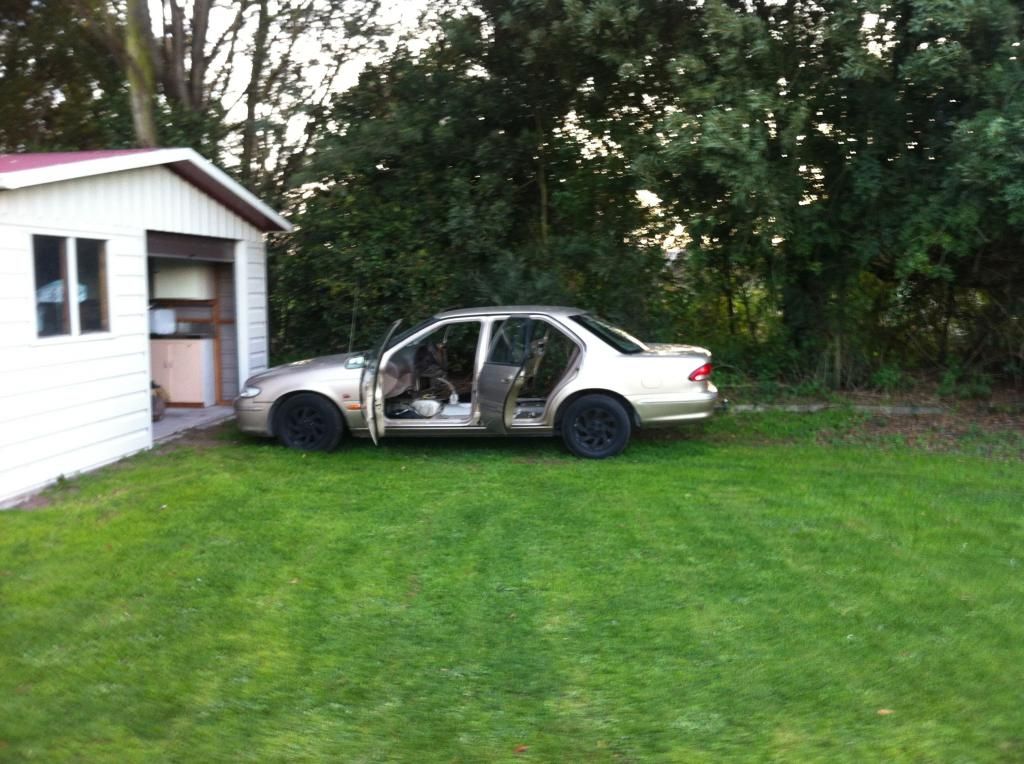 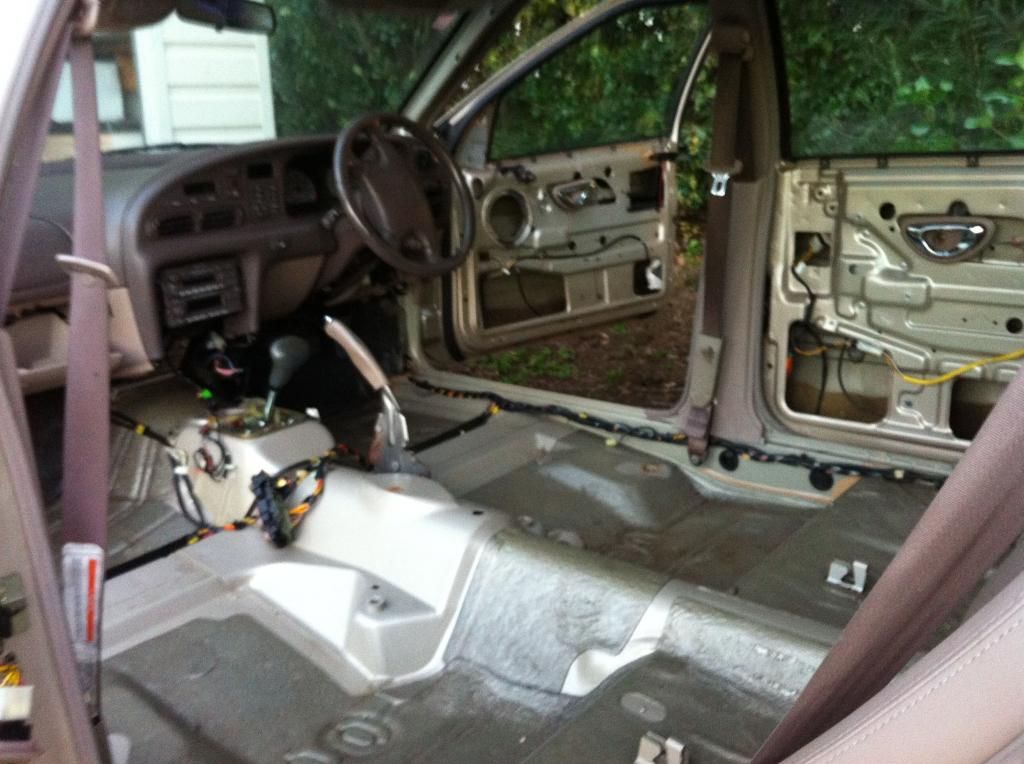 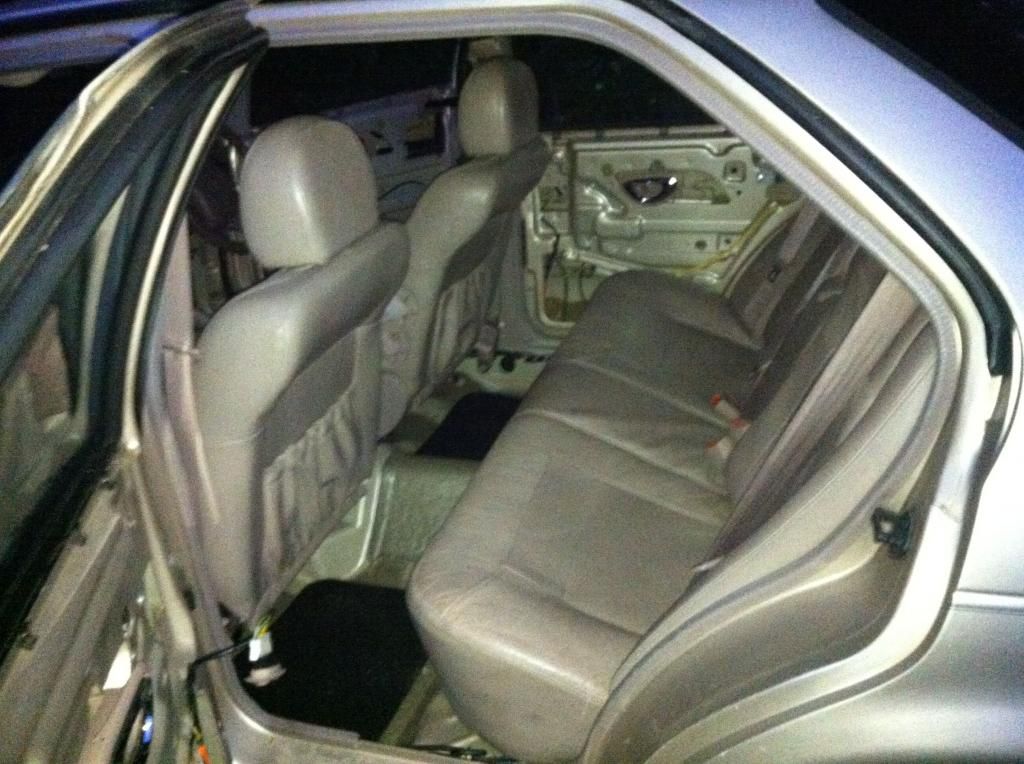 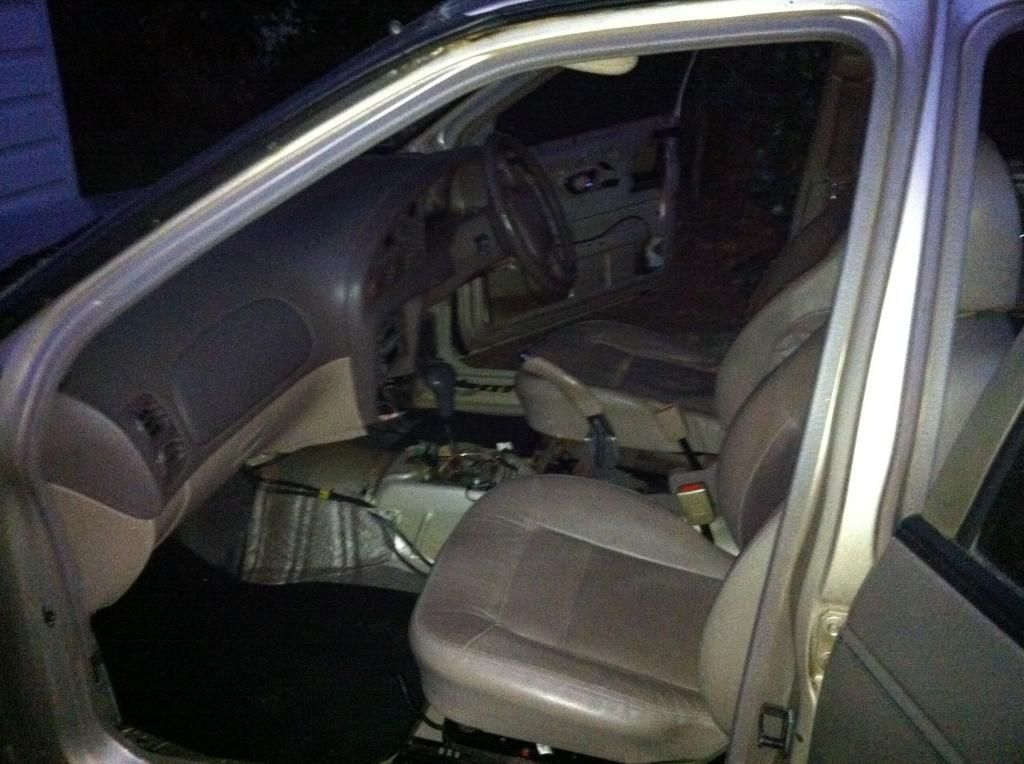
_________________ {DESCRIPTION} |
|||
| Top | |
|||
| fairlane6970 |
|
|||
|
Keep us posted on the build you might be able to duct cool air from the "vents" in the front bar.
_________________
|
|||
| Top | |
|||
| bennettpr |
|
|||
|
"Cold air intake" installed, courtesy of $20 worth of Marley plumbing, a power drill and a metal file.
Step 1 - install plumbing Intake piping runs from front left spotlight area in bumper... 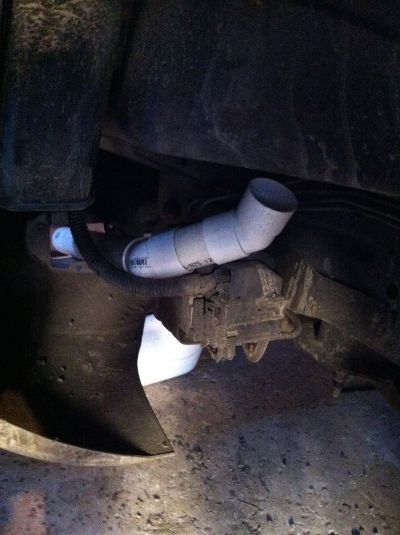 Step 2 - gouge appropriate sized hole in base of airbox 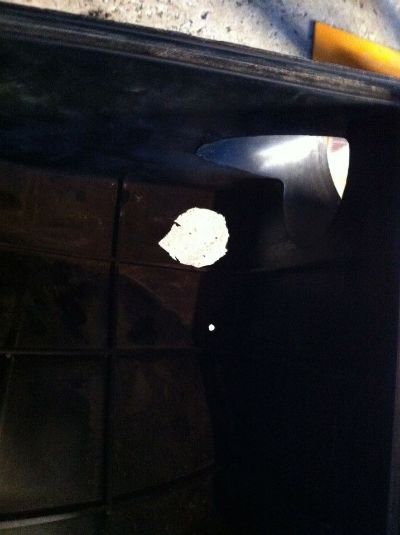 Step 3 - mask out area for hole in body just under airbox. Drill and file out.  Step 4 - connect plumbing Yes, it looks awful. In my defense, I have since brought another 45 degree coupling and I'm going to tidy up the ends and spray it black so it's a bit less redneck. 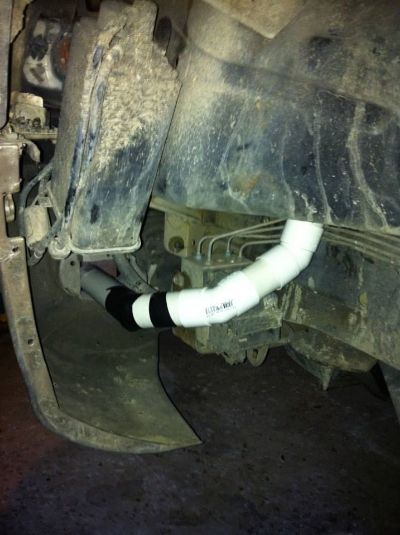 Result - noticeable improvement in power and throttle response. Despite how it looks, rain and general crap in the airbox doesn't seem to be an issue even here in NZ in winter.
_________________ {DESCRIPTION} |
|||
| Top | |
|||
| bennettpr |
|
|||
|
{USERNAME} wrote: Keep us posted on the build you might be able to duct cool air from the "vents" in the front bar. Cheers fairlane6970, I ended up going that route - easy, cheap and pretty effective to get cold air in that way.
_________________ {DESCRIPTION} |
|||
| Top | |
|||
| bennettpr |
|
|||
|
The dirty old panel filter came out and this filter and piping went in.
$15 off Trademe for 2 pods and some custom stainless piping off a 302 V8. Guy practically gave them away Piping rubs on the bonnet, but that's fine, as it stops the filter bouncing around. Better intake note and definitely feels like the engine is breathing better at the intake end. 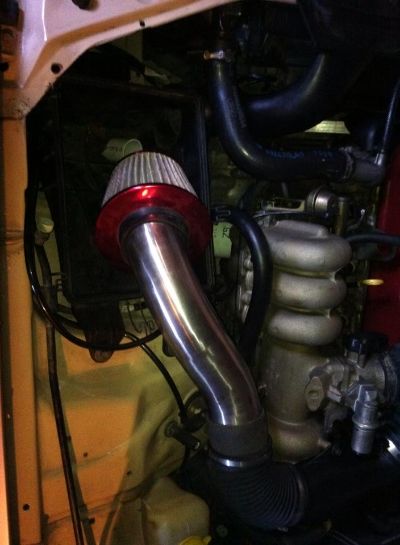
_________________ {DESCRIPTION} |
|||
| Top | |
|||
| bennettpr |
|
|||
|
Switch panel fitted from 0.5mm aluminium sheet.
Eventually this will hold NOS switch, NOS purge button and shift hardness dial. For now, I shifted the power / econ switch to this panel. Sick of it bouncing around on the floor around the shifter 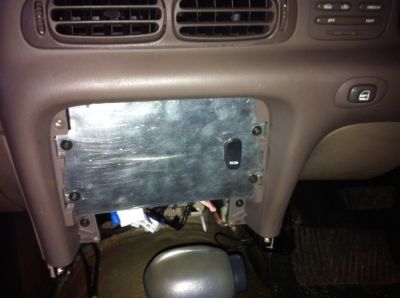
_________________ {DESCRIPTION} |
|||
| Top | |
|||
| bennettpr |
|
|||
|
Slow going lately. Work busy and some medical stuff to take care of.
Tidied CAI pipe as it was messy - extra 45 degree bend in and aluminium locator strap in. Now it just needs a spray in black and a trim at both ends and it'll be "good enough" 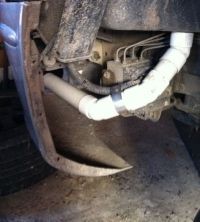 Had trans flushed today, which has helped shifts a lot. Next steps are to fit aluminium door skins, fill speaker holes in rear parcel tray, fabricate shifter surround & mount window switches. then it's on to new headers & exhaust, then mini spool & taller diff gears
_________________ {DESCRIPTION} |
|||
| Top | |
|||
| bennettpr |
|
|||
|
Slow going. Have hit the part of the build where I need cash for lowering springs, diff, headers & exhaust & nitrous kit.
Going in for surgery in 2 weeks and run my own business so need to make sure that the business and family have cash, therefore car spend is low priority right now. Have done a few things though. Speaker panels filled in with 0.5mm aluminium sheet:  One door panel test fitted - needs to come out and be trimmed up & have door handle slot cut in: 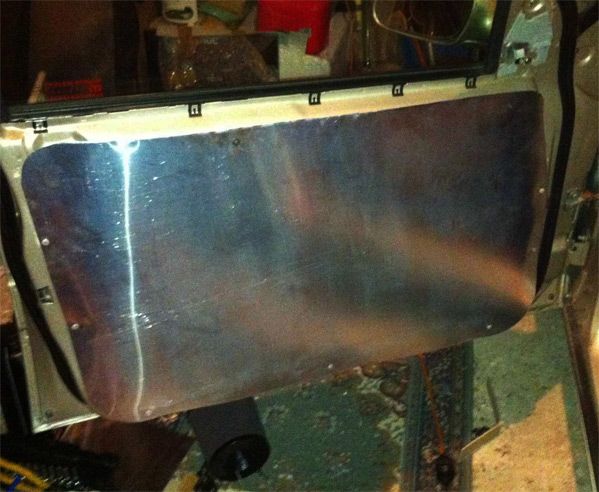 Spent a day stripping ugly, flaking black paint off wheels. before: 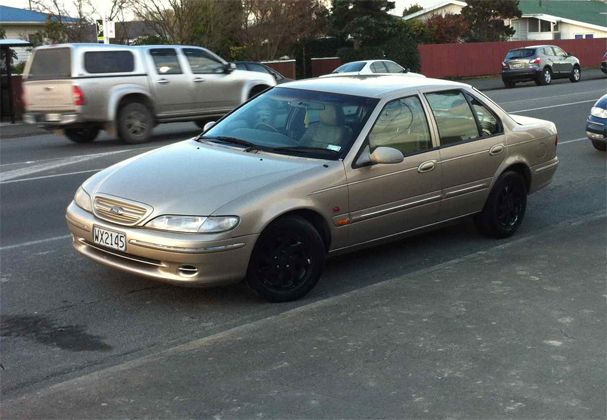 after: 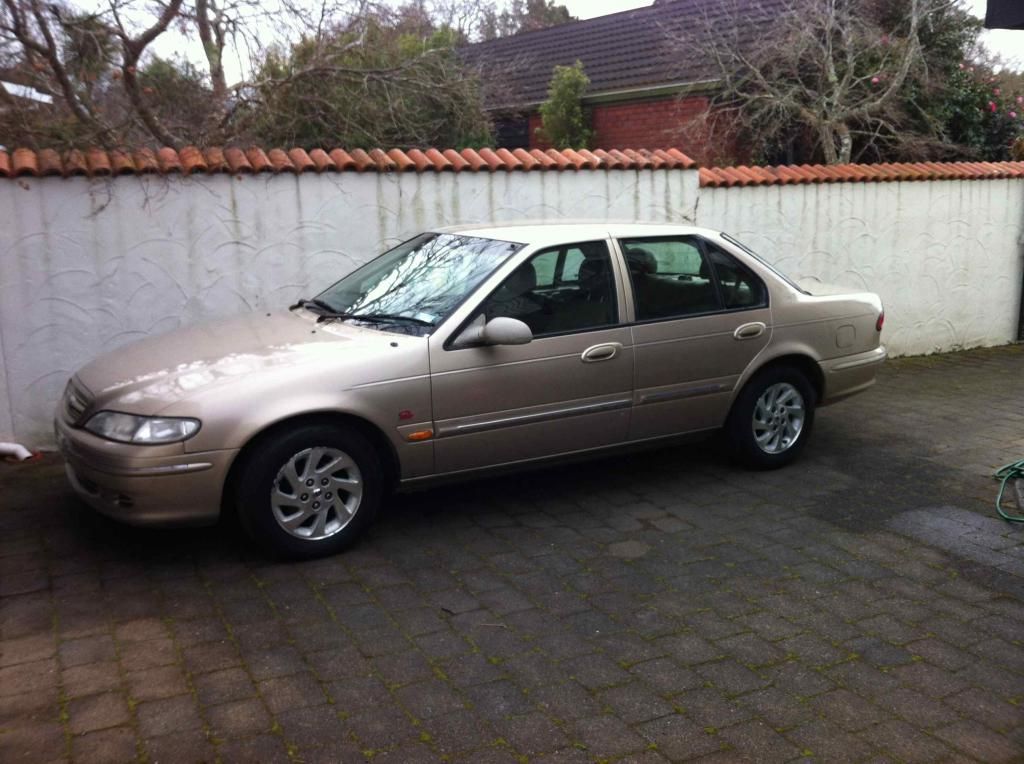 Wheels are still rough and will need a ton of sanding to get looking decent. What was going to be a simple job turned into a 6 hour mission. Just say no to painted factory alloys. A big bonus was that the Ghia centre caps came up perfect - I was worried that the paint stripper would take the badging off.
_________________ {DESCRIPTION} |
|||
| Top | |
|||
| bennettpr |
|
|||
|
Slow progress, but there is progress.
Sold a gun I was never going to use and bought a set of FG XT wheels with good tread on all tyres. Spacing is off, so have ordered 4 x 10mm spacers (I know, I know...) from Ebay and will see if that gets them sitting on nice. Did a trial run and they will look damn fine once fitted and not rubbing on the shock tower or front suspension mount. 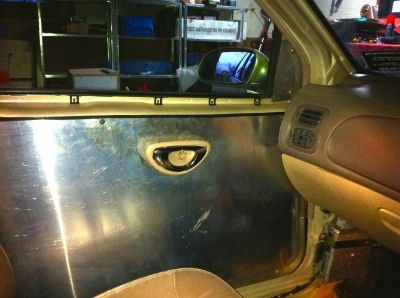 Door handles back in - have also fitted electric mirror switch into drivers side door panel (will post another photo), which sits nice and flush thanks to the built in clip. Drivers door had the lock knob floating around behind the panel, so I fitted a small bracket to keep it in place. Will post a photo of that soon too. 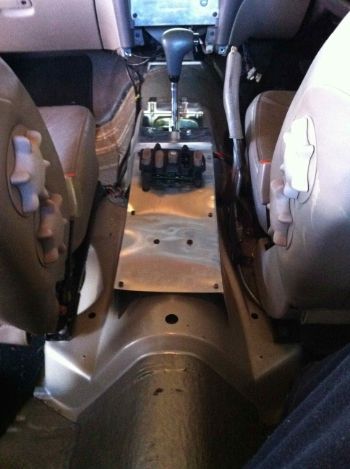 Centre window switch panel "fabricated" and fitted (although 0.5mm alu sheet feels a bit more like working with shiny cardboard than real metal). Now the windows go up and down! (Well, the front ones do. I think the contacts for the rears are a bit knackered) 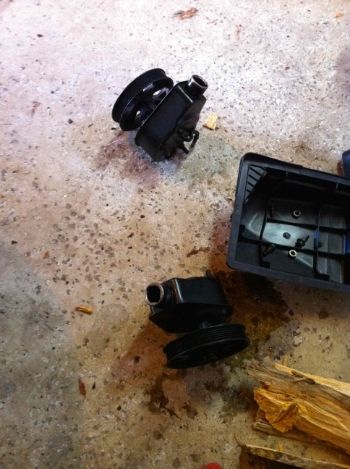 Power steering pump decided to start dumping fluid all over the garage floor, so it was off to the wreckers to find a replacement. Plenty of EL falcons around. One EB there and an XD too, but both were in too sad a state to do anything with. 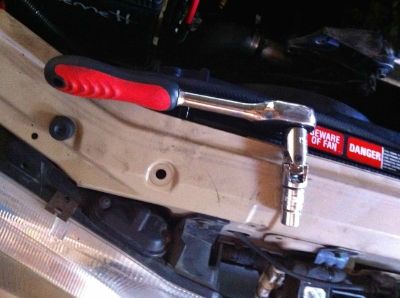 Power steering pump replacement is an a** of a job. The hose and bolts at the rear are fine to remove. The real hassle is getting to the 2 x 13mm bolts that hold the pump to the flange at the front. There is bugger all gap between the thermo fans and the pump body and you have to maneuver a socket wrench in between the gaps in the pulley. After much swearing and one episode of chucking tools around the garage - which resulted in a socket extension rebounding off a tyre and coming back dangerously close to my knees - I sucked it up and bought a 1/2 inch socket wrench and sockets. Turns out the 1/2 inch drive, with the universal connector and the new 13mm socket (I bent my other 1/4 inch drive 13mm socket trying to get the first of the front pump bolts out) were just what was needed. Still a prick of a job but much easier with the right tools. Headers and exhaust are up next. Following that I'll get the diff sorted, then new springs and shocks, then the nitrous kit.
_________________ {DESCRIPTION} |
|||
| Top | |
|||
| bennettpr |
|
|||
|
The FG XT wheels had to go as offset was all wrong. Well, rears would have been OK but fronts were way off.
Funds from selling those went to my wife's studies so haven't had any spare $$ to put into the car Power window switch went back into door and door handles fitted. Made them from 2mm aluminium bar, which is great to work with. Softe enough to cut and bend reasonably easily but way stiff enough for this type of application. 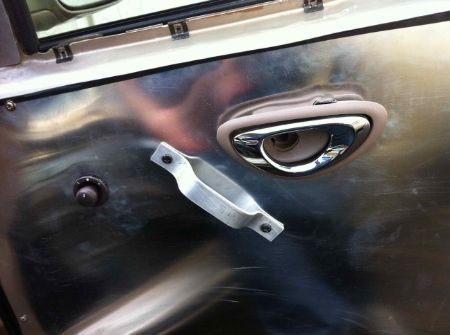 Scored some wheel polish for free (Supercheap store credits) and polished up the wheels that I've spent hours paint stripping and sanding a really bad black spray job off of. Makes a big difference. 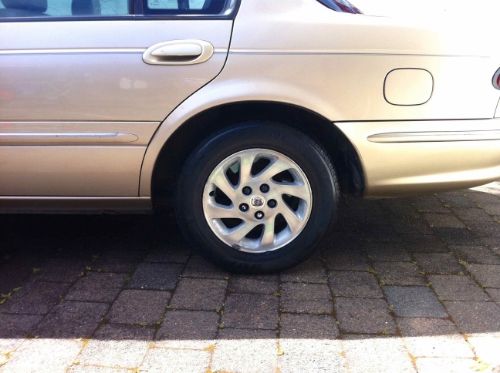 Car is looking tidy and running really well - just need about $3,500 to get all the parts together and get them installed....
_________________ {DESCRIPTION} |
|||
| Top | |
|||
| bennettpr |
|
|||
|
Just cosmetic mods at the moment.
Limited funds but have officially started stashing cash separate to the family finances and drag season is about to start here, so looking for things to speed up over the next few months and finally get some decent parts in. Sprayed cold air intake so it looks a bit less ... crap 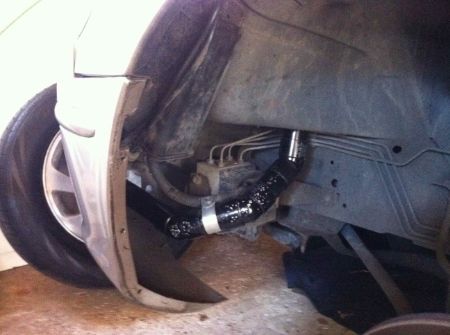 Primed and sprayed the under wiper plastics too, as the original tan was making me want to gouge my eyes out. (Note the beautifully crafted cover I made for the aerial hole.) 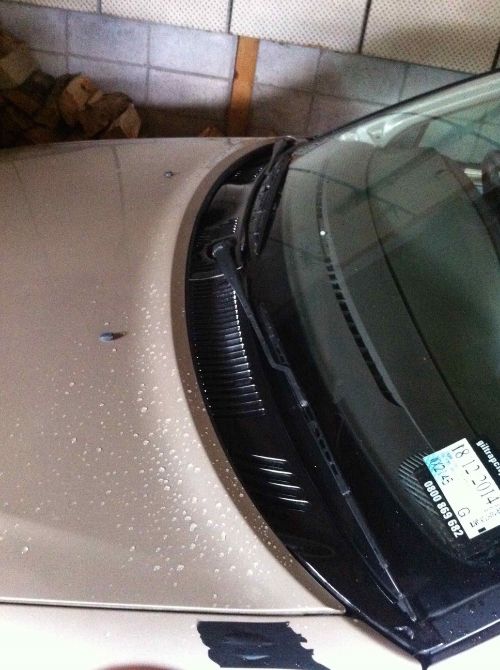 The stainless intake pipe was holding a bit of under bonnet heat. Trimmed the back off the old airbox and then primed and sprayed it to seal the filter off from that under bonnet hot air. 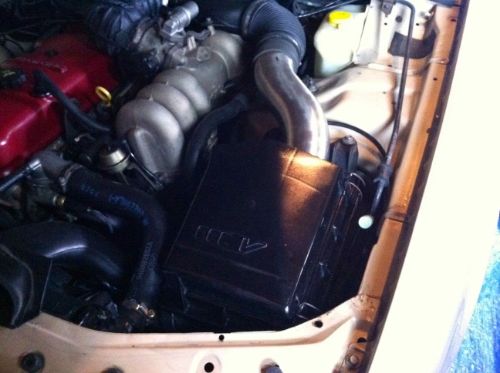 Passenger mirror was a real mess of scratches, bad paint and shoddy sanding. That got the sand back, primer and spray treatment too. 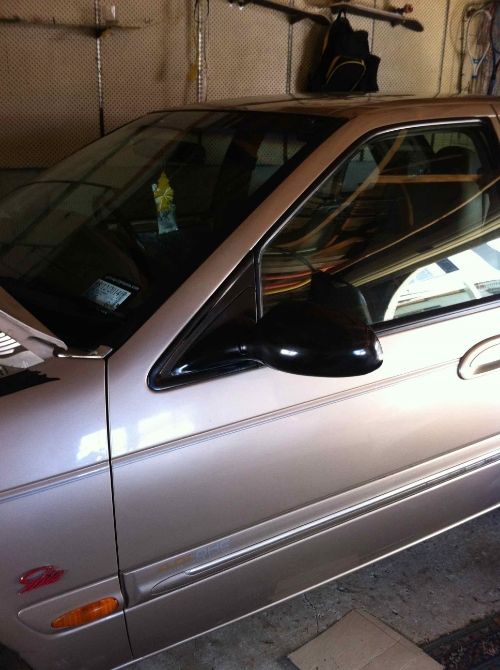 First drag season day is just under two weeks away. I'm planning to enter just to get some passes under my belt and get used to things then hope to have a 13 second pass by the end of the 2014 / 2015 season, which gives me up to early April to get everything sorted.
_________________ {DESCRIPTION} |
|||
| Top | |
|||
| bennettpr |
|
|||
|
Finally got some decent bits in. We are slowly getting closer.
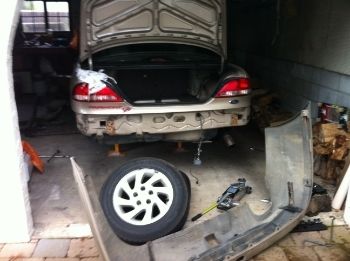
New Coby headers purchased and picked up a straight through exhaust and resonator from Trademe for $100, complete with mounting bolts. First things first - old headers and exhaust out 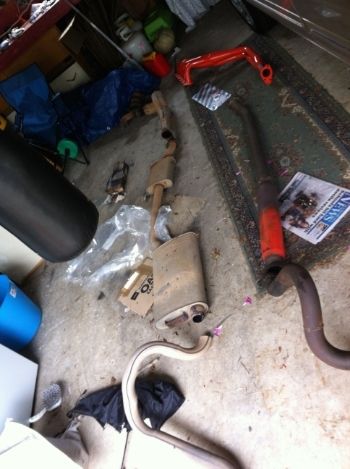 New headers in. Looking good for 5 minutes until I go out and burn all the paint off them. 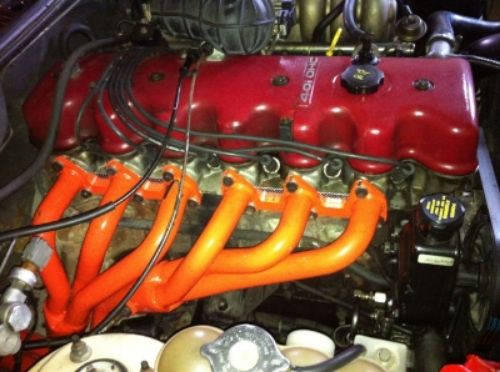 Then they look like this 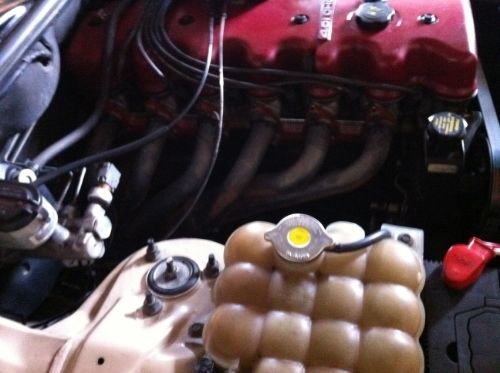 Exhaust looking better, sounding better and engine is breathing heaps better. She gets off her bum pretty well when the right foot goes down now. For some reason I have bits of melted rubber caked to the rear bumper now - not sure where that came from. 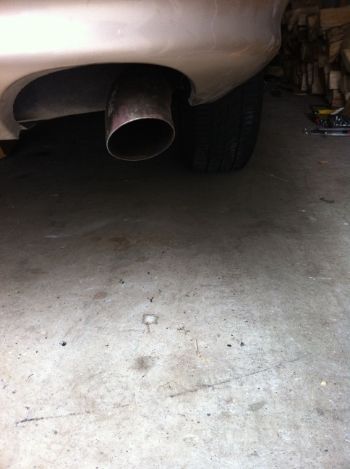 Went in for a warrant and was pinged for no rear door cards, worn front brake pads and surface rust around the rear drivers side door latch. Out came the angle grinder and the door latch rust wasn't so bad. Cut back some other pinholing in the sill and the grinder went right through. Houston, we have a problem. Looks like $600 odd worth of panel work is needed with more to come next warrant as panel beater has shown me the inner shell inside the front guards is rusting where the door hinge mounts are, which is "a big job". Drag plans are re-assessed, as cars need to be warranted and registered to compete in Super Street and car needs to remain a viable second car. Have missed Jan and now Feb drags due to warrant issues. The Fairmont is booked in for rust repair work in early March. All going well her first run on the big black dyno will be mid-March at Masterton Motorplex. In the meantime I've knocked some surface rust off the other sills and primed them to stop anything spreading 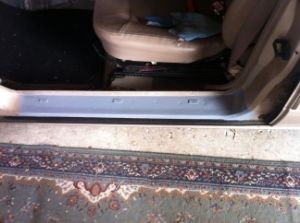 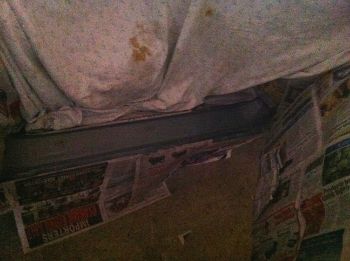 You know you're an amateur when you mask with electrical tape because you can't be a*** going to Mitre 10 to get some masking tape. Thought I'd mask up the door edges and spray them black while I was at it - the previous owner's "respray" work gets on my wick.  Guess why the boot is off. Yep, there's rust in that too - also driver's side. Mainly under the boot hinge bolts and around the edges, so next task is to grind and sand that back and prime it. Might as well become a panel beater while I'm at it. Might be cheaper and faster at this rate.
_________________ {DESCRIPTION} |
|||
| Top | |
|||
| bennettpr |
|
|||
|
Needed to get the bumper off to remove the old exhaust, so thought I'd whip off the towbar while I was there. Don't need it and turned out to be at least 30kg of dead weight, which now lives at the tip, 'cos lighter is faster.
 Decided to leave the stock diff in, as the Fairmont diff is a decent 3.45 LSD unit which I reckon will be fine for what I'm using it for.
_________________ {DESCRIPTION} |
|||
| Top | |
|||
| Who is online |
|---|
Users browsing this forum: No registered users and 52 guests |