|
| MAD |
|
|||
|
Someone recently suggested that I should do a thread about my car.
At first I didn't think it was worthwhile, or worthy for that matter, but after a bit of thought I decided there are a few things that I've done to my car that I'd like to share. It may inspire someone, it may help someone, it may do nothing for anyone, but in any case here goes.... I bought the car in Oct 2008 with 61,788km on the clock. I wasn't even looking for a car at the time. I just happened to click a link, one thing led to another and it was mine within a couple of weeks. 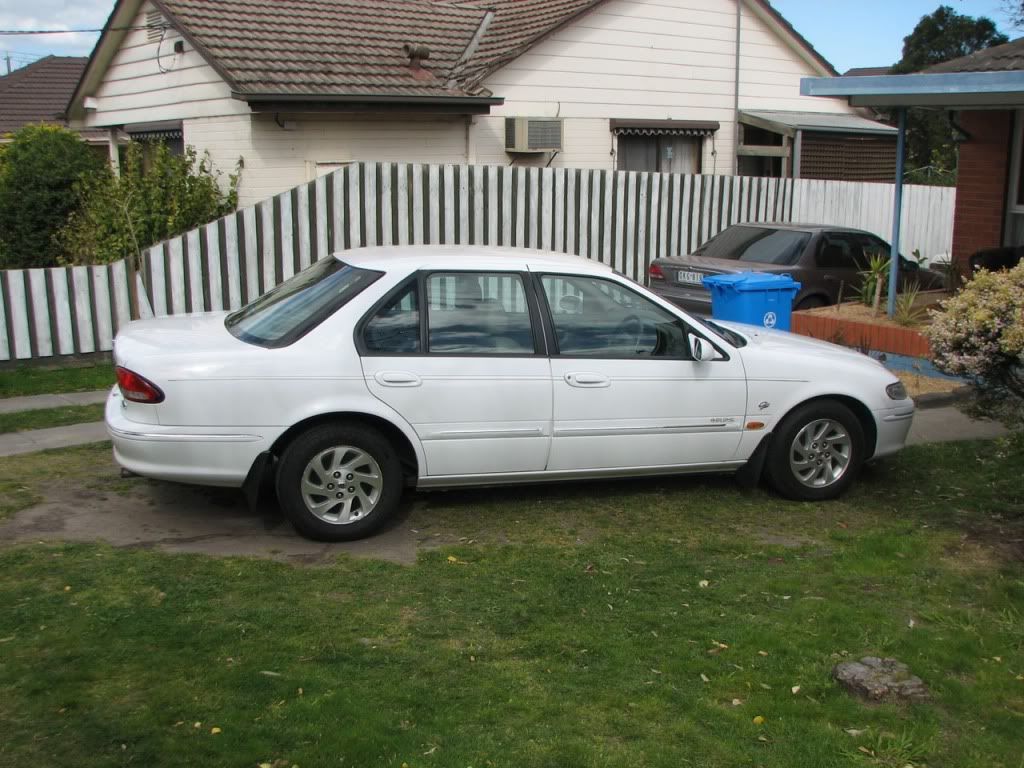 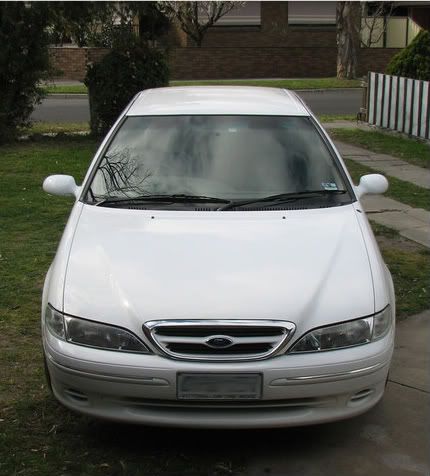 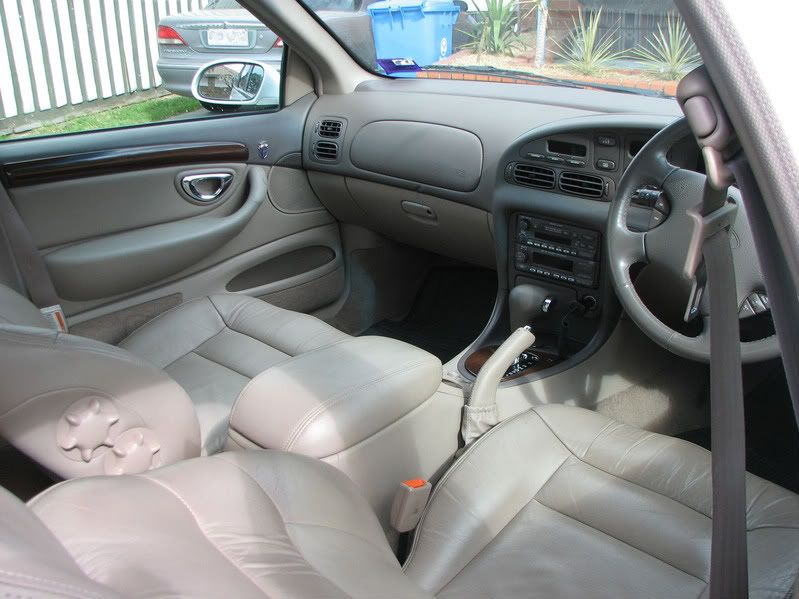 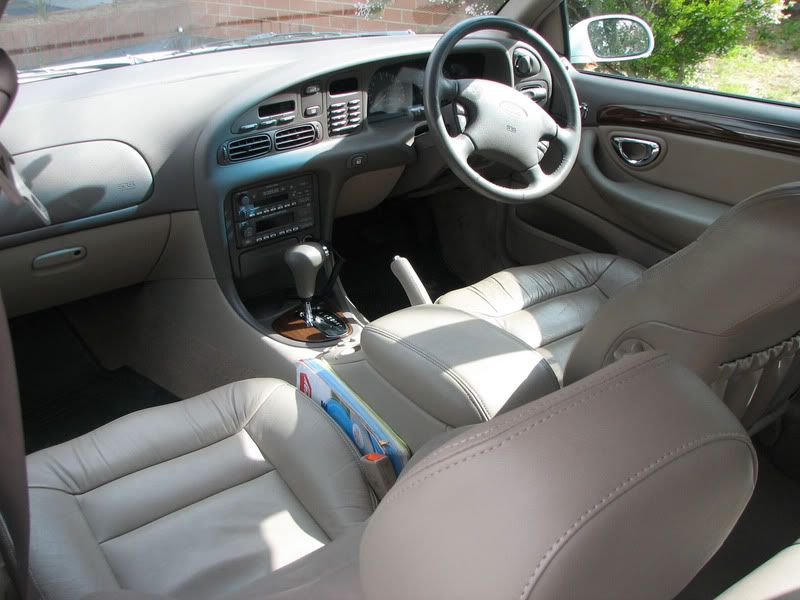 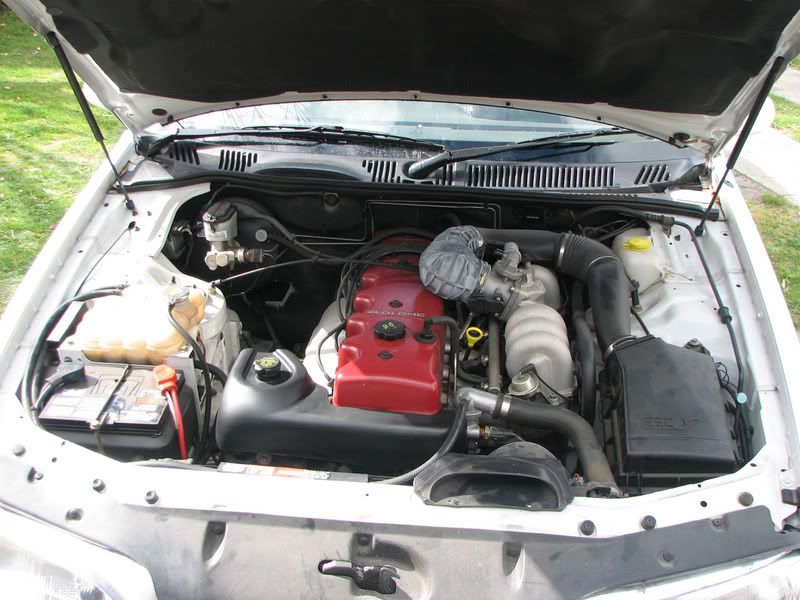 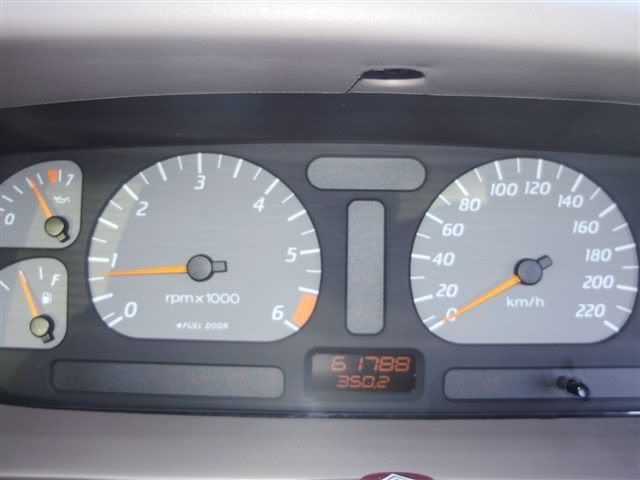 The first port of call was to change the suspension and convert to manual. I purchased myself a set of Koni shocks from GT Suspension in Melbourne before they went belly up. I mated these with a set of King Springs superlow springs front and rear. Christmas break 2008 rolled around and I took full advantage of the available time. Halfway through... 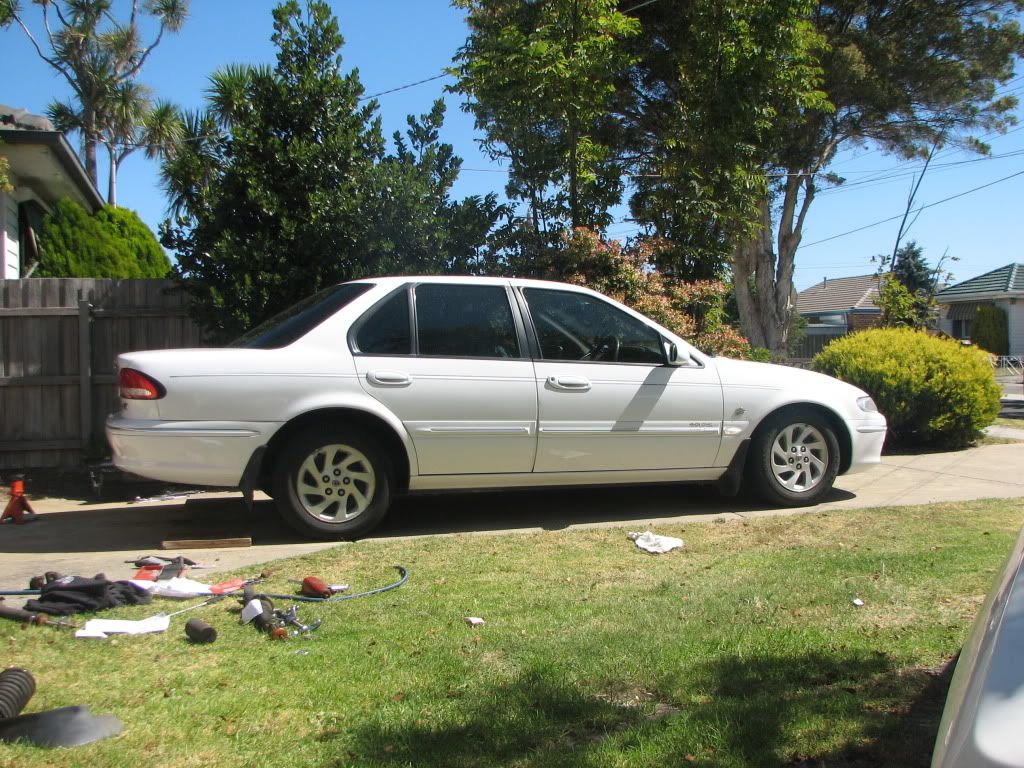 Done... 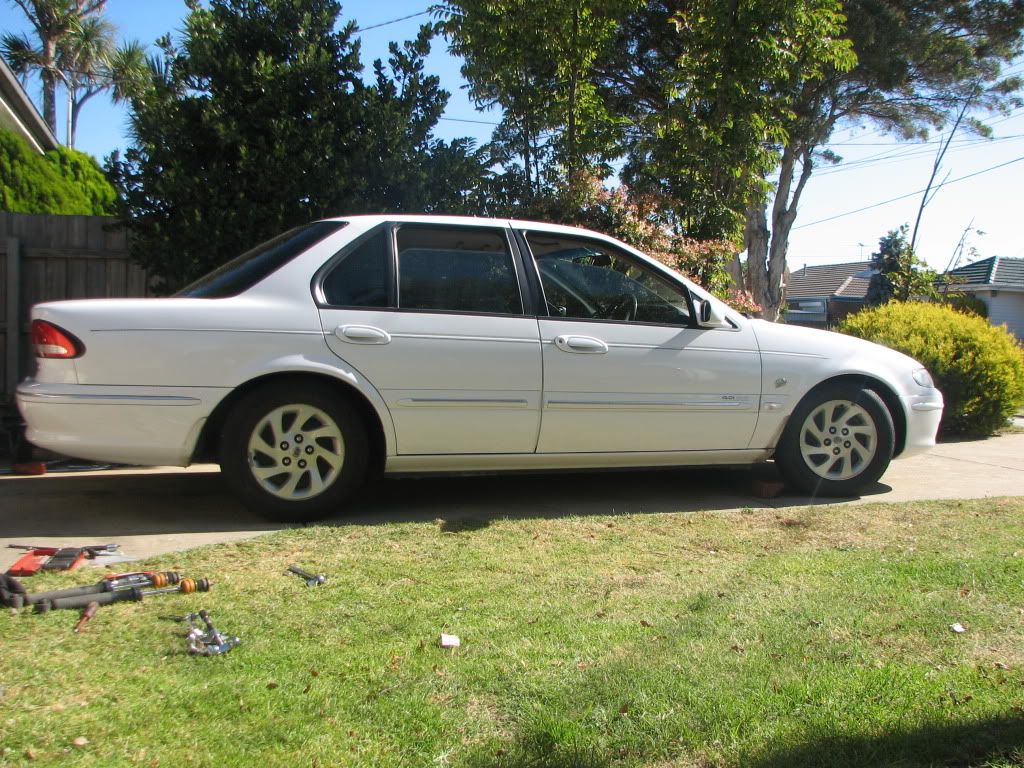 Now to give it a wash a fit it with better wheels, that came with me from my XF. Original home... 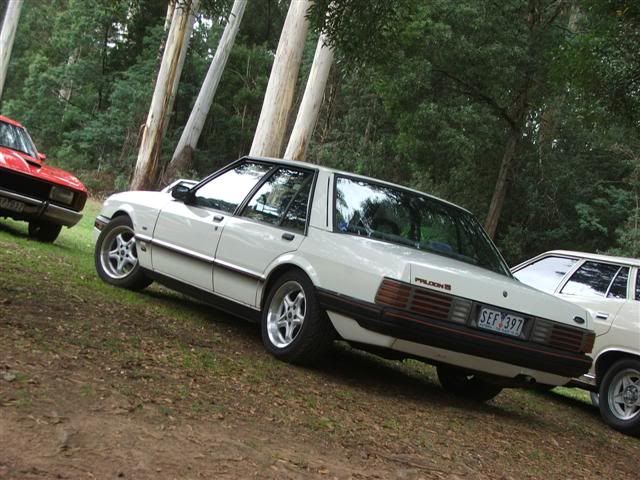 New home... 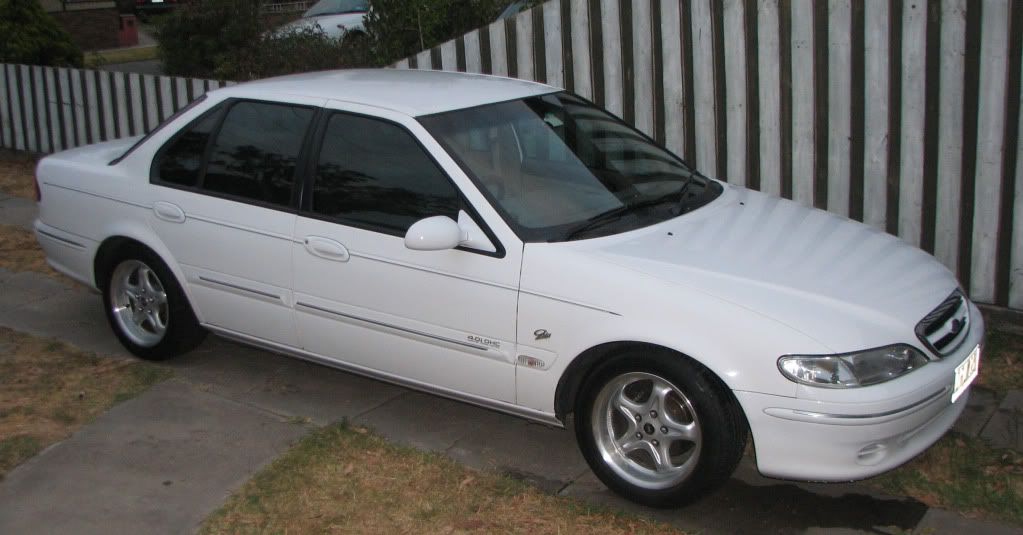 Springs still need to settle... 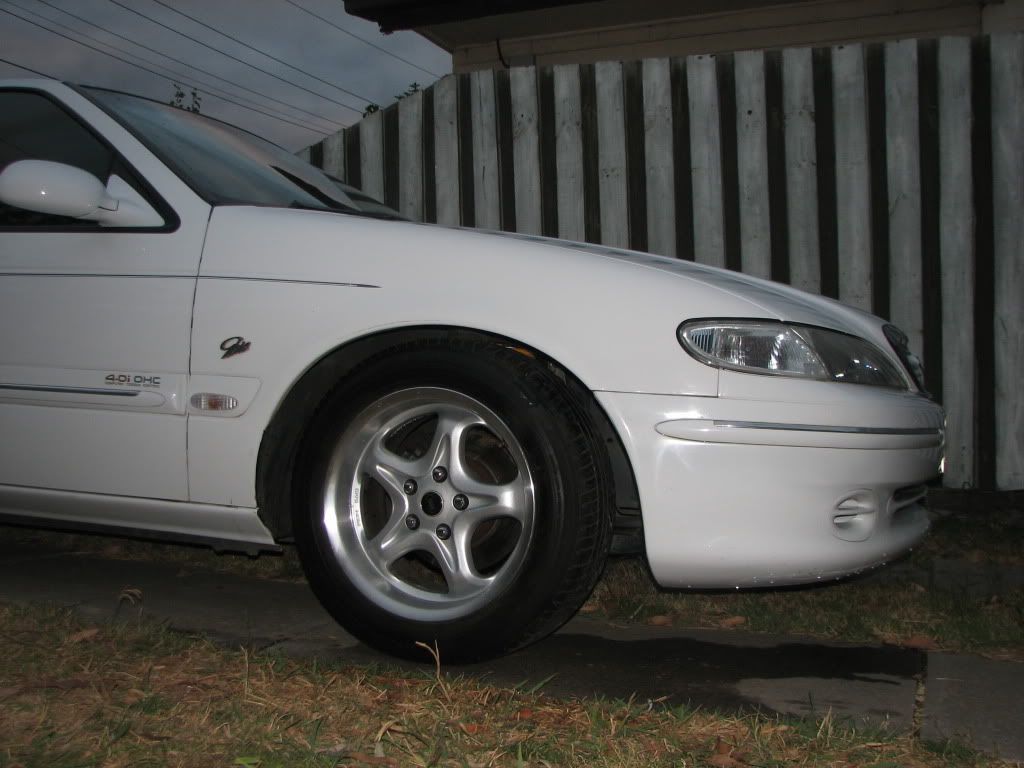 As I mentioned I also took this opportunity to convert to manual. Slushboxes just aren't my thing. And replaced my stereo, if you couldn't tell. 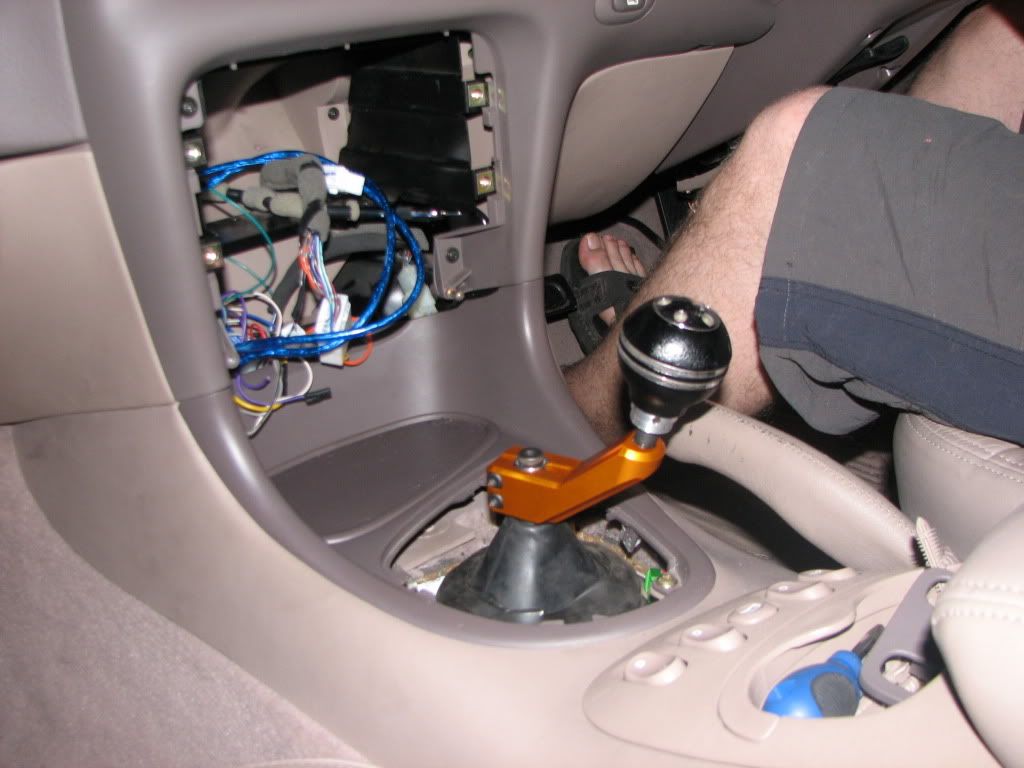 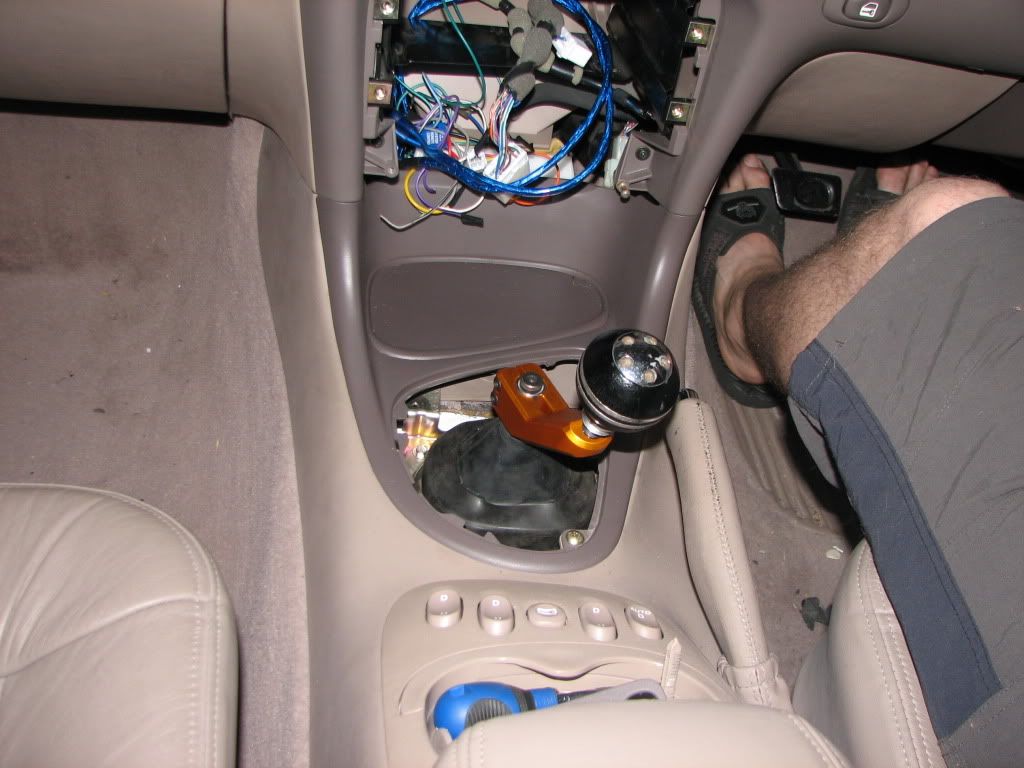 EL GT Gearboot, for the princely sum of $38 thanks to Ford spare parts, before they went NLA. 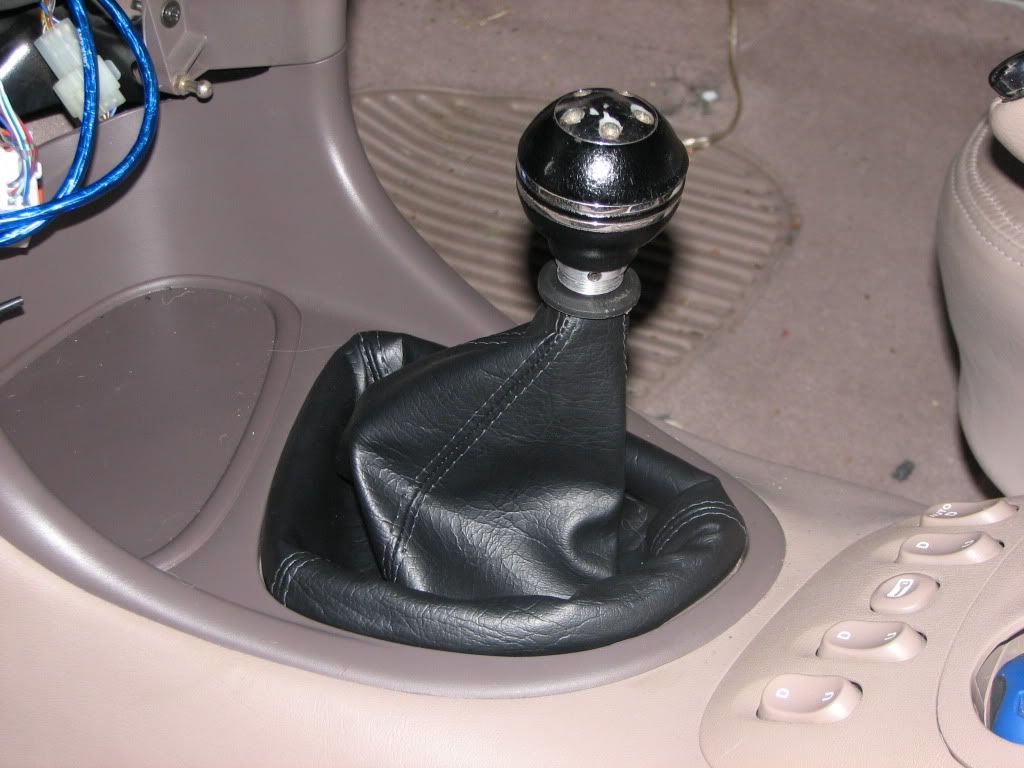  I used that Autobarn cheapo gear knob until I found one I liked. I was browsing ebay an found this one from Autotek.. mmm... momo goodness. Almost perfect match for the wood-grain in the car. 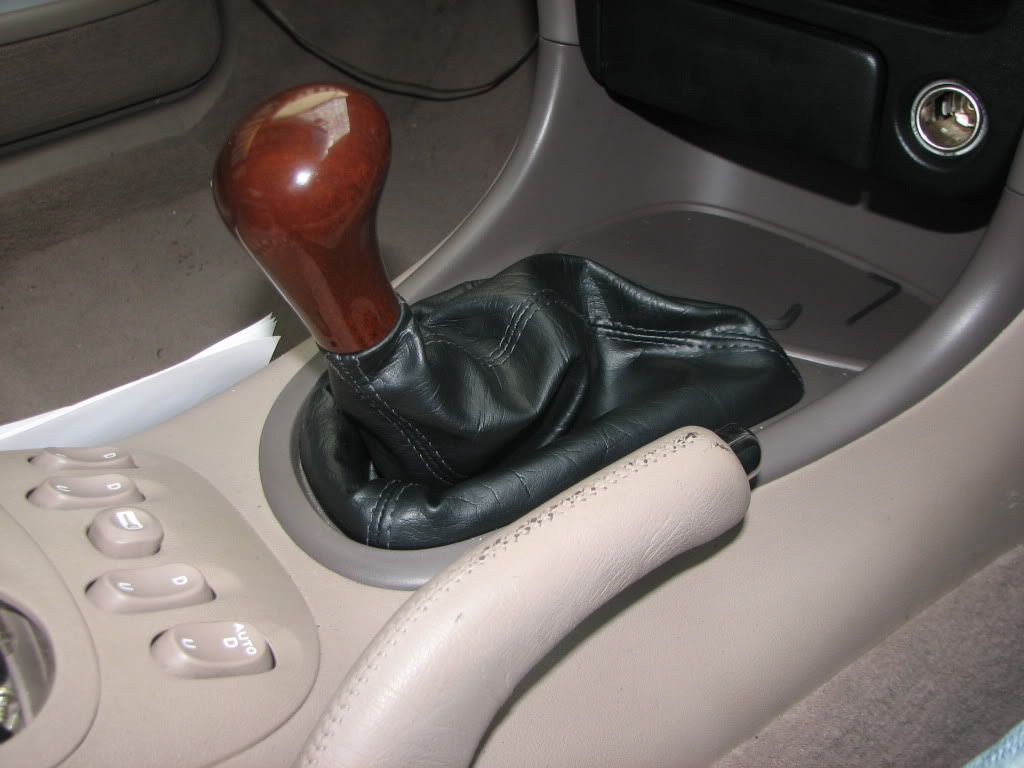 Short shift in action..  But something wasn't quite right, so I got something whipped up at work to finish it off... much better 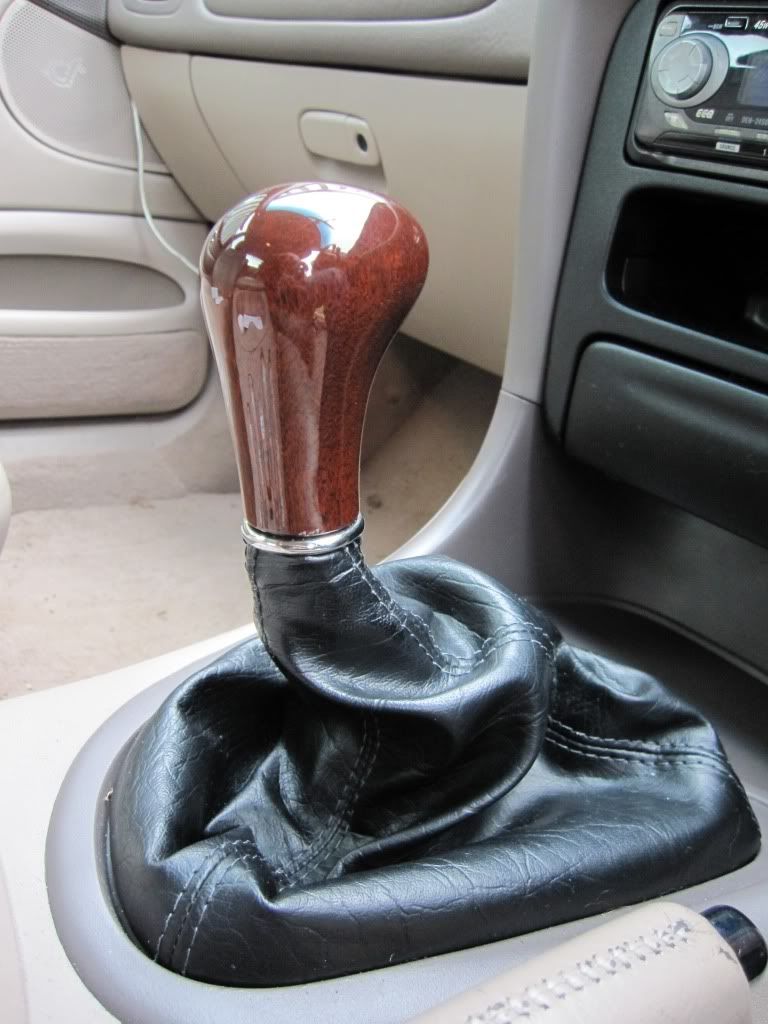 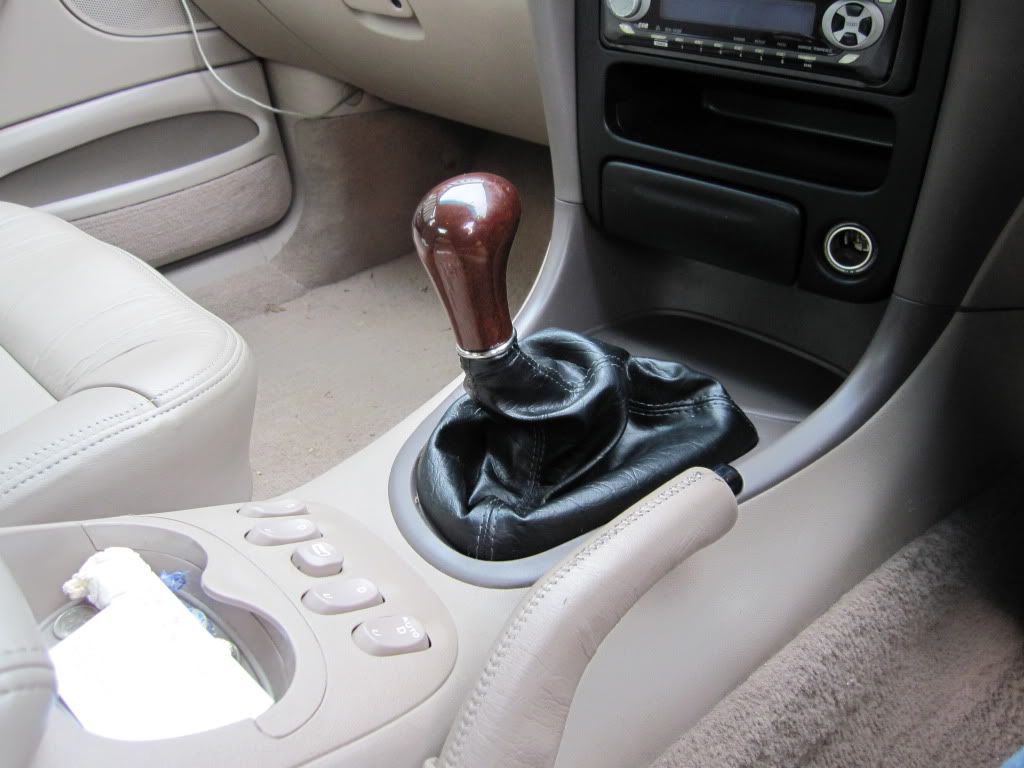 About a month later I returned to AFF properly, after being rather inactive due to uni studies, by joining in on my first cruise in a long long time. This was the Albert Park to Sorrento cruise organised by CADSKY. At which point the car looked like this... Thanks to whoever took this photo. 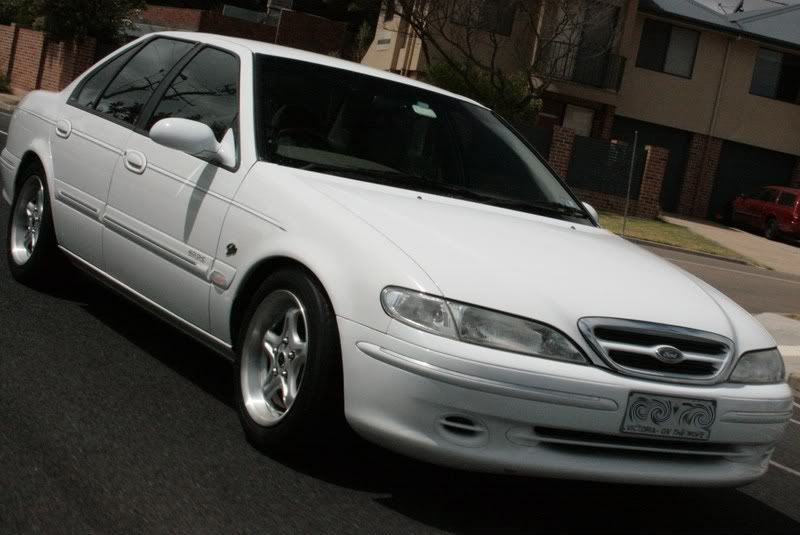 Just prior to this I learned of a group buy that Whoosha was organising for some airboxes made by Acron Plastics. The price was right, so I headed on over and picked one up. I love the induction noise these give, even on the 6. It's no 8, but it's still a pretty good sound. And it certainly felt like it was breathing a little better up top too....bonus. 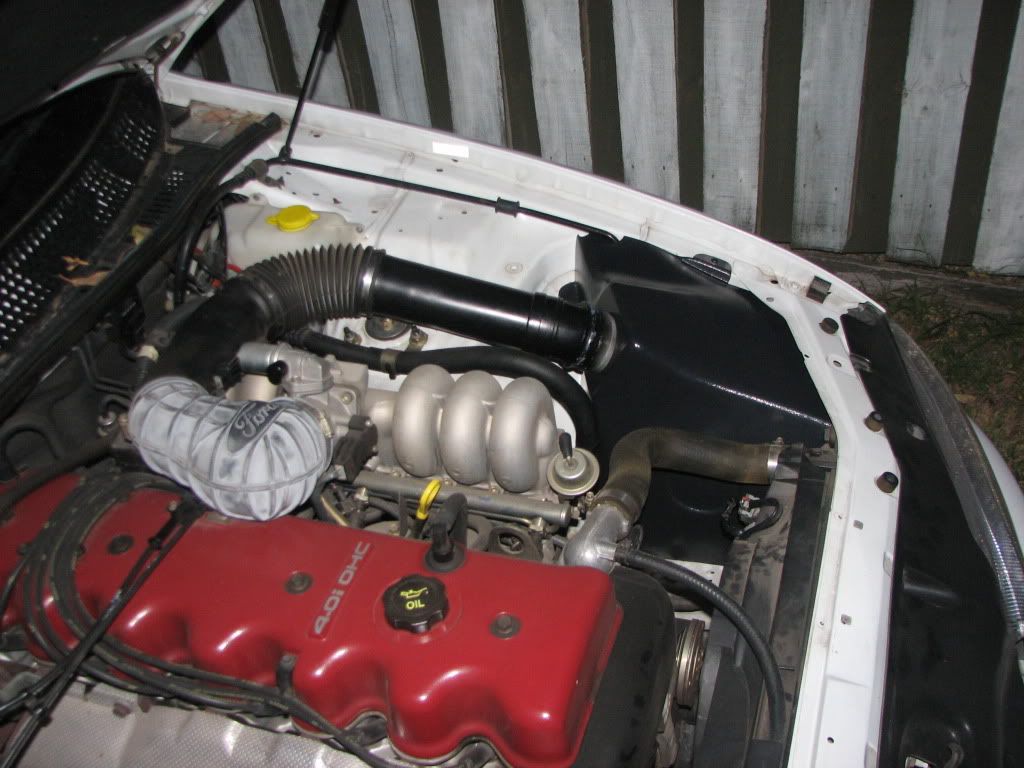 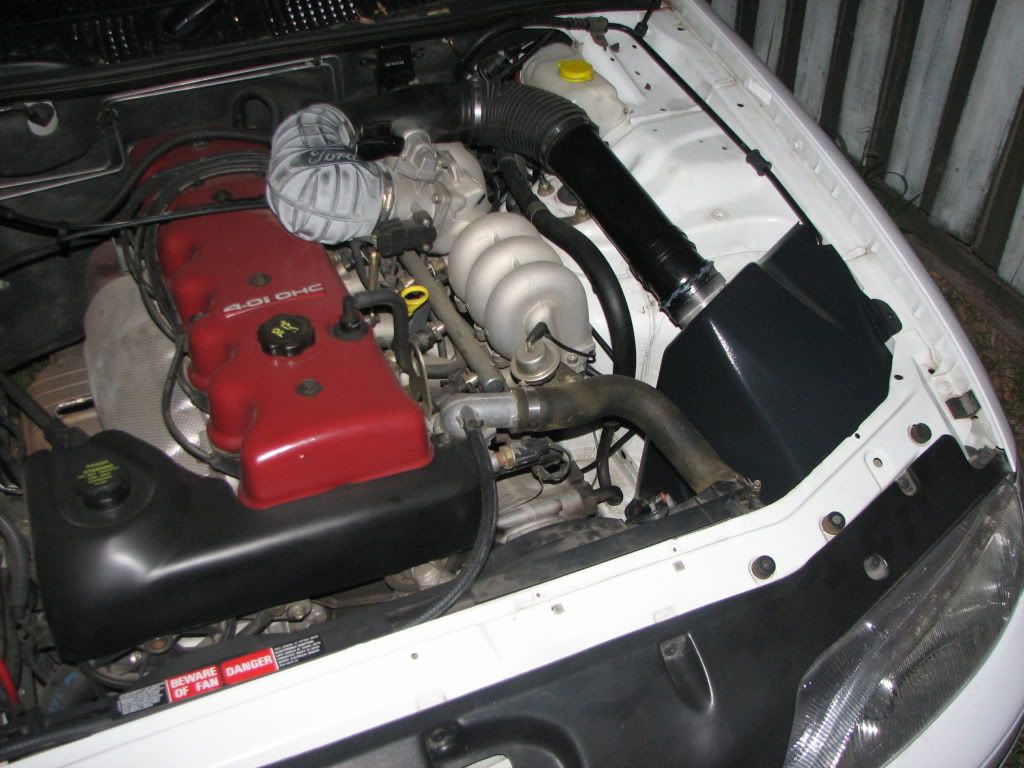 I cant remember exactly when I got this, but one day while scouring the for sale threads for ideas, it popped up, and I thought it was a nice match for my gear knob. 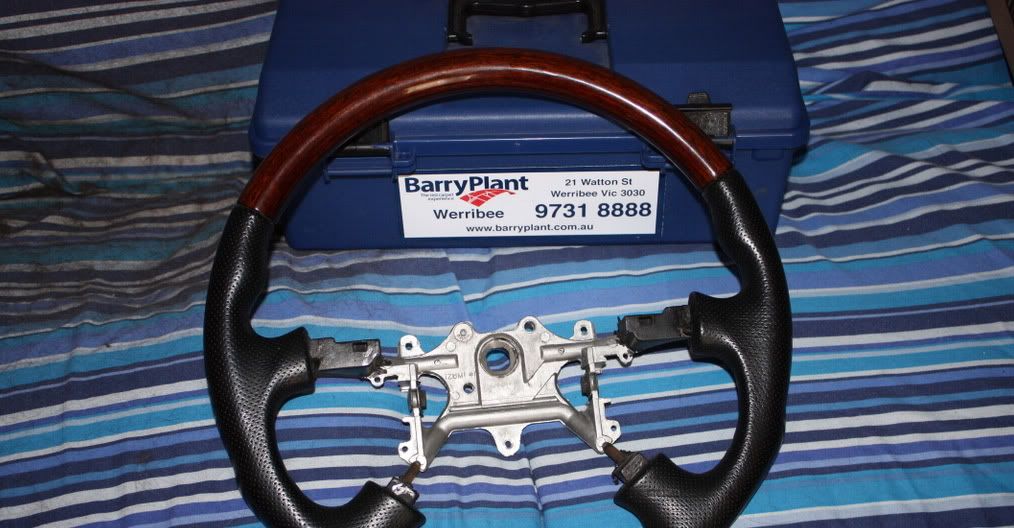 A nice match for my gear knob... 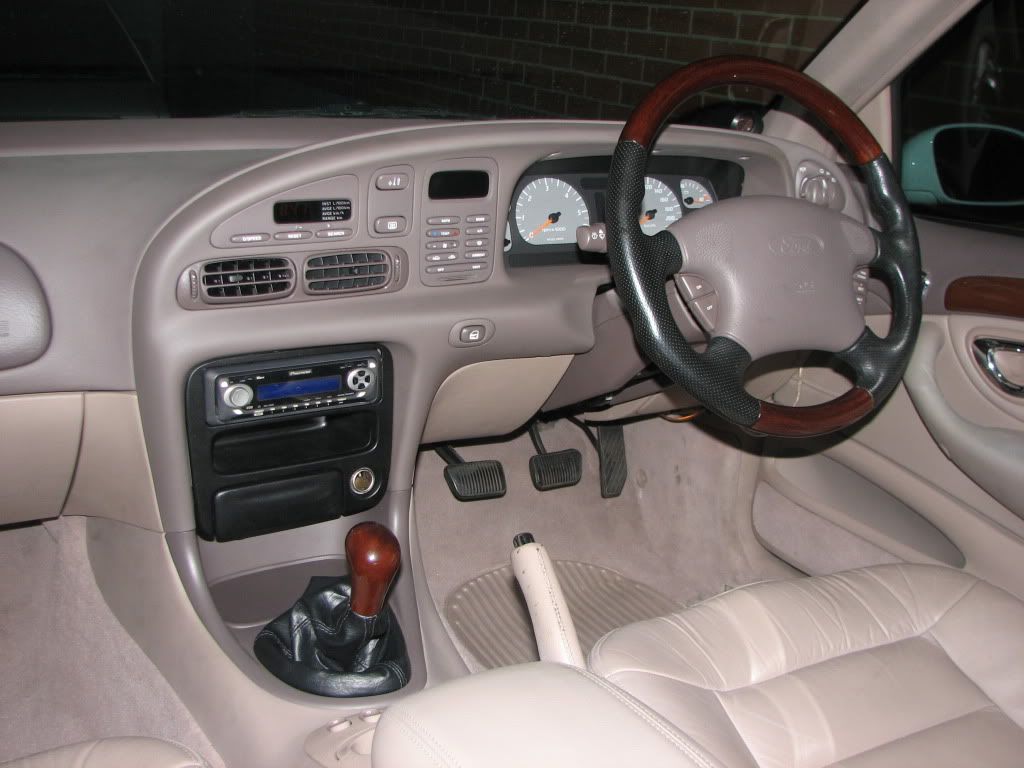 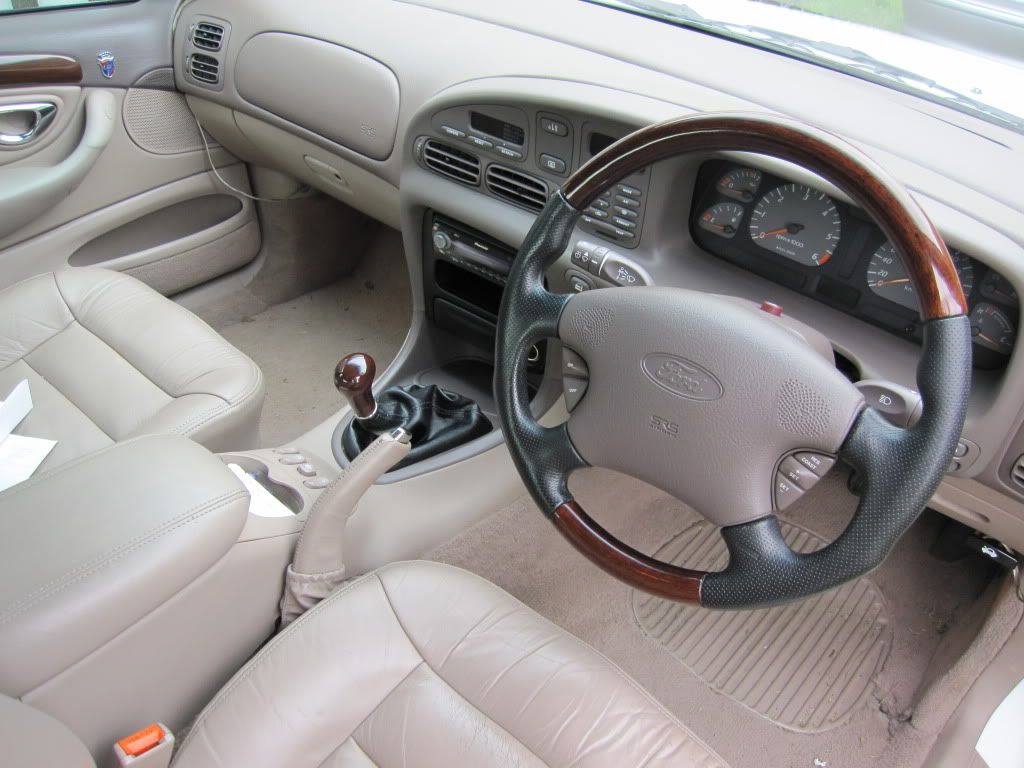 So you may have noticed in some of the pictures, I also changed the stereo. I took my old stereo from the XF and transplanted it into the EL. Premo sound is nice, but not as nice as what I was putting in there... It sold for a good price on ebay too. The stuff you cant see is a set of VDO Dayton MPC1300 splits mounted in the factory door locations, and the tweeters on the A-pillars. Powered by a circa 1994 Kenwood KAC943 4ch amp. 2 channels for the splits and 2 channels bridged for the Jaycar reponse 10" sub woofer. This went well until I came across a VDO Dayton HPS-12 sub woofer in factory designed box for a persuasive price. I'm not going to win any SQ or SPL comps but the sound is immersive and just enjoyable to listen to. The VDO splits came in two varieties at the time, MPC and HPC. MPC was the budget stuff and HPC the quality gear. Many people didn't give a second look to this stuff because of the badge, but underneath the badge was a Danish built speaker from Peerless. Way back when I got the MPC-1300's I couldnt afford the HPC's so I had to make do, but years on I started to look in the second hand market for a set of HPC-1700's, and eventually I found some in very good condition. Unfortunately for me when they arrived at my door, I discovered the basket of the speaker wouldn't even fit in the door. Given that I didn't want to go making custom fibreglass door trims, I left them in the box and began another search. While looking at ideas for custom door trims, I stumbled across a car audio build thread of an EF XR6. I followed this build thread. Everything was basically factory mounted, the set up was simple nothing even remotely over the top and the guy ended up winning the national SQ comp at mobileelectronics.com.au. How could I go wrong with the same speakers? So I looked and looked and discovered that they were near impossible to find, until one day I googled for them and up came an ebay ad that for some reason would not show when I searched on ebay, even with 'international' searching selected. After an email their way and some negotiation on shipping, I was the proud owner of a brand new in box set of Oz Audio Matrix elite component speakers, never opened since 2005. Not bad for AU$300 delivered. considering these were ~$1200 in their day and are still hold their own against multi-thousand dollar speaker sets. I was never much of a believer of all the hype about fitting stupidly expensive speakers in order to have a nice sound, and I certainly didn't understand how a different set of speakers in the same locations could alter the sound any more than a trained professional might be able to pick up, but let me tell you... WOW!!! Absolutely no change in anything other than the speaker itself and all of a sudden the sound was coming at me centralised above my steering wheel instead of from the doors. Ok I'm sold. I was looking for things to do to personalise the car and thought some more chrome might be nice. So I got some chrome vinyl courtesy of my wife's work and tried out a few things.    I decided I wasn't particularly a fan of either so they came off. Christmas 2009 rolls around and again I wasn't really looking for anything in particular to buy, just browsing what's for sale and I come across an EL engine for sale with quite a few good bits already attached. CMS stage 3 cam, Crow double valve springs, Crow vernier cam gear, 68mm Throttle body, Pacemaker 4499 extractors and a 2.5" cat redback exhaust. The advert showed a dyno chart showing 155.7rwkw. I got a nice tax return that year so what the hell. I fitted it over Christmas '09 and it's still in there now. I got it tuned early 2010 by CVE performance and returned a figure of 150rwkw straight off the bat and then rolled off 161.7rwkw after some tuning on 91ron fuel. 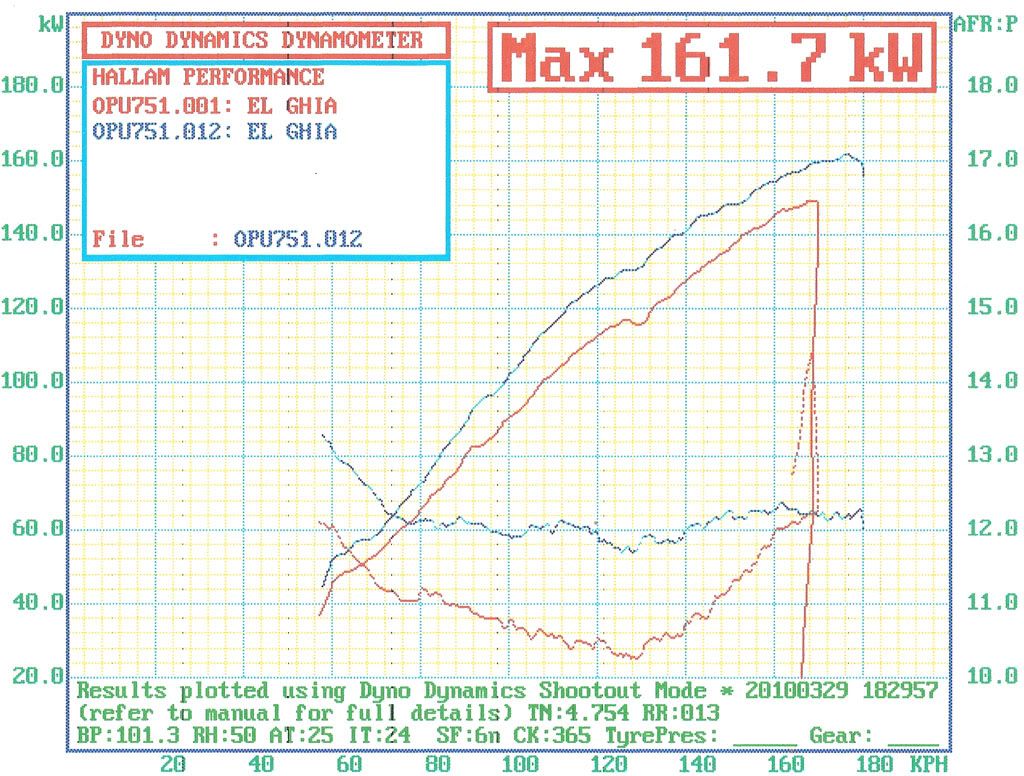 This was great, but stupid me wasn't prepared properly. The ISC was disconnected to help drive ability before being tuned, and I thought after the tune I would just be able to re-connector the ISC and it would be hunky dory. Yeah right. While re-connecting the ISC and trying to reset base idle, I discovered that I had set the TPS wrong. Well not done it wrong, but measured voltage from the wrong spot. I used the battery as negative and took the output from the TPS. Turns out that when you back probe the TPS and use ground and signal from there, you get a very different figure... doh. I got it all set properly this time and near that time, someone at work had bought a dial gauge and magnetic base for a certain job, so I thought I'd borrow it and check that the cam was properly dialed in. It wasn't. So that was changed too. After these changes the custom tune was no longer very well suited and it pinged quite a lot, so it was unplugged simply because I hadn't found the spare time or money to get it tuned again. And that is how it still sits today. I will be getting it tuned again shortly and when I do I will be getting a tune for 91 and 98, just to see the full potential. In this time I had decided that I was scraping too many speed humps with the Kings superlow springs, and I'd seen someone mention Eibach Springs for their AU live axle. So I had a look at them and they were a good price for high quality. AU springs are tapered and EA-EL springs are straight, so the AU springs weren't going to work on the Koni's I had for the EL. So I contacted Toperformance to see if I could get the lower seat to suit the AU spring, to which I was told that they stopped using the circlip to support the seat on the AU and went to a welded seat instead....but... he tells me, the seat is available to buy and with a circlip retainer I could use them quite easily on the EL shock body. So I placed the order. I didn't get great shots of this conversion but here's what I took. EL seat with circlip support 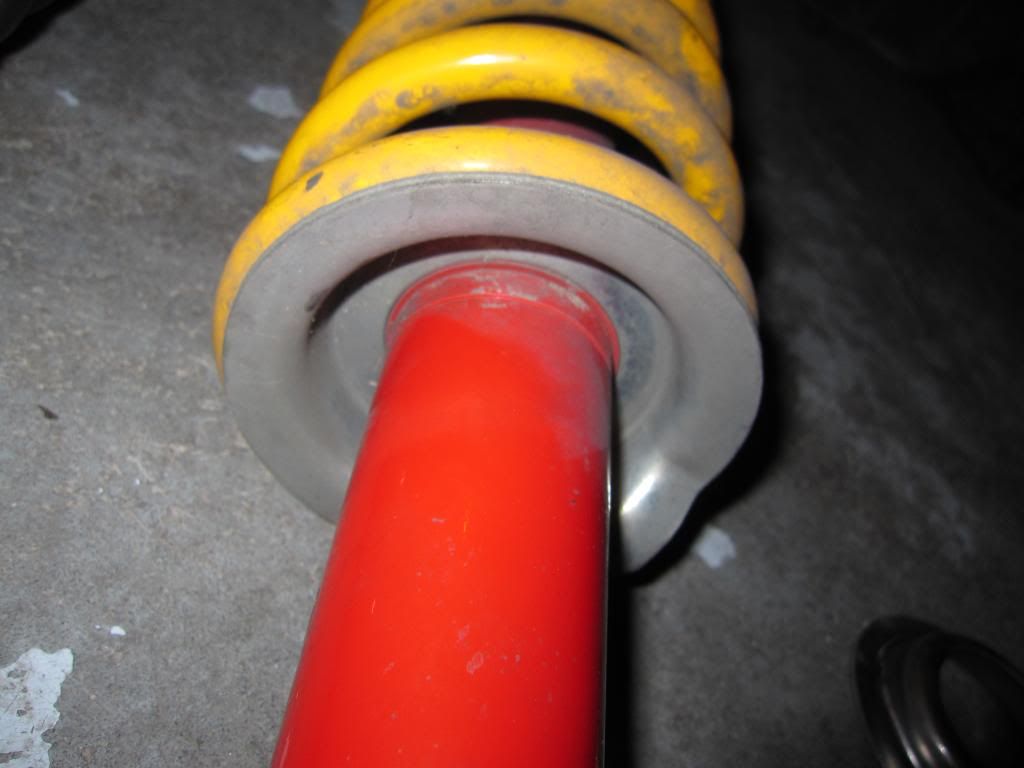 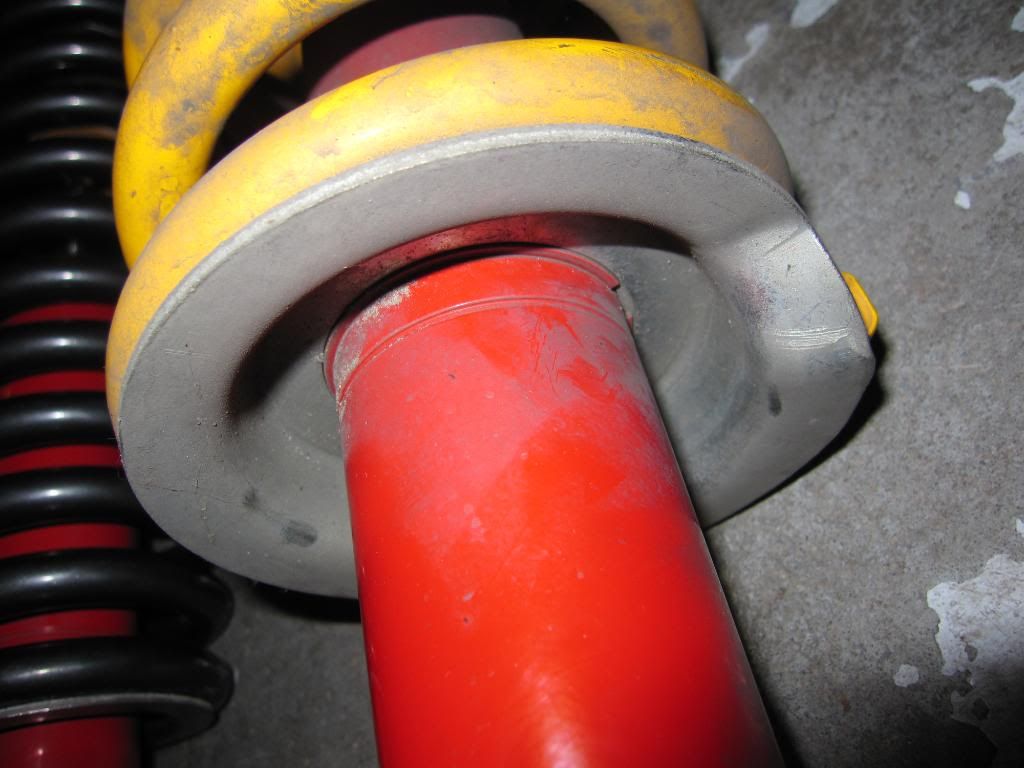 EL seat and AU seat with circlip retainer 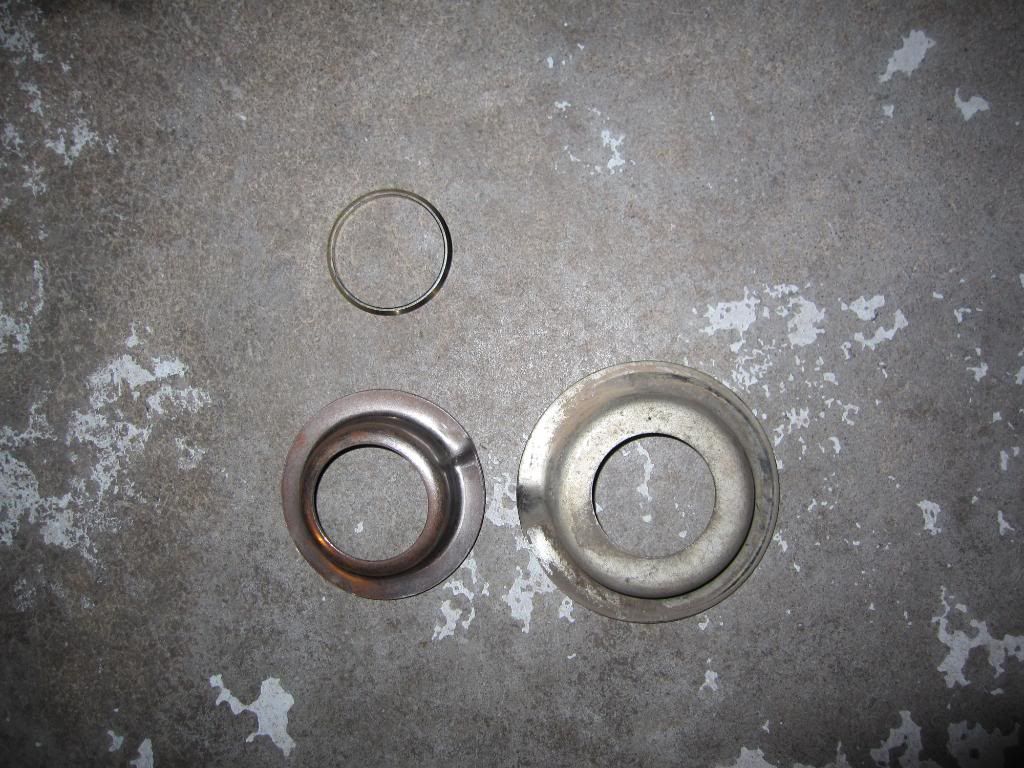 AU seat fitted 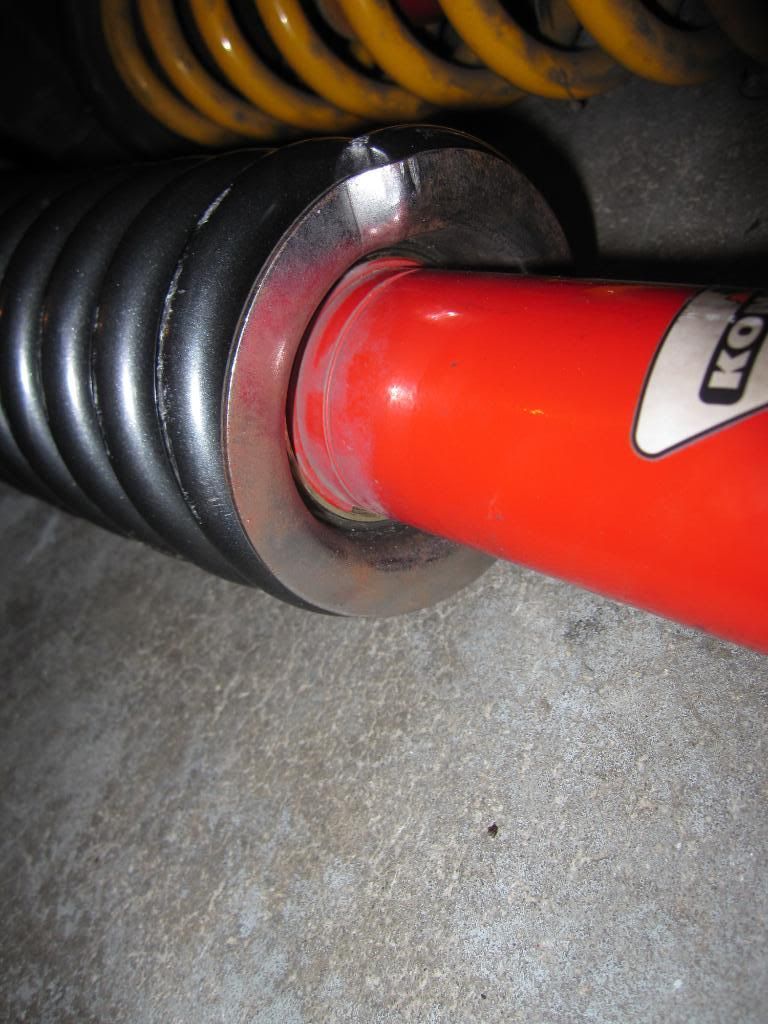 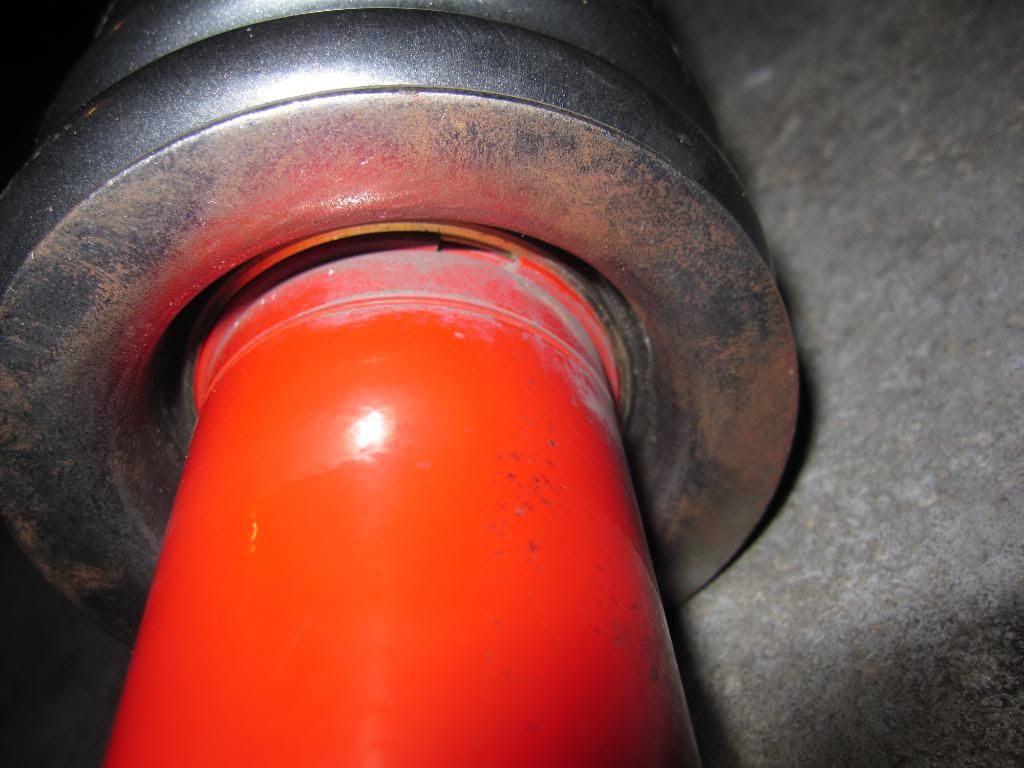 Comparison 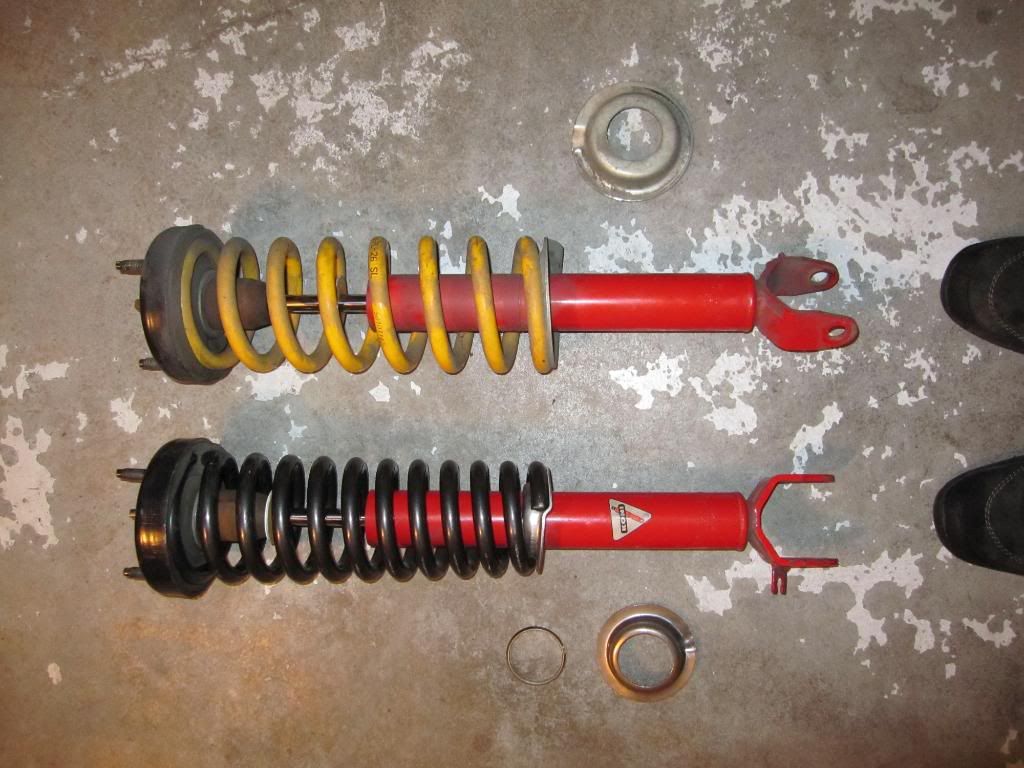 Now here comes the funny part... I did not know that AU springs were actually 25mm longer than E series springs... 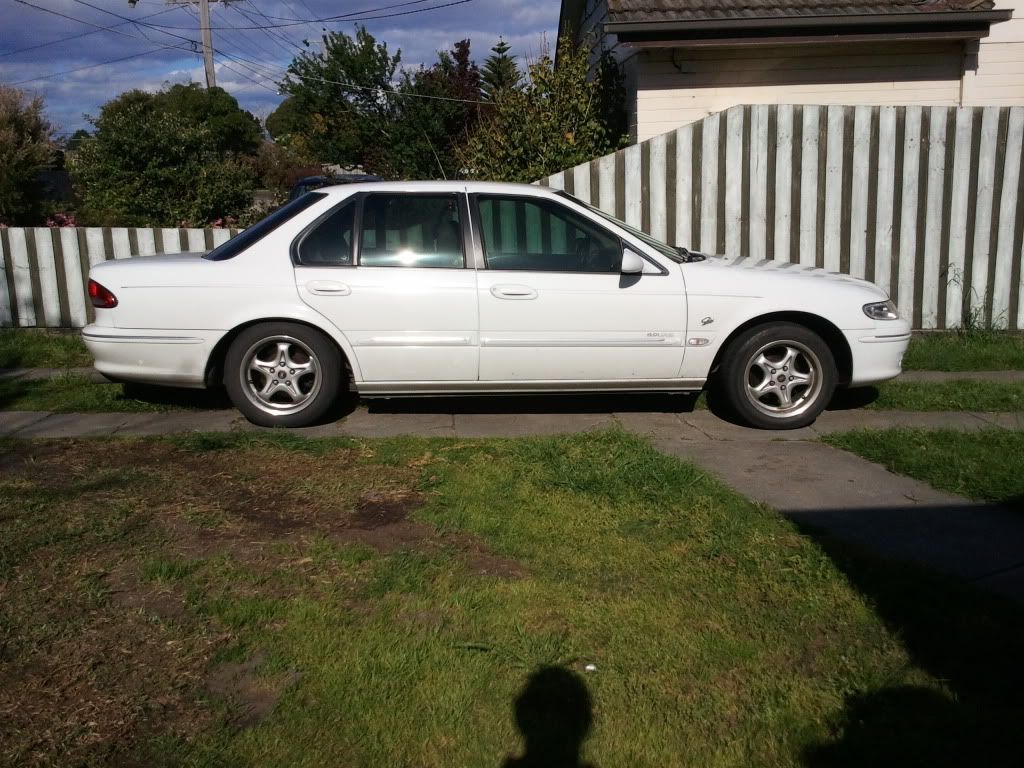 Fail... So I contacted Toperformance again to check whether I would be able to machine some new circlip grooves on the shock body, and I was informed it was entirely possible, so off to the machinist, we use at work, and I had some new grooves on the shock bodies, a whole 25mm lower than before. Much better stance now. Being the tinkerer that I am, I just cant leave anything alone. So I decided to change the background of the instrument cluster to something a little more modern and less 'ugly grey'. This design was inspired by a WRX.. 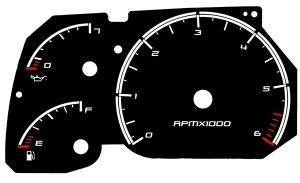 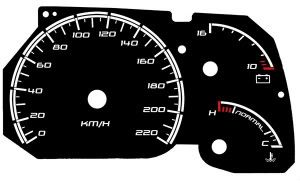
|
|||
| Top | |
|||
| MAD |
|
|||
|
I also decided that I really liked the deep orange dash lighting that you find in BMW's so I bought a heap of small LEDs
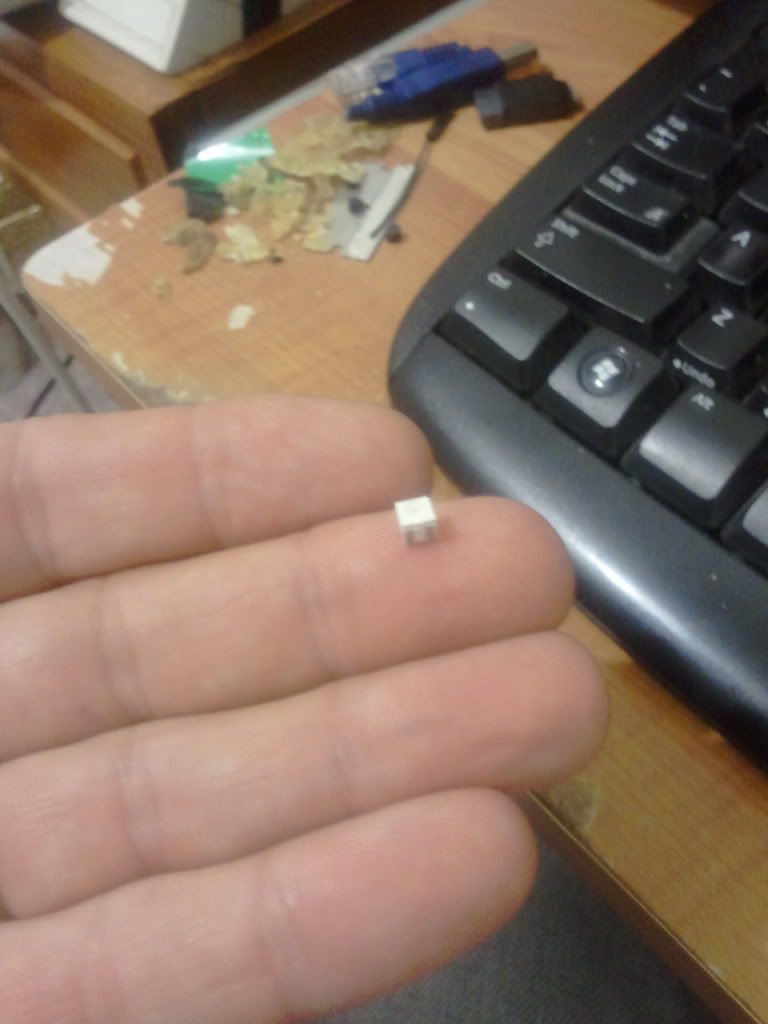 and went to town on my dash. I also added LEDs in the compartment under the stereo and under the ashtray for a little more ambient lighting.  Just recently I finished off another interior LED project. The window buttons. They are not transparent like the AU and many others so you cant just have the arrows light up, so I went about things a little differently. I made a cardboard template that fit around the switches  Then transferred that to plastic, siliconed it in place and added 5 LEDs around the perimeter 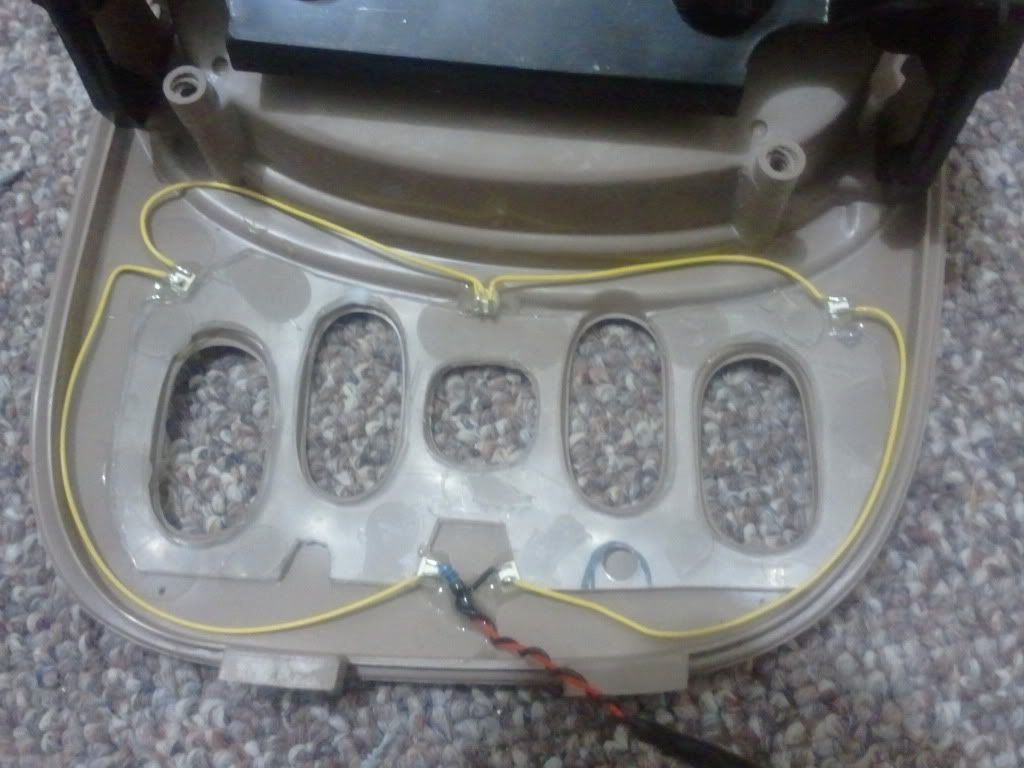 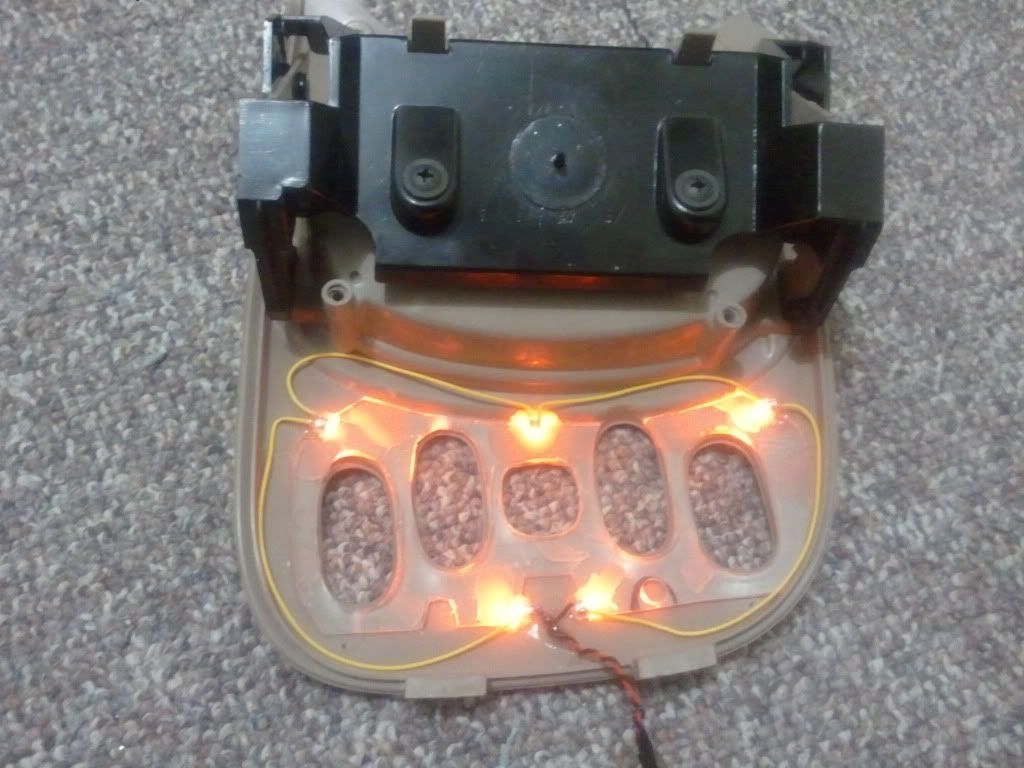 The result... 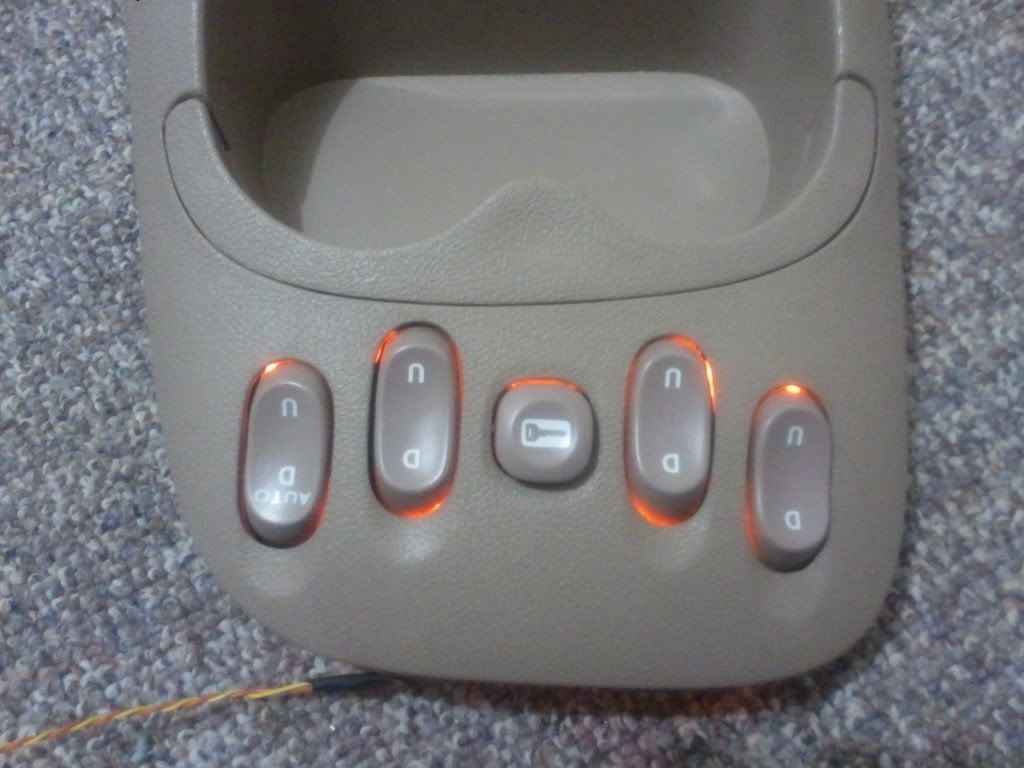 I'm thinking of adding more lighting around inside to gently light up the interior at night. Much like a lot of prestige cars are doing now. A long time ago when my wife first got her EL Ghia I wanted to fit a set of Nissan Silvia headlights, the ones with 3 projectors, into the Ghia's headlights. When I got my car I decided it was time to have a go at it. I started researching retrofitting and soon discovered that the light output of the silvia lights was often complained about. So the search turned to adding HID bulbs, but then I found threads talking about the terrible beam pattern and glare that can be created by using HID bulbs in a reflector or projector designed for halogen. From this research I decided the only way to do it was to do it properly. I ended up finding a forum dedicated to retrofitting HID projectors and through more and more research decided to buy some stuff. My order consisted of a pair of OEM s**t Ballasts, Phillips 85122+ D2S bulbs and FX-R projectors (replica of an FX35 projector used by Nissan) First thing was to try to remove the lines from the headlight lenses so that they wouldn't ruin the light output from the projector. The first test to see if I could even do it was completed... success! 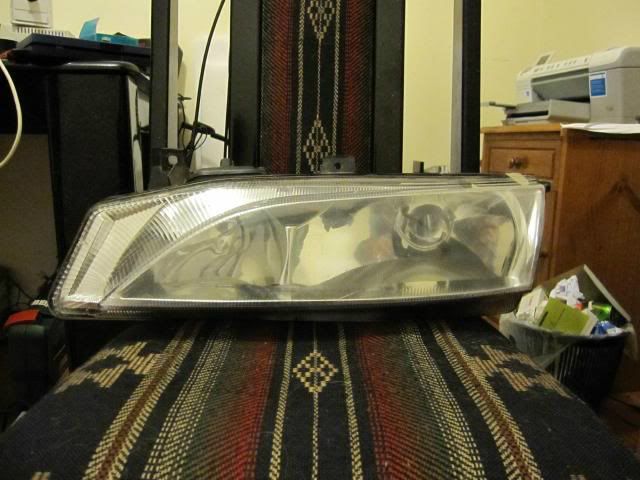 The next test was to see if I liked the look on the car... success! 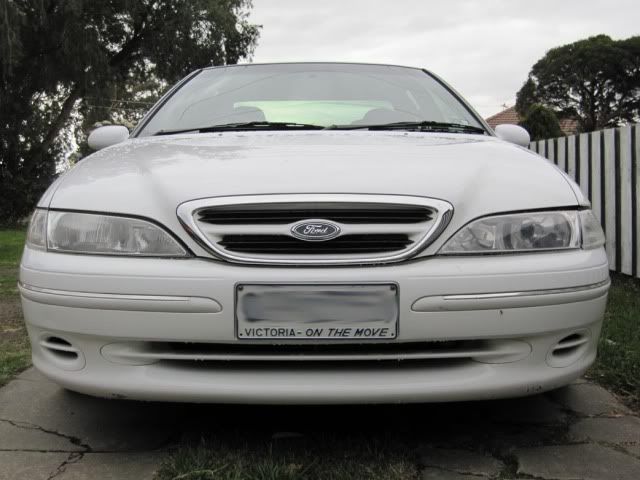 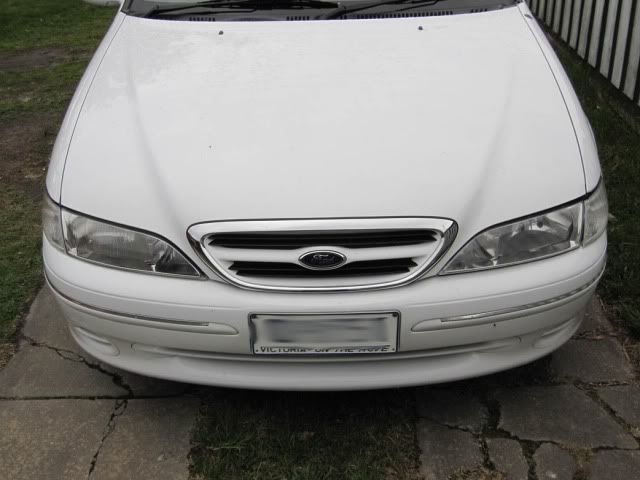 So I test fitted the projector to see how much I would need to cut up the reflector in order to fit it 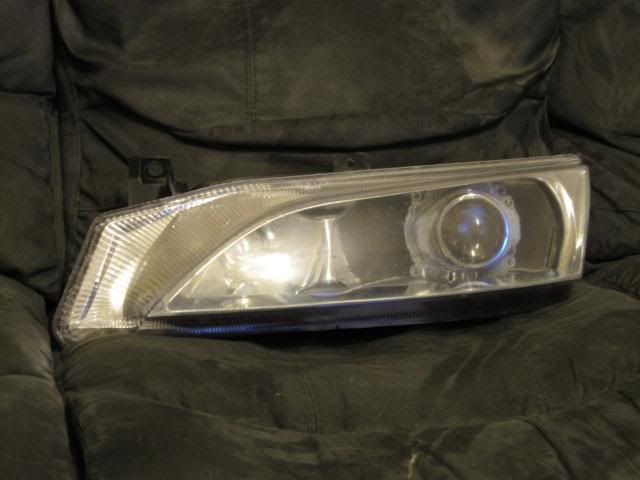 Then I thought I'd try out a few different colour combinations for the headlights. I really liked the black, but it didn't look right from all angles, so I went with chrome. Glad I did in the end. 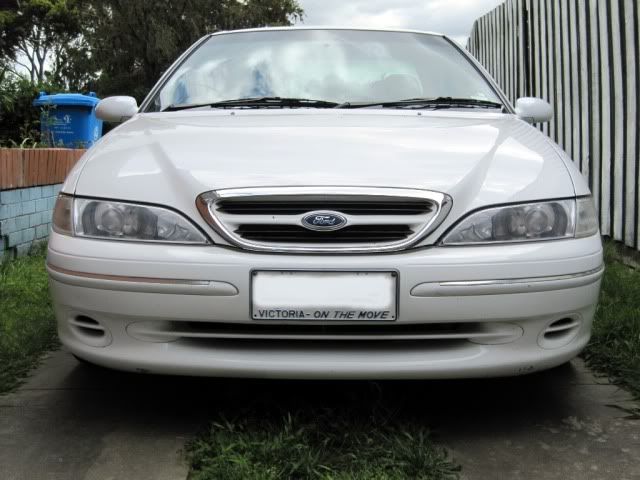 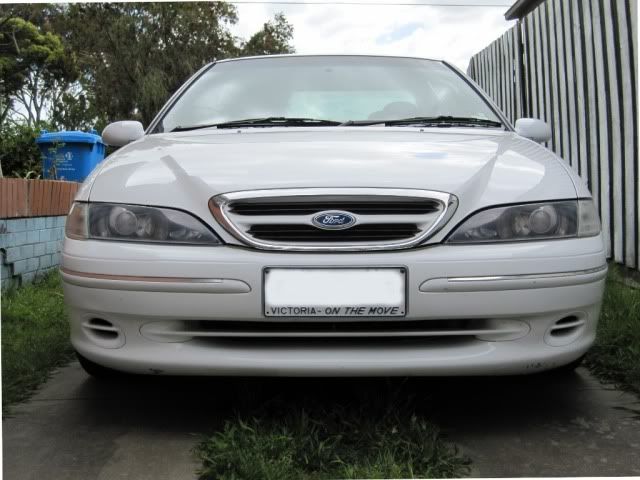 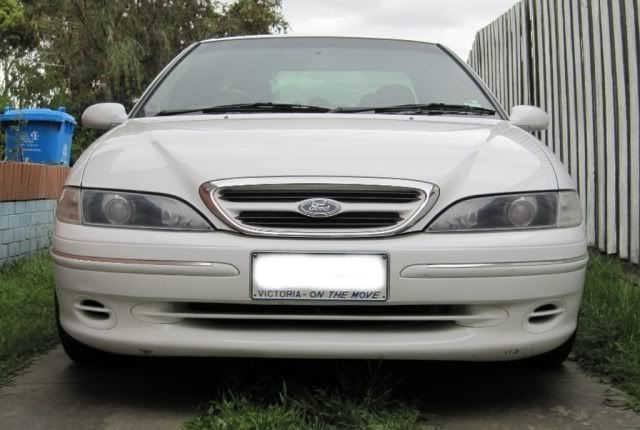 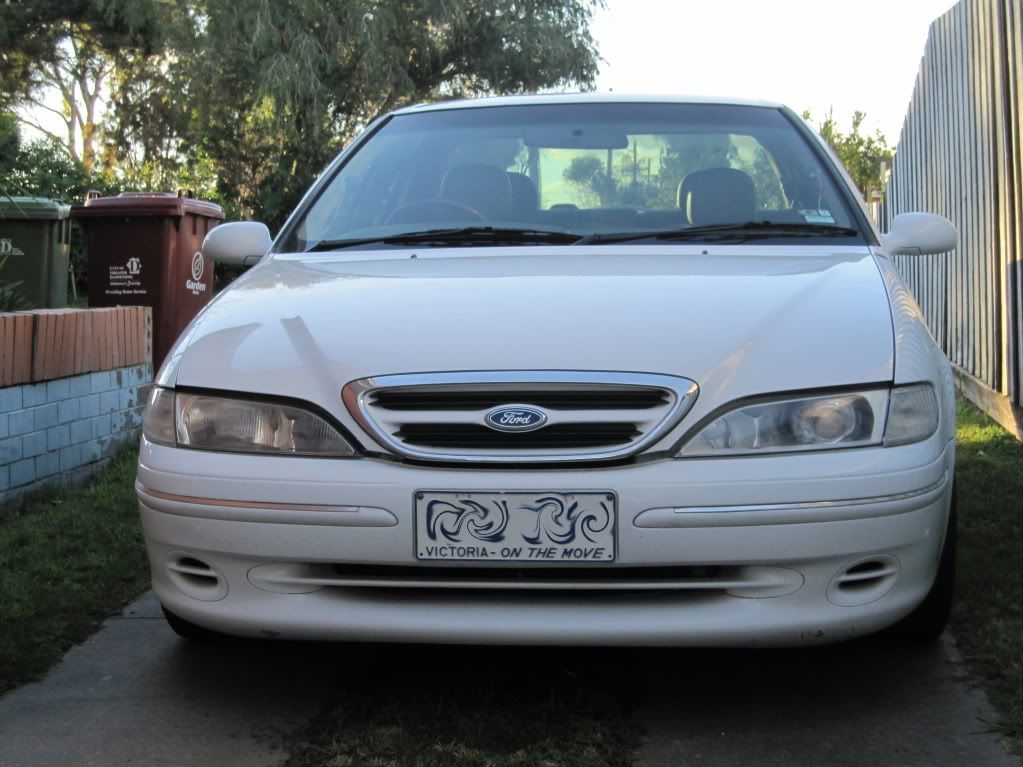 After getting the lenses sorted out, I took to mounting the projectors. I used L-brackets from Bunnings and some M5 screws to hold it in place, but I needed to ensure they were aligned correctly so out to the driveway for a test fit.... success!  Lots and lots of procrastination and heaps of CBF were to be had throughout this project. The lenses were giving me all sorts of grief. Removing all the lines wasn't the hard part, it was going through the sand paper grades up to the point of polishing. I often found that it was not of uniform thickness and distorted the light going through it. So back to 180 grit and begin the process again. All the while I was trying to find a way to really give them the perfect polish so that there were no scratch marks at all visible. I had a headlight restoration kit which was going to be the initial choice but I couldn't get anything right in to the point of the lens to polish it properly, so I was going to need a liquid of some sort. I tried an acrylic clear coat spray can but it went down with lots of orange peel so it needed to be buffed. Fine for the outside but getting in to the point of the lens was going to be trouble again. I'd almost given up and was just going to do it all by hand, I came across a method on a detailing forum that was hand applicable, self levelling and very resistant to UV. A few tries on a spare lens and I'd found the trick to getting it down smoothly. The final result?.... Optical awesomeness! 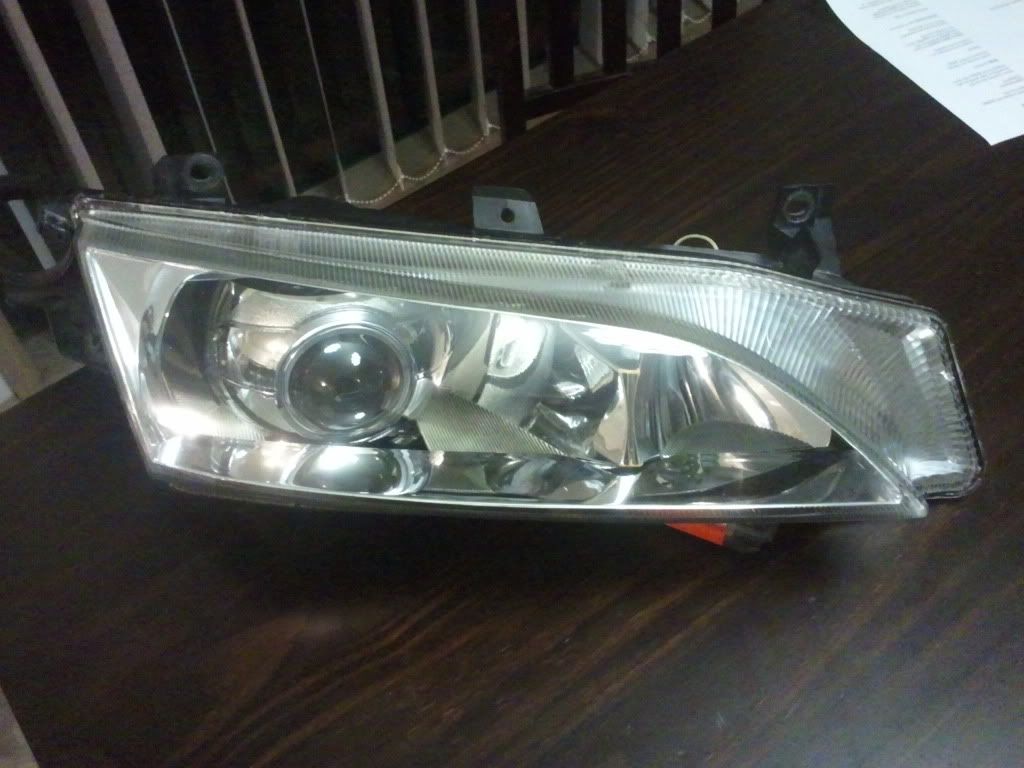 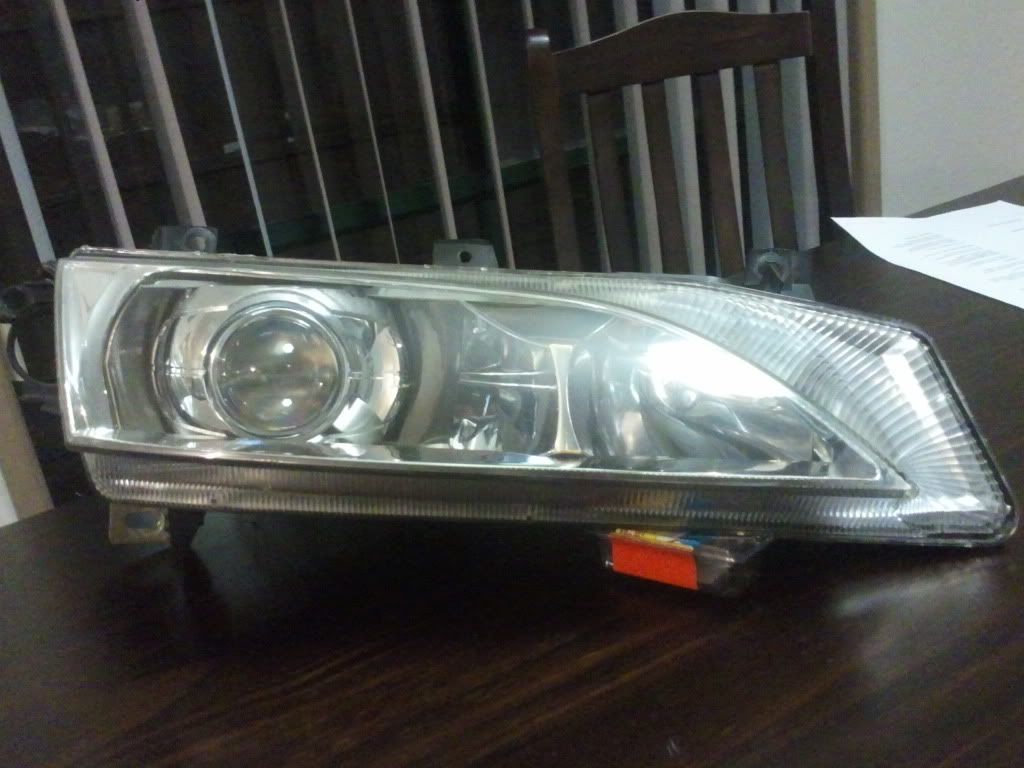 This gave me the kick in the pants I needed to get things finally finished. So I worked on mounting the ballasts so they were waterproofed 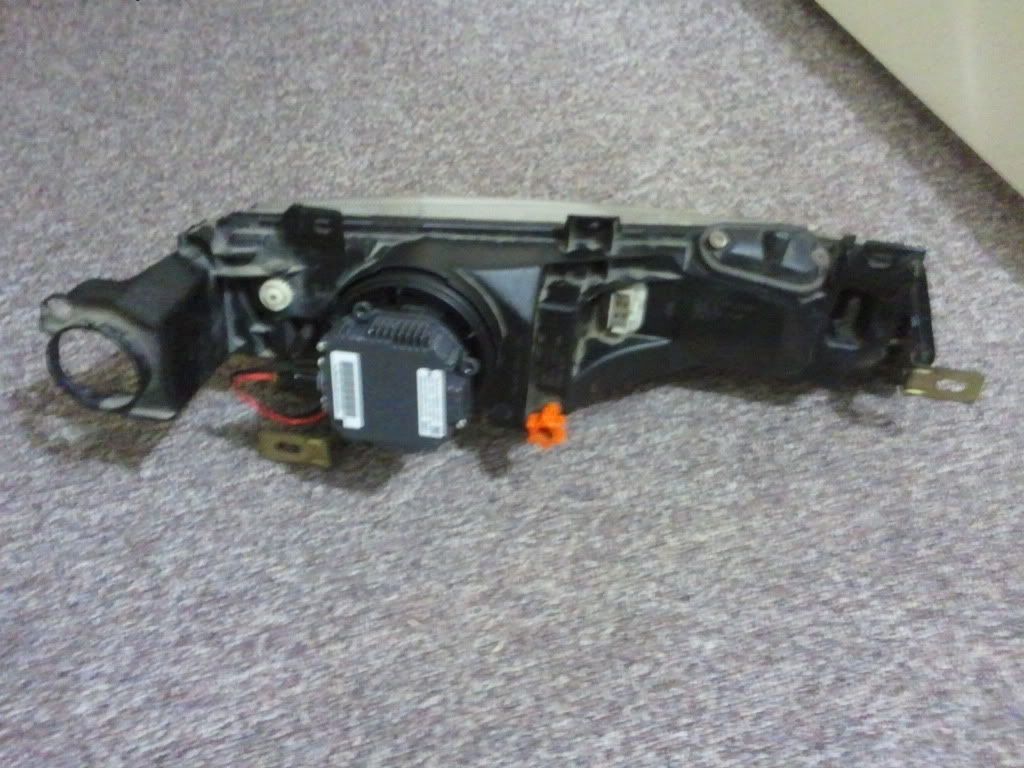 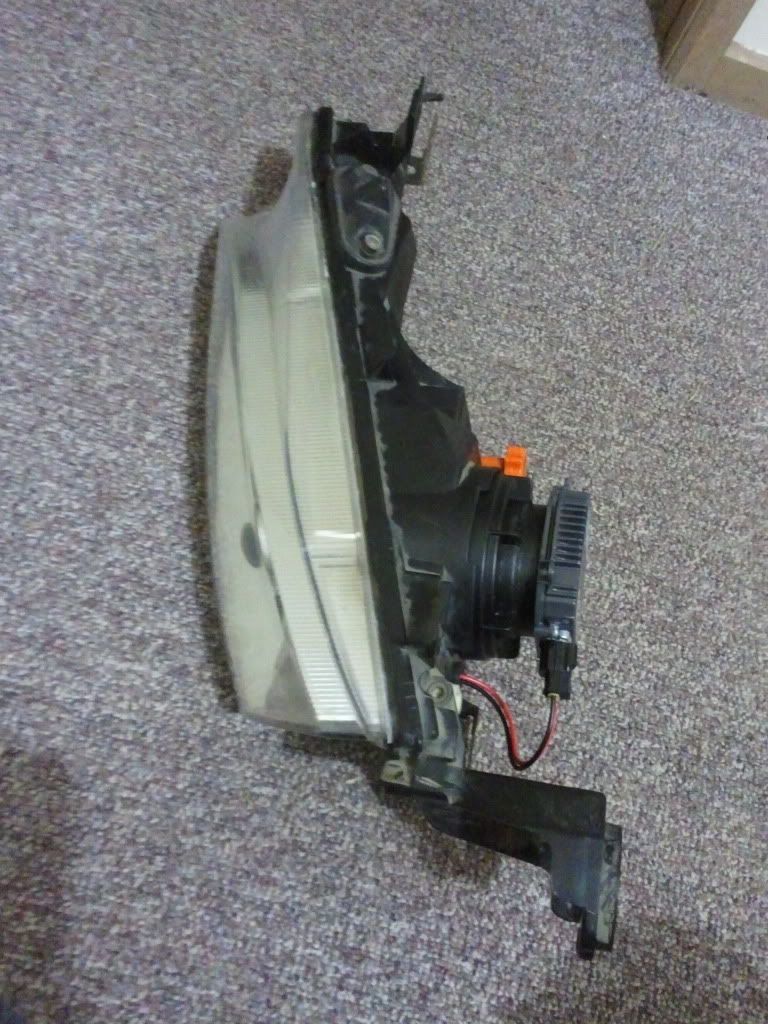  I mounted the cover to hide the projector with silicone so I had to wait 3 days for it to fully cure so that it wouldn't release any haze inside the headlight after I closed it up. Then came the day to fit them to the car for the last time... 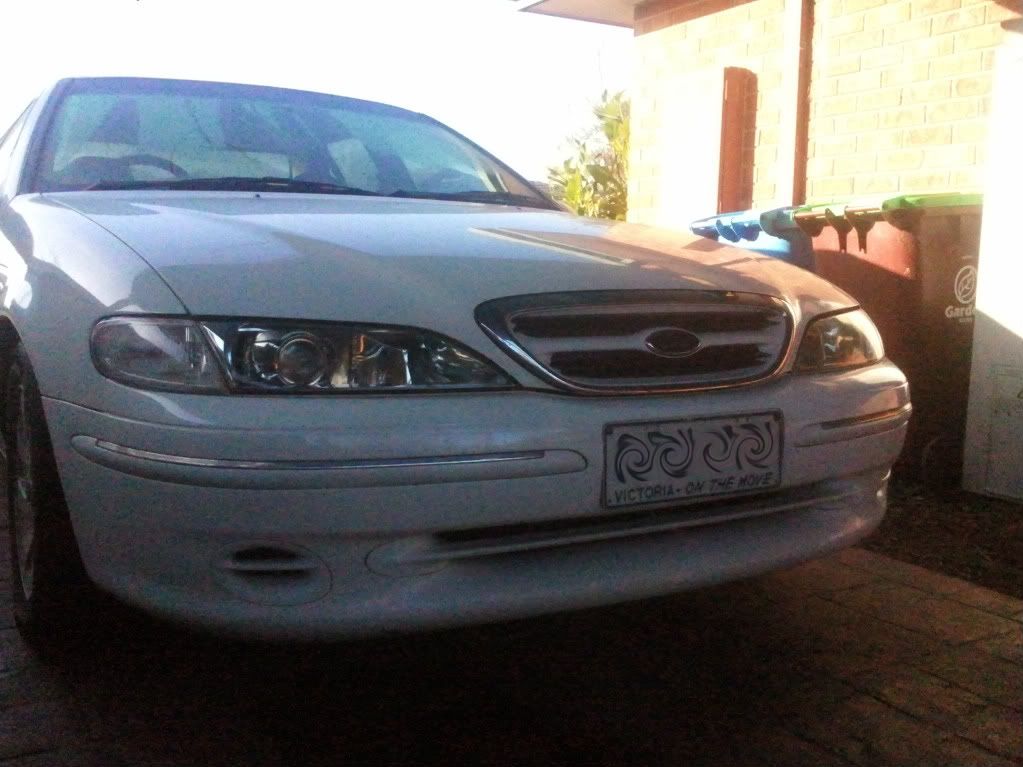 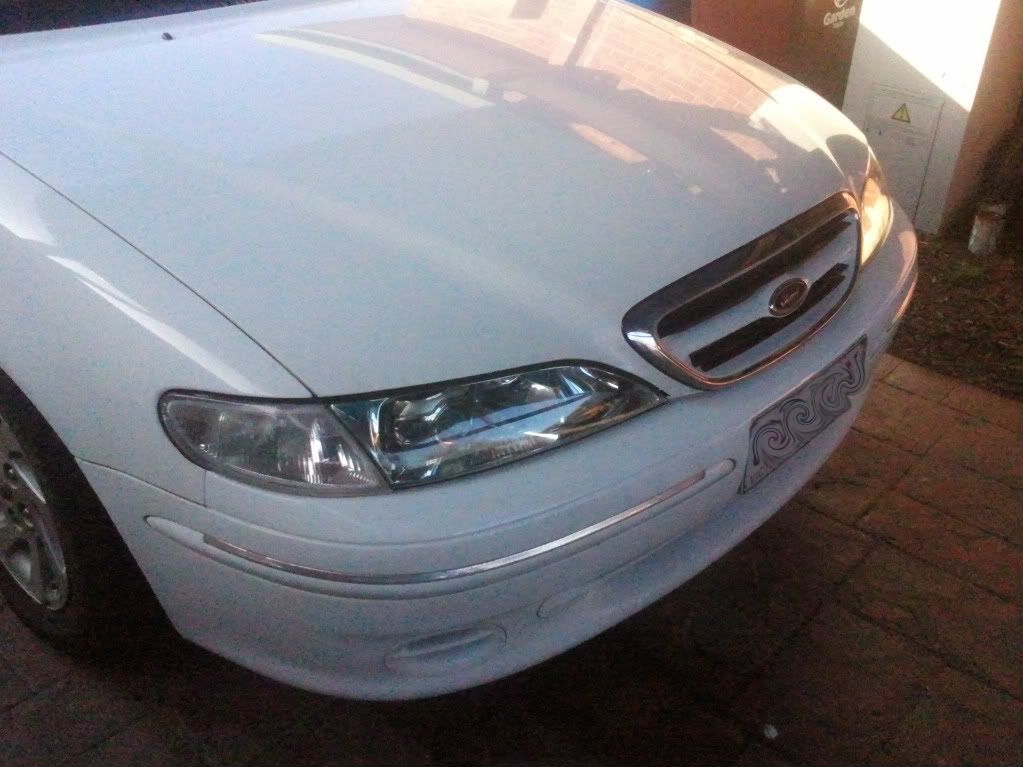 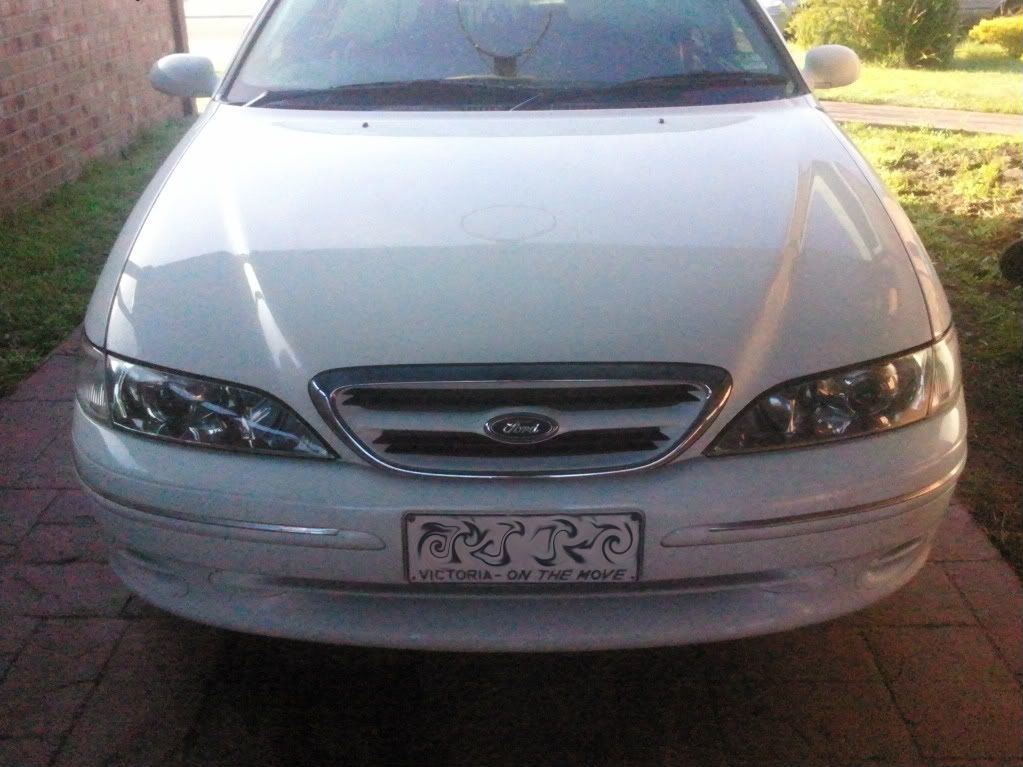 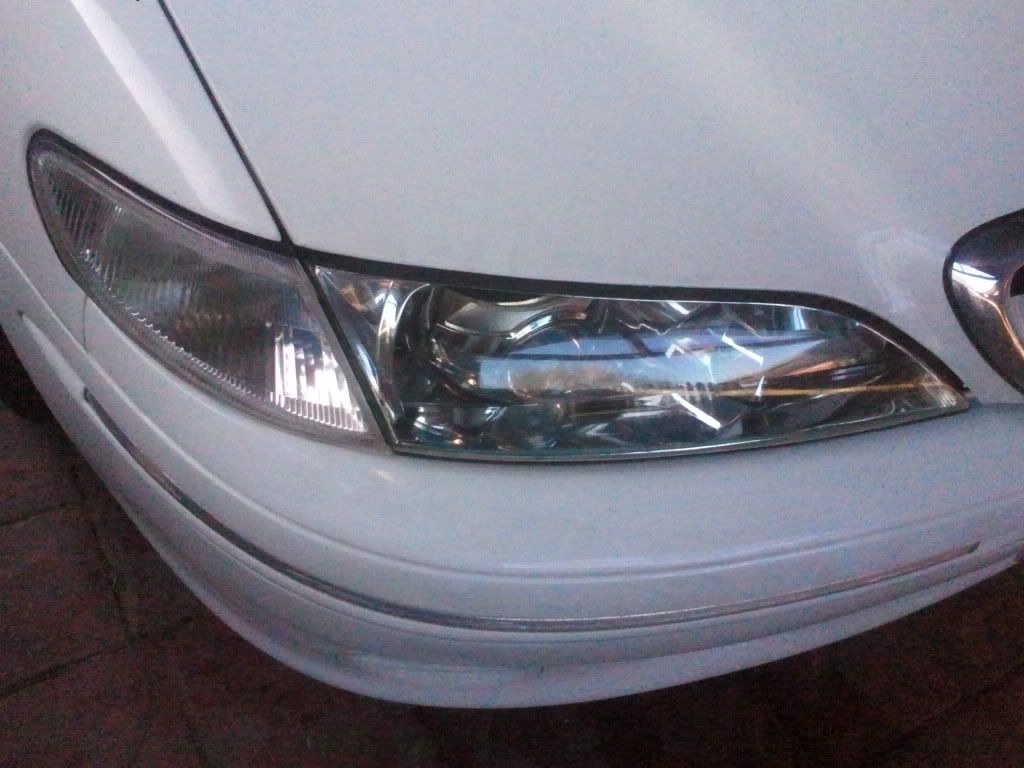 The output results... Let's just say they're a decent upgrade on the factory EL headlights...  Perfect alignment... 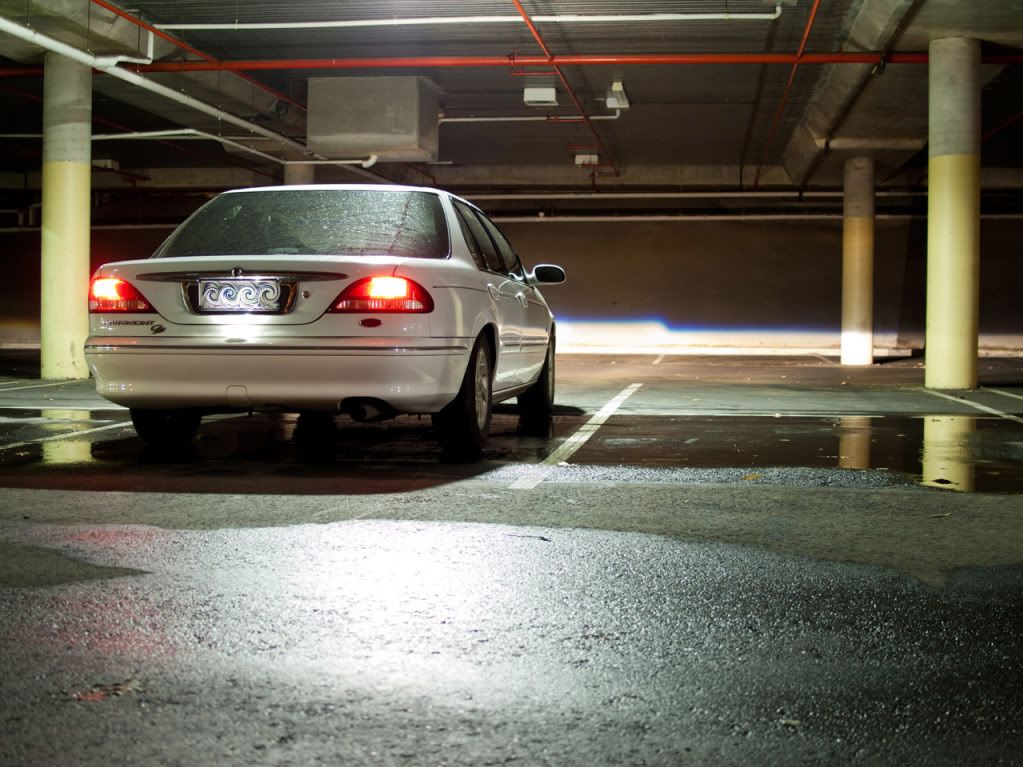 and excuse the phone quality here, but this is what you catch glimpses of as an oncoming motorist... 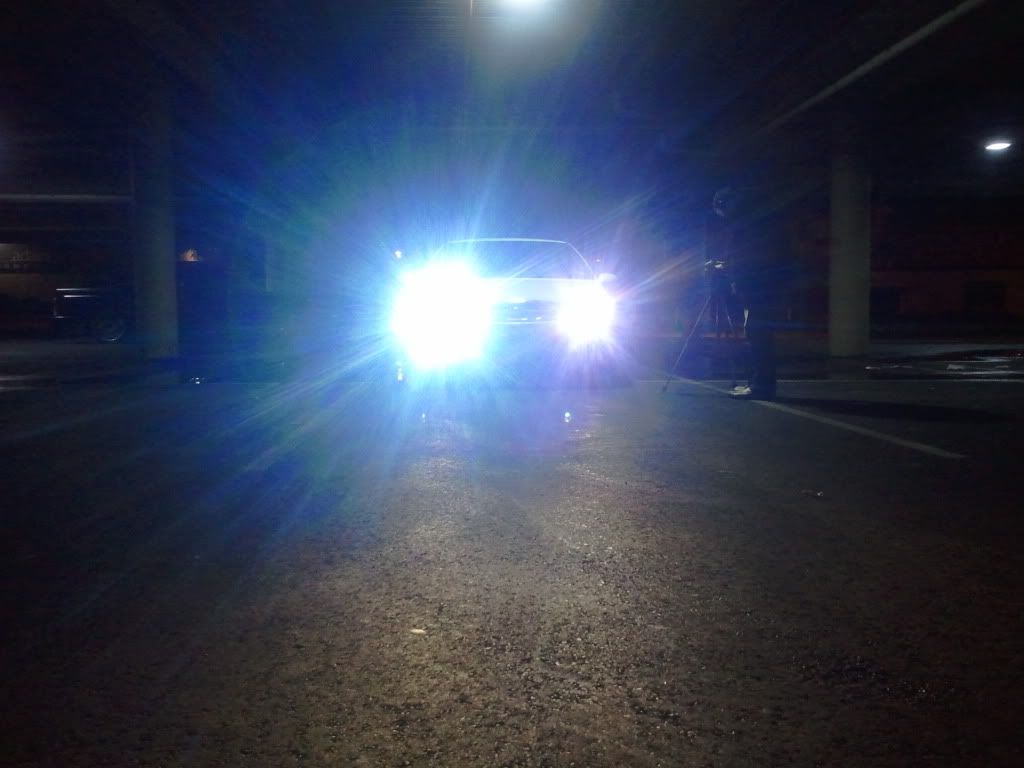 I had initially planned on using some LEDs inside the projectors as the park light but I decided that they didn't stand out enough, so I added 3 white LEDs to the indicators as parkers. And along with some fancy electronics 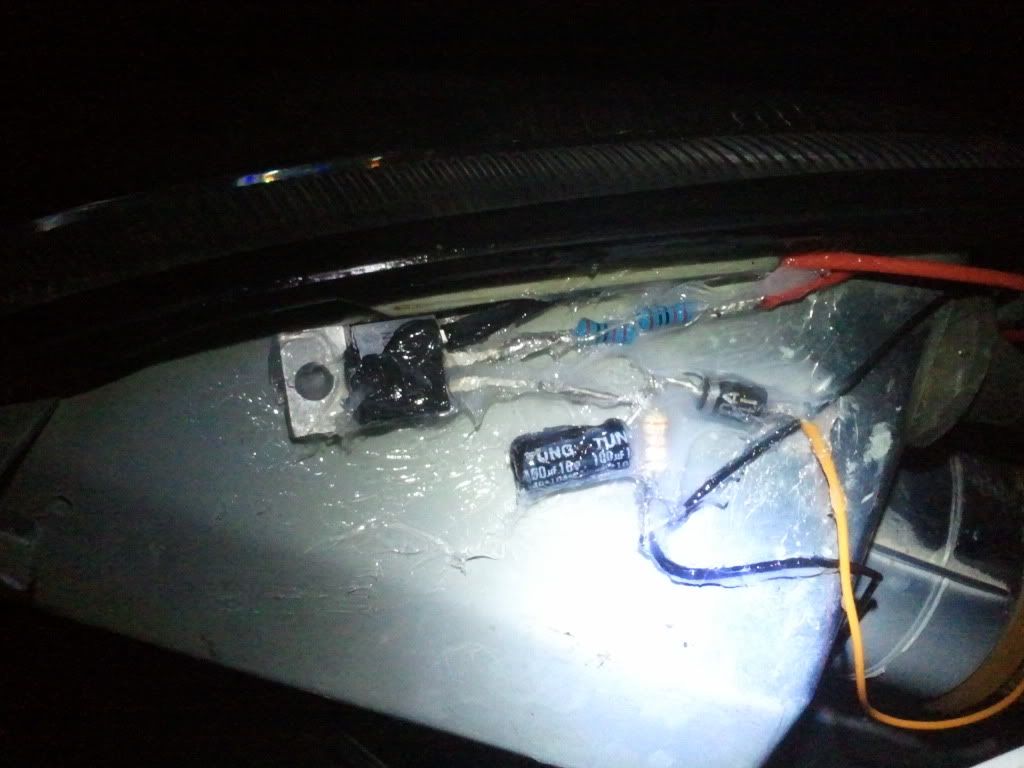 I got them to do this... {DESCRIPTION} You may notice in the last photos I have the stock wheels back on. Well there's 3 reasons for that. 1) one tyre had a slow leak, 2) one tyre was very unroadworthy and 3) I'm going to fix the gutter rash on them and give them a fresh lick of paint. |
|||
| Top | |
|||
| EFFUTURA4.05SP |
|
|||
|
{USERNAME} wrote: You were procrastinating bout the write up werent ya? as you stated in the other headlight thread. Mate, excellent write up. I like the LEDs on the window switches. Where is this thread? Care to post a link pls? By the way, excellent work there mate!
_________________ 1996 EF Futura factory manual |
|||
| Top | |
|||
| EFFalcon |
|
|||
|
Wow.. i had no idea you'd done so much to it.
I should have had more of a look when you came around! some really tasteful stuff there.
_________________ FALCN6 - EF GLi Turbo, 20" Rims, Air Bag Suspension, Straight LPG, 225rwkw |
|||
| Top | |
|||
| MAD |
|
|||
|
{USERNAME} wrote: You were procrastinating bout the write up werent ya? as you stated in the other headlight thread. I wouldn't call it procrastinating this time Mate, excellent write up. I like the LEDs on the window switches. That comment in the headlight build thread got me thinking, and I realised it would be good to do it. Thanks, I like the switches too. They worked better than I expected. {USERNAME} wrote: Where is this thread? Care to post a link pls? You can look at the thread here, there's not really any more detail that what's in this thread.By the way, excellent work there mate! ford-bodykits-f15/el-fairmont-hid-retrofit-t79728.html |
|||
| Top | |
|||
| Mitch_ |
|
|||
Posts: 6168 Joined: 5th Nov 2004 |
love your work mate
_________________
|
|||
| Top | |
|||
| MAD |
|
|||
|
{USERNAME} wrote: Wow.. i had no idea you'd done so much to it. Thanks. That's what happens when you have a white car and dont have ultra lows with 19's or 20's. Nobody really takes a second look. That's ok though, cause I do the mods that I want. I should have had more of a look when you came around! some really tasteful stuff there. A different set of wheels is on the cards though. I really like your originality on the bumper bars you've done. I was going to give it a go with a BA GT bar like Fordfreak did, but I've decided I want to do something more subtle. Sort of like the difference between a BMW and an M-series BMW, nothing huge, but enough to make you look twice and and realise it's something special. I've got a busted bumper to try somethig on, but I'm also looking at every car that drives past me for one that might fit my requirements. |
|||
| Top | |
|||
| EFFalcon |
|
|||
|
{USERNAME} wrote: {USERNAME} wrote: Wow.. i had no idea you'd done so much to it. Thanks. That's what happens when you have a white car and dont have ultra lows with 19's or 20's. Nobody really takes a second look. That's ok though, cause I do the mods that I want. I should have had more of a look when you came around! some really tasteful stuff there. A different set of wheels is on the cards though. I really like your originality on the bumper bars you've done. I was going to give it a go with a BA GT bar like Fordfreak did, but I've decided I want to do something more subtle. Sort of like the difference between a BMW and an M-series BMW, nothing huge, but enough to make you look twice and and realise it's something special. I've got a busted bumper to try somethig on, but I'm also looking at every car that drives past me for one that might fit my requirements. hahaha, the times i've gone back to standard bars for what ever reason certainly makes me apprecaite the factory look. subtle is good.
_________________ FALCN6 - EF GLi Turbo, 20" Rims, Air Bag Suspension, Straight LPG, 225rwkw |
|||
| Top | |
|||
| MAD |
|
|||
|
{USERNAME} wrote: hahaha, the times i've gone back to standard bars for what ever reason certainly makes me apprecaite the factory look. I didnt end up putting the body kit I bought off you on the wife's car. subtle is good. So I've been thinking about fixing it up and putting it on my car. |
|||
| Top | |
|||
| EFFalcon |
|
|||
|
certainly can't go wrong with the tickford kit.
especially in white.
_________________ FALCN6 - EF GLi Turbo, 20" Rims, Air Bag Suspension, Straight LPG, 225rwkw |
|||
| Top | |
|||
| DARTHVADER |
|
|||
|
MITCHY
_________________ AUIII, PACEY 4499's, MAGNIFLOW CAT, 2.5" ZORST, 17X8" AUII XR RIMS....otherwise all factory! |
|||
| Top | |
|||
| snap0964 |
|
|||
|
Thoroughly enjoyed reading this thread - also good to see someone proactive and always looking for ideas - when they're not coming, you pick up things looking at other people's work.
Other thing is you look outside the square for what you want - if there's an obstacle, you look for ways around it. Very refreshing indeed.
_________________ 96 XH Longreach 'S': LPG, Alarm, 3.23:1 LSD, Cruise, Trip Comp, ABS, Power Windows, Mid Series Dome Lt, Climate Ctrl |
|||
| Top | |
|||
| MAD |
|
|||
|
{USERNAME} wrote: Thoroughly enjoyed reading this thread - also good to see someone proactive and always looking for ideas - when they're not coming, you pick up things looking at other people's work. Other thing is you look outside the square for what you want - if there's an obstacle, you look for ways around it. Very refreshing indeed. Thanks, glad you liked it. The internet is a great resource if you know how to look properly and you take the time to read and follow further leads. I'm a bit of a serial hobbyist too. Always finding something new to tinker with, and I always obsess about each one until I find the next, so that exposes me to a lot of industries from which to gather information and skills. But it also makes my limited workspace very messy... haha. |
|||
| Top | |
|||
| MAD |
|
|||
|
I mentioned I was repairing my wheels at the end of those posts above.
Well the ROH ZS rims have a machined lip, the best feature of them, which poses a problem with repairing gutter rash. Unfortunately I have given in to the fact that I will have to have either a brushed finish, or polish the lip. I still think it will look very good though. I started working on the worst of the 4, it had some scrapes that were about 2-3mm deep, one I have left at about 1mm deep. It's too much to take out and would probably make the wheel look funny if I removed it. I was happy with the way the rim was coming up after sanding, but I couldn't get the sanding marks to be uniform in all the same direction. Since I don't have a few thousand to throw at a lathe with a swing big enough for a car wheel, I decided to make something else to help me. I knew my old man would have an electric motor laying around and I was sure we still had a complete XF stub axle as well. Some cutting, welding and drilling later I had this 100% Australian OH&S approved machine... {DESCRIPTION} Here's the shots I grabbed of the rash on this wheel. 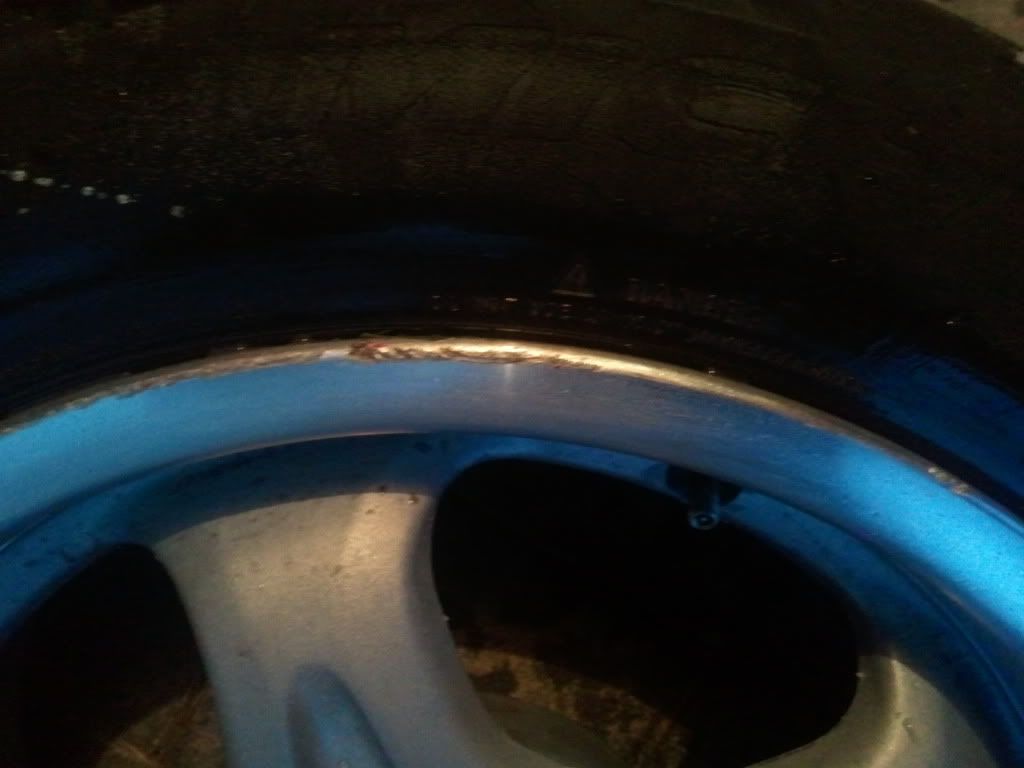 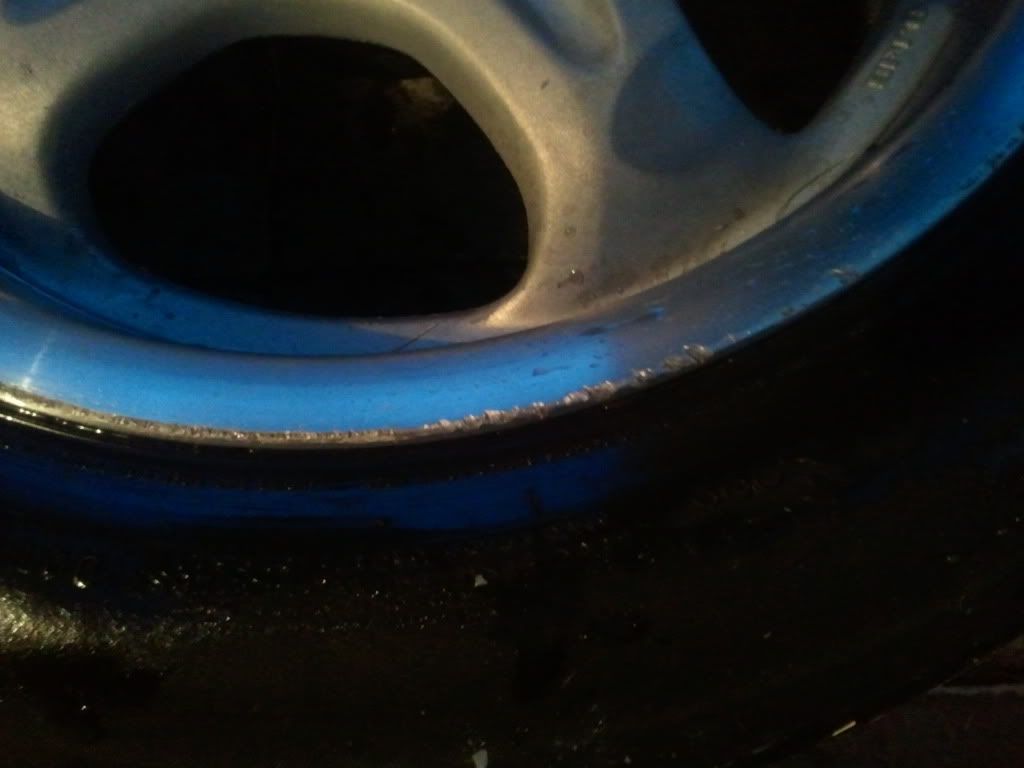 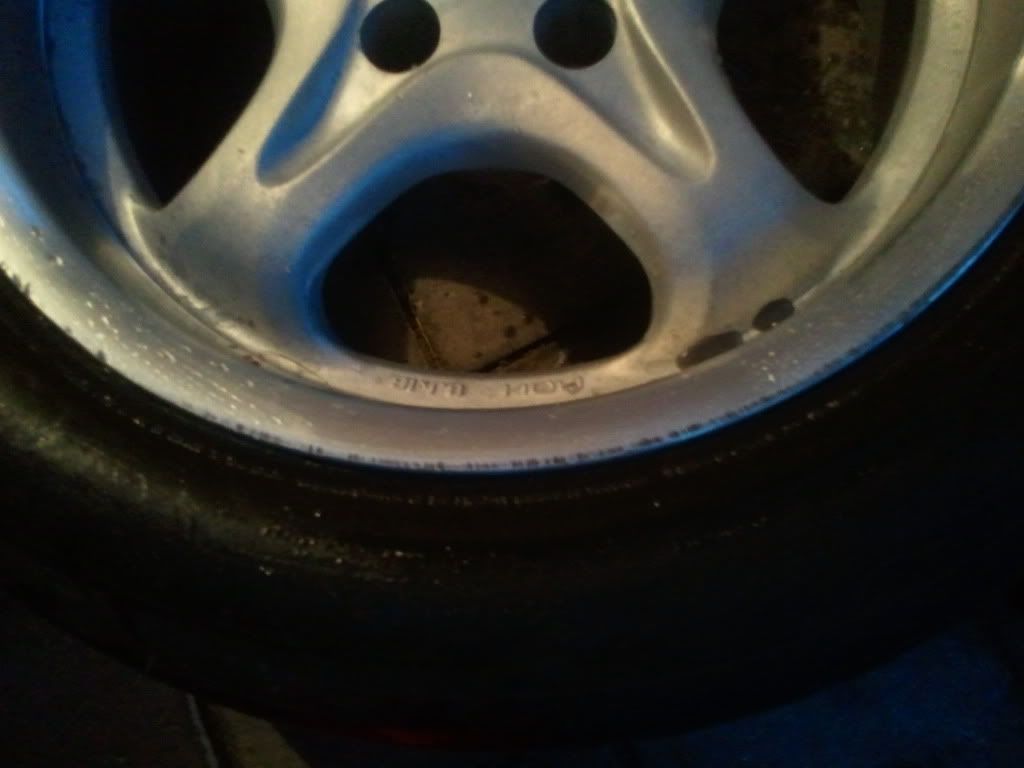 On this wheel, I went to the effort of totally removing all the paint from the wheel. The clear came off very easy, but the main body colour took a lot more. This exposed a little issue, a very rough finish. I have sprayed it with filler primer and sanded it back all smooth, but haven't got any pics yet. I'll update when I get some. Probably the weekend. The next wheels I will remove the clear but leave the silver and just rough it up a bit. |
|||
| Top | |
|||
| MAD |
|
|||
|
I realised I didn't put up any pictures of the white interior LEDs. Then I realised I never took any pics of them.
So here we go.  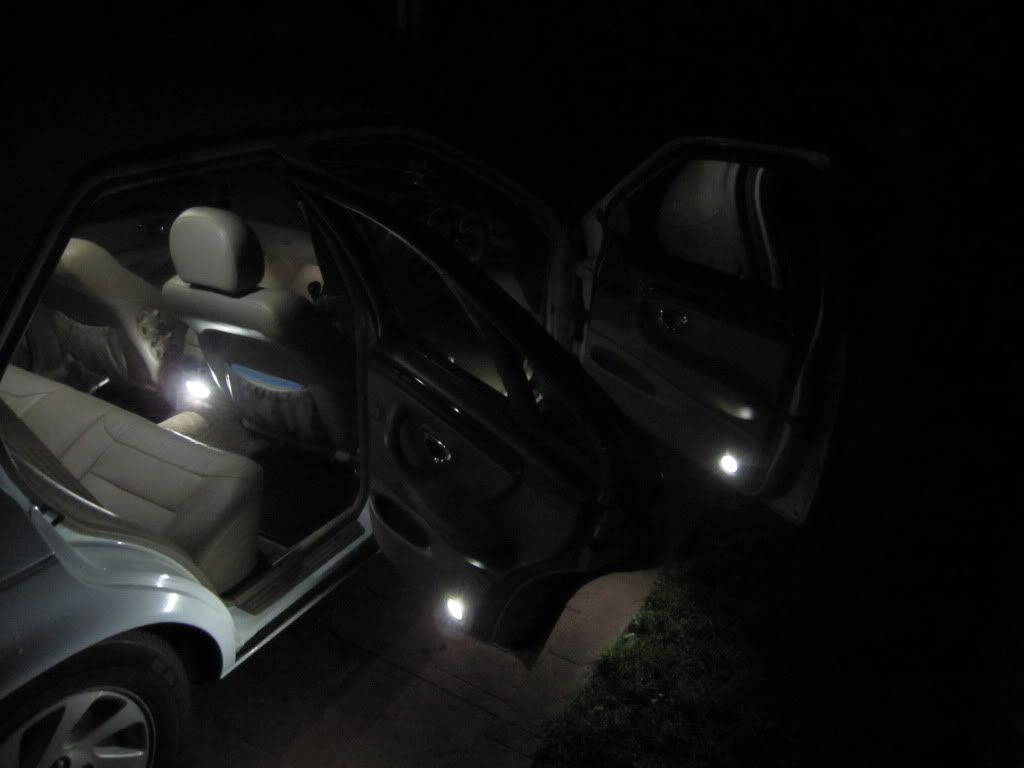 The passenger footwell light is shrouded by a part of the glove box, it cut the light to only covering about half of the footwell. A hacksaw and about 5 minutes did this... 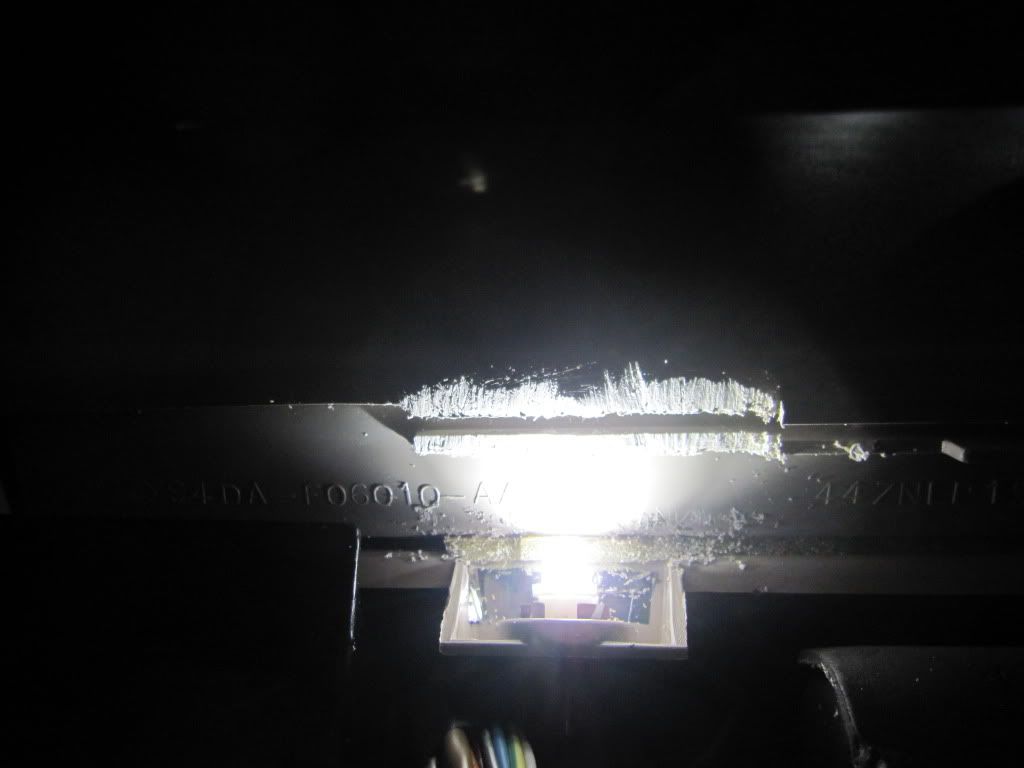 which worked perfectly... 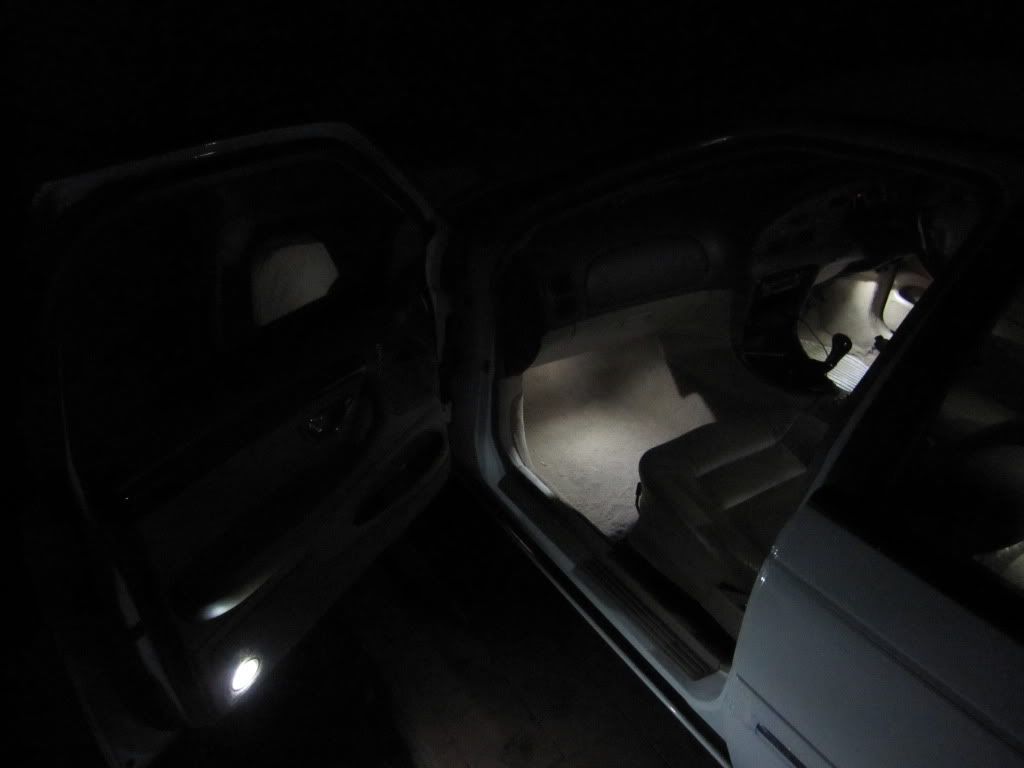
|
|||
| Top | |
|||
| Who is online |
|---|
Users browsing this forum: No registered users and 0 guests |


